26 Easter Bunny Coloring Pages
As soon as the first hint of spring peeks through the clouds, my mind goes straight to pastel colors, Easter baskets, and—of course—the Easter Bunny.
Whether you’re celebrating with little ones or just embracing your inner child (no shame, I’m right there with you), there’s something downright magical about the season.
And what better way to channel that springtime energy than with some stress-free creativity?
Enter: Easter Bunny coloring pages.
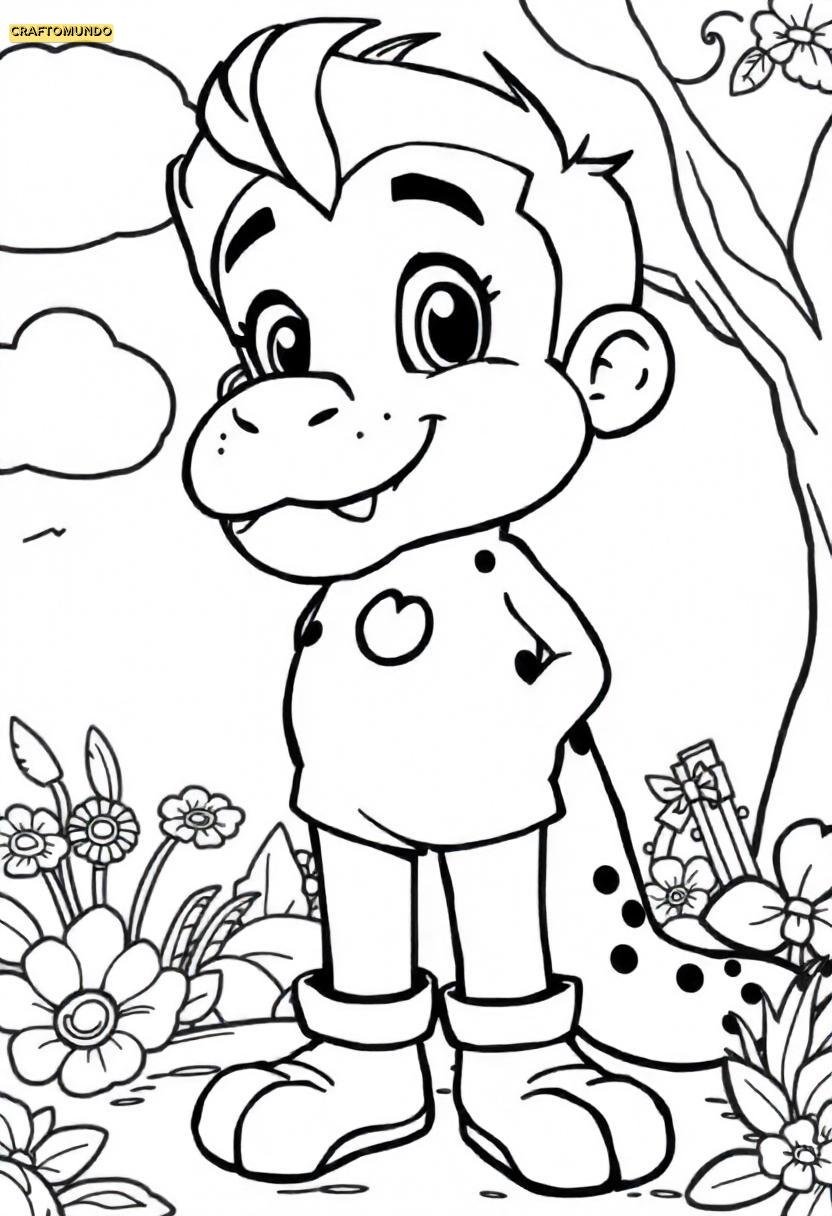
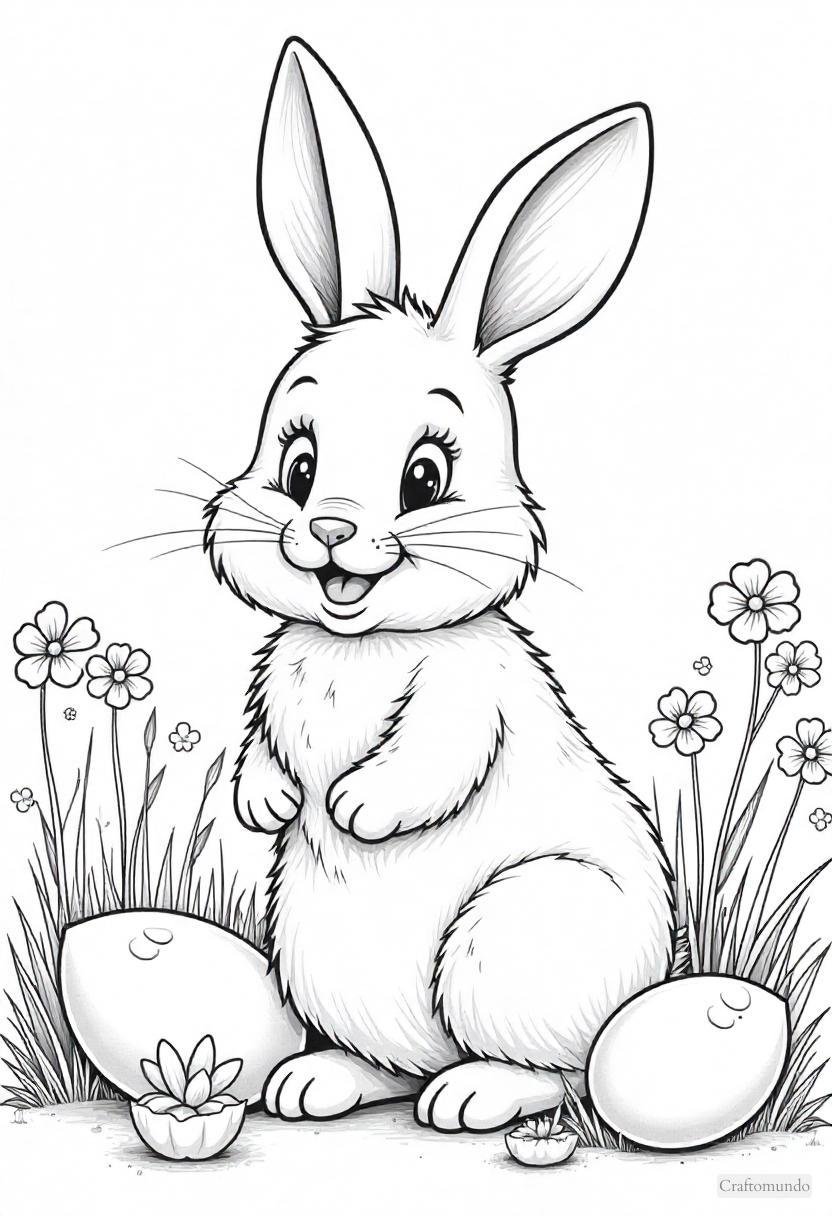
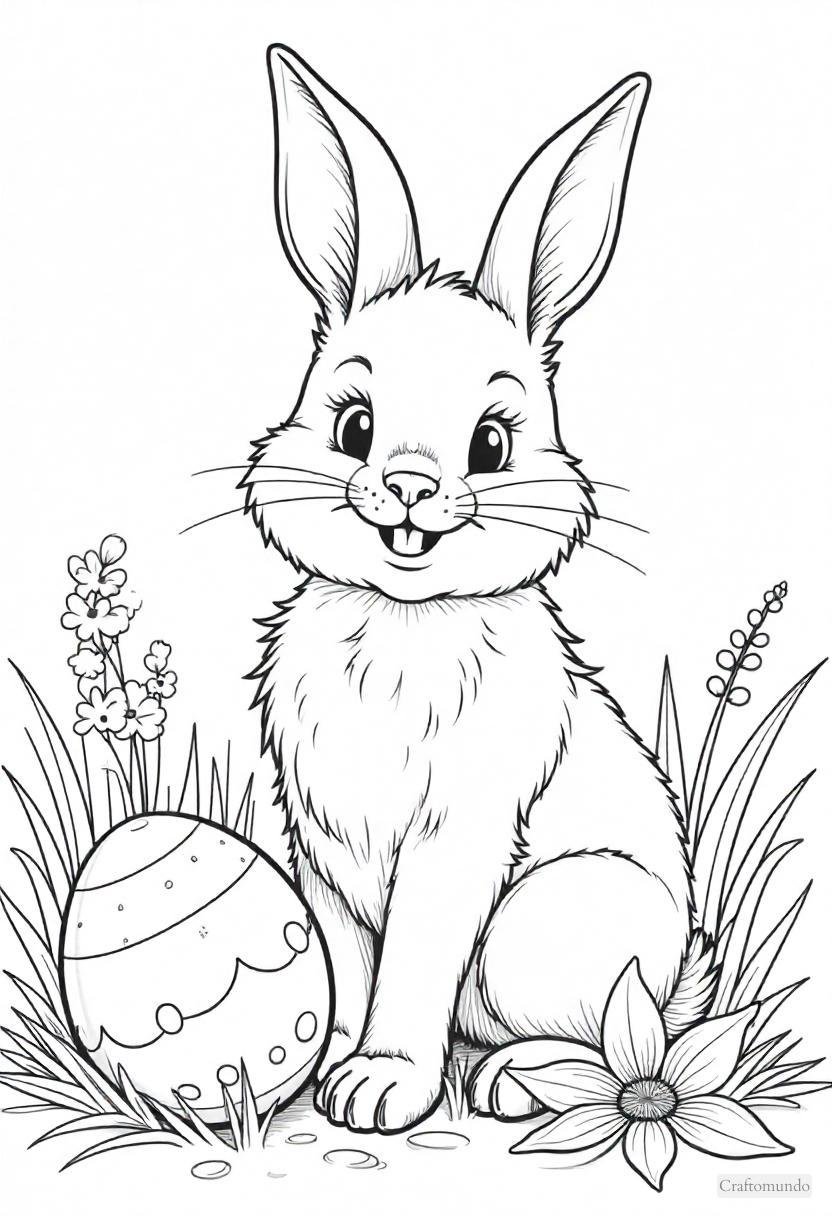
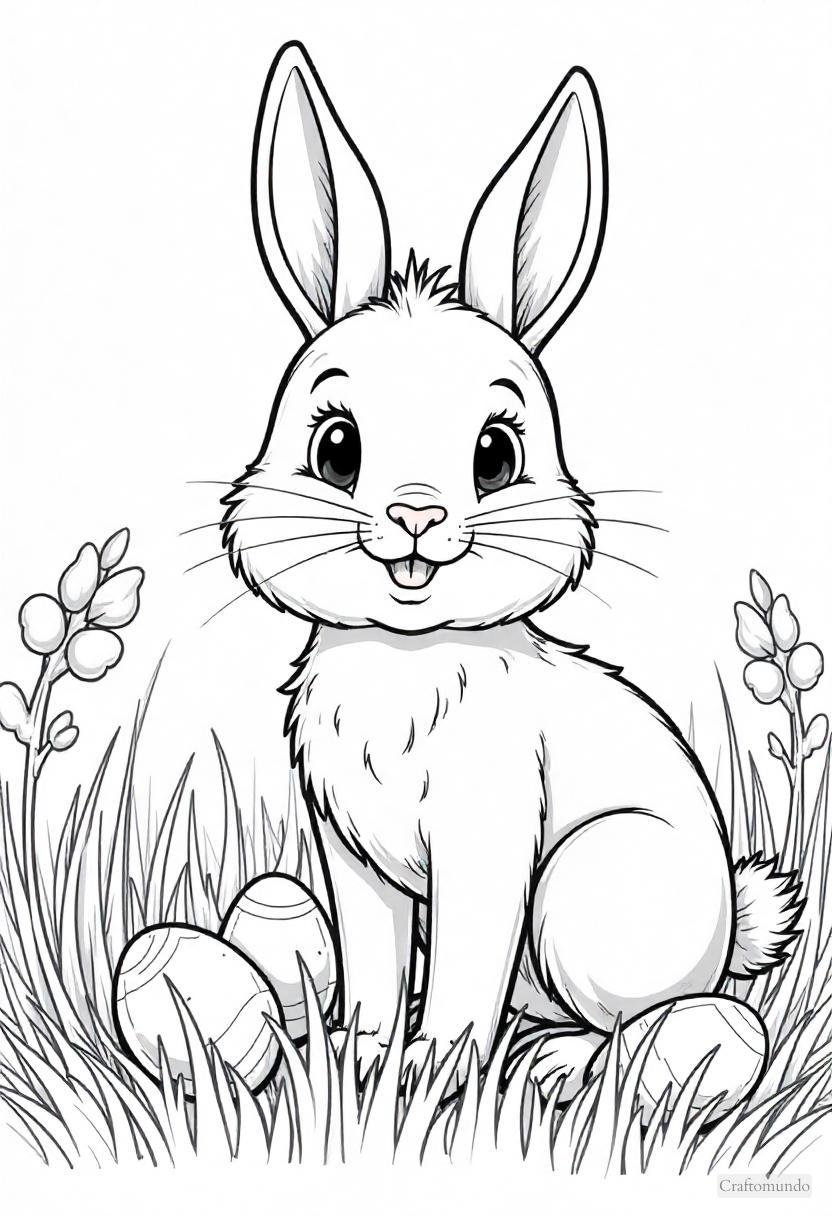
I’ve put together some adorable, whimsical, and downright charming Easter Bunny coloring pages for you to print, color, and enjoy.
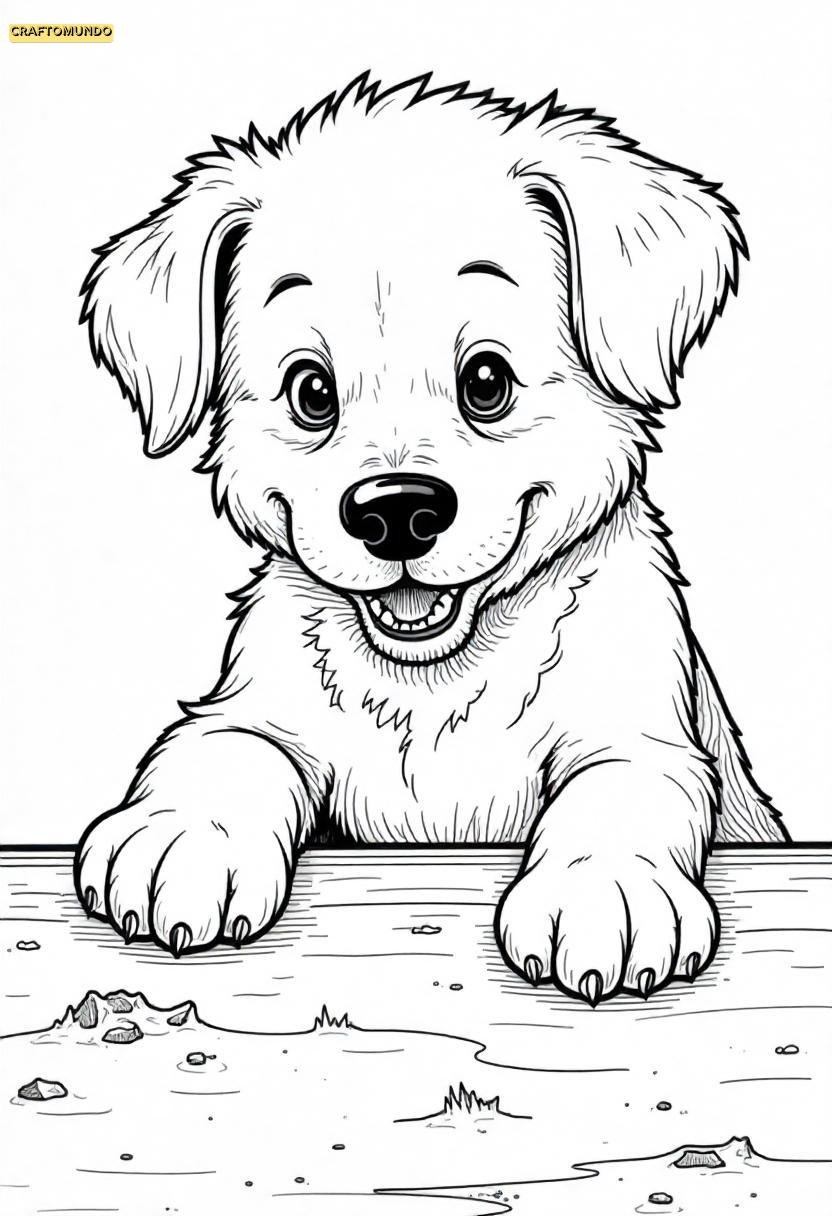
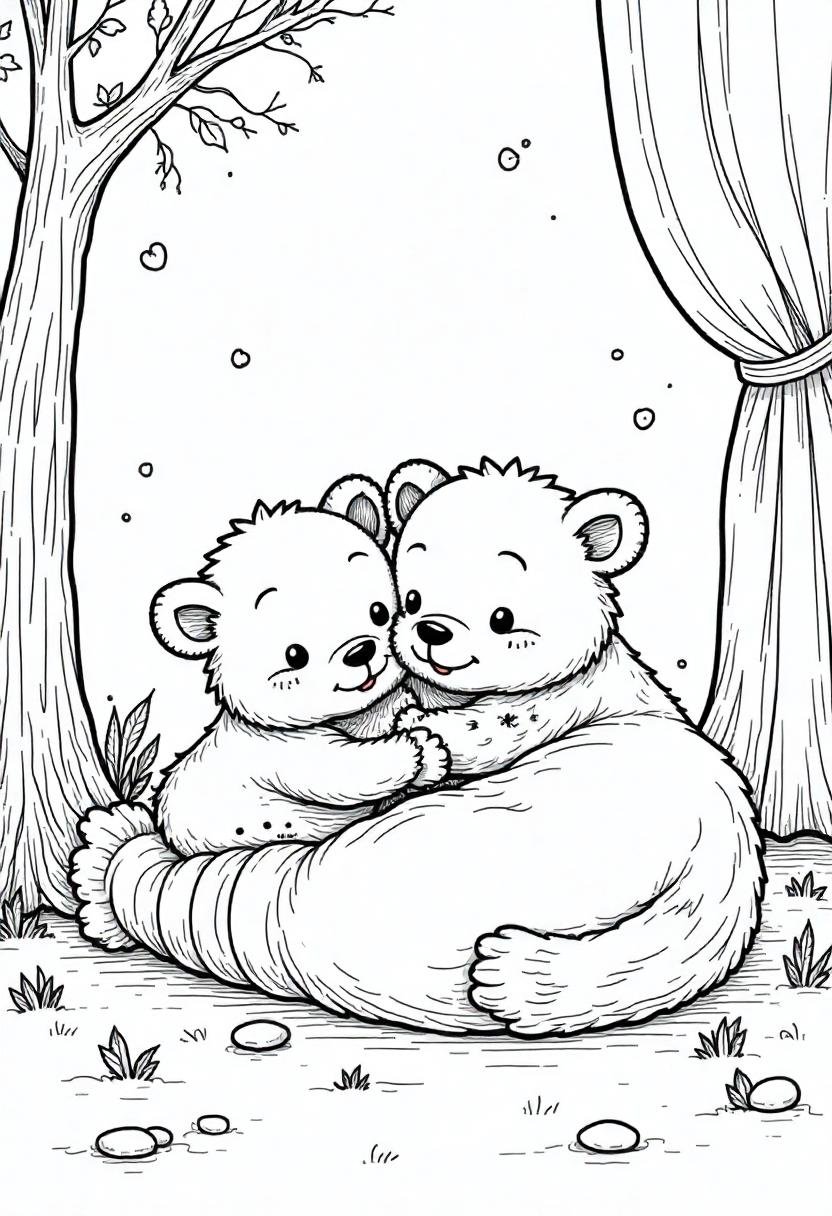
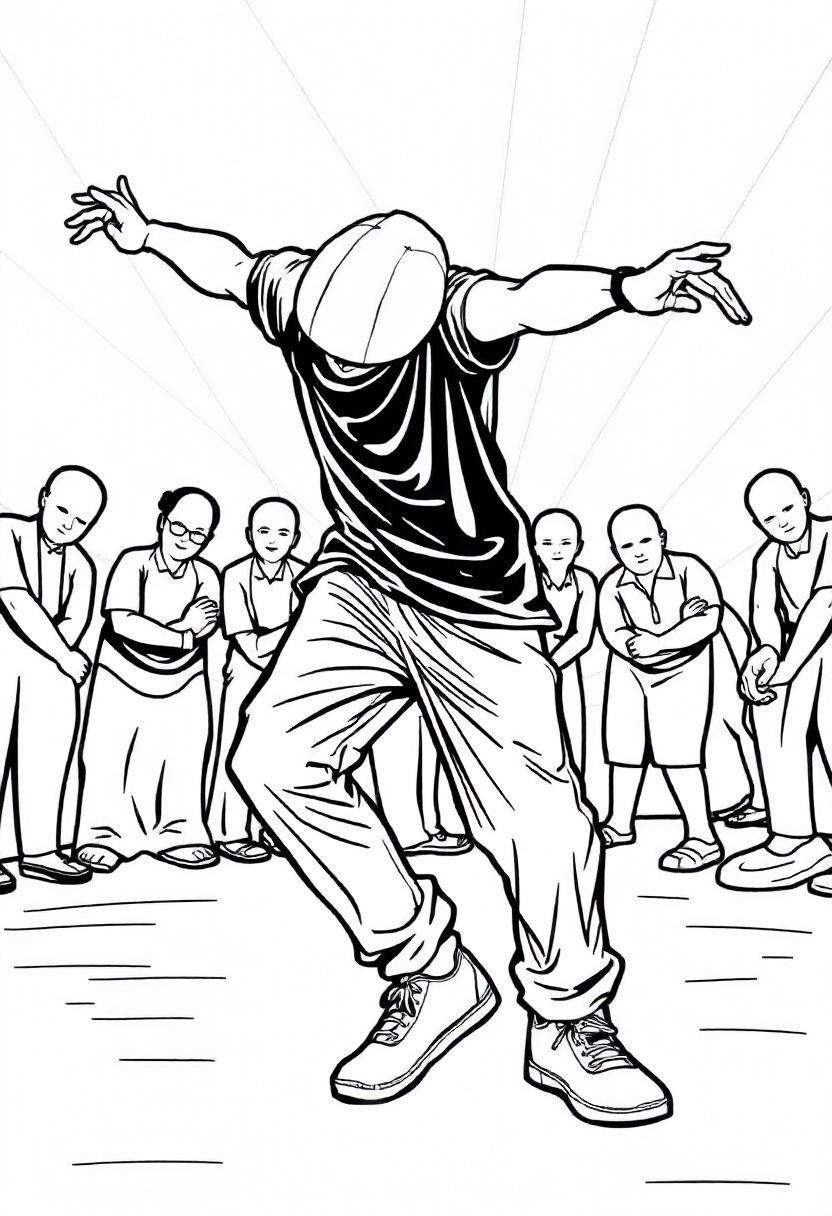
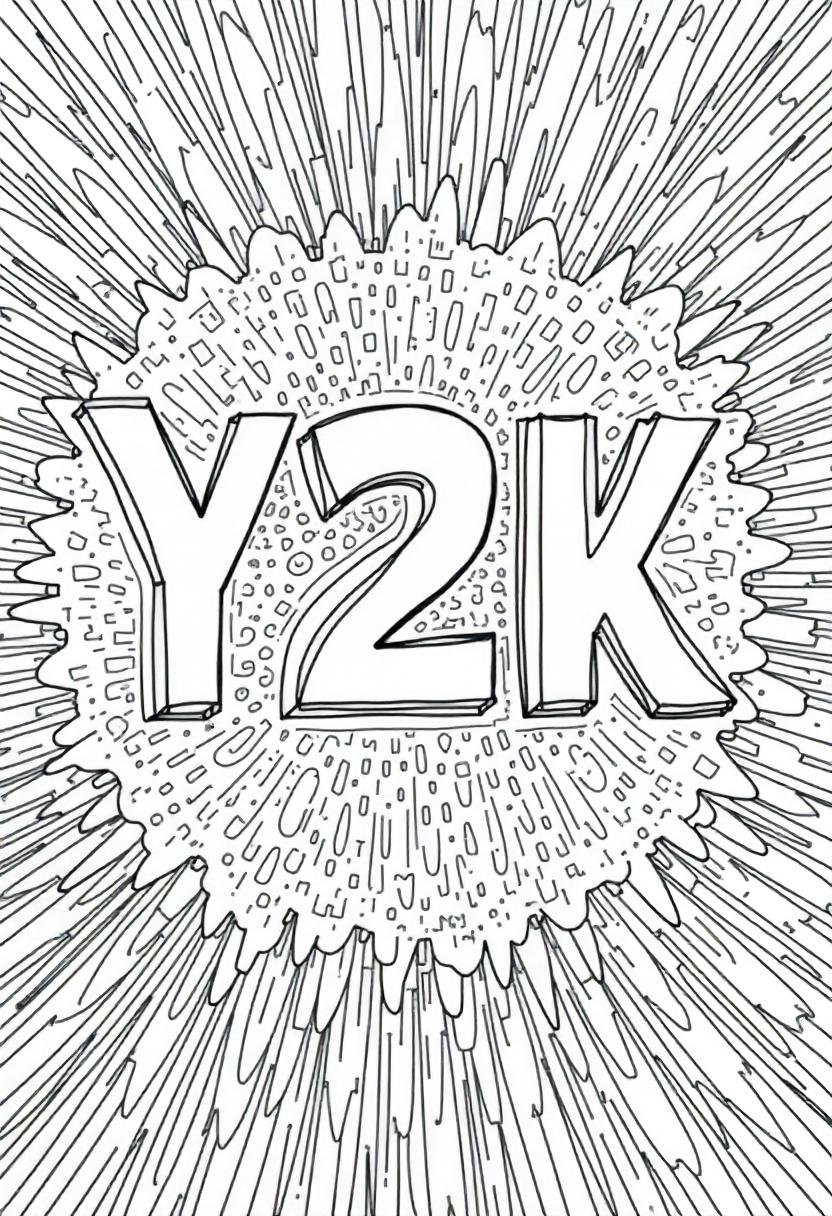
Whether you’re in the mood for cute bunnies in baskets, playful bunnies with eggs, or even some intricate designs that’ll keep you (or the kids) busy for hours, there’s a page here with your name on it.
So, grab your colored pencils, markers, or crayons—it’s time to bring these bunnies to life!
Ready to hop into the fun?
Let’s get started.
Easter Bunny Coloring Pages
1
2
3
4
5

6
7
8
9
10
11
12
13
14
15
16
17
18

19
20
21
22
23
24
25
26
Things To Keep in Mind While Coloring These Easter Bunny Coloring Pages
1. Choose Your Color Palette Wisely (Hello, Easter Vibes!)
Easter is practically synonymous with bright, pastel shades—soft pinks, sky blues, mint greens, and sunny yellows. But here’s the thing: you don’t have to stick to tradition. Your Easter Bunny coloring pages are your canvas, so while pastels are the classic route, why not shake things up a bit?
- Experiment with Neutrals: Think soft greys, warm creams, and cozy browns for the bunny fur. These shades can add a lifelike touch to your fluffy friend.
- Add Pops of Bold Color: Choose a couple of bold shades like teal, magenta, or orange to add unexpected accents to eggs, ribbons, or baskets. Trust me, these punches of color make your pages stand out.
- Try a Monochromatic Theme: Pick a single color and use different tones of it—light pink, hot pink, rose, fuchsia—for a chic and modern Easter look.
Tip: Before you start coloring, test your shades on a scrap piece of paper to see how they blend and complement each other. It’ll save you from any mid-page regret!
2. Layer and Blend for Professional Results
If you really want to level up your coloring game, layering is the secret weapon you need. It adds depth, dimension, and a professional finish to any page—even the simplest bunny doodles.
Here’s how it works:
- Start with a light base layer of color. Use a gentle hand and build up the shade slowly.
- Add a darker tone around the edges, folds, or shadowed areas to create depth.
- Finally, use a blender pencil, cotton swab, or even your fingertip to gently smudge and blend the colors together for a seamless finish.
For markers, try overlapping lighter and darker shades to get a smooth gradient. If you’re using crayons or colored pencils, remember: small circular motions are your friend for even coverage.
Pro Tip: Don’t rush the process! Layering takes a little patience, but the result is SO worth it.
3. Get Creative with Textures
Who says you have to color everything perfectly flat? Adding textures can make your Easter Bunny look extra fluffy, your eggs more realistic, and your baskets downright artistic. Here are some easy techniques to try:
- Stippling: Use small dots to create a textured, soft fur effect on your bunny. The closer the dots, the darker the area will appear.
- Hatching and Cross-Hatching: Draw thin lines (straight or crisscrossed) to add texture to baskets, bunny ears, or egg decorations.
- Scribble Shading: Loosen up! Use controlled, overlapping scribbles to shade areas like bunny fur or grass for a more natural look.
- White Highlights: Grab a white gel pen or pencil and add highlights to the bunny’s nose, eyes, or ribbons. These tiny details make your page pop.
Textures bring your coloring to life and give each page a unique, handcrafted feel. Plus, they’re ridiculously fun to experiment with!
4. Add a Background (Because the Bunny Needs a Scene!)
Let’s face it—a beautifully colored Easter Bunny deserves more than just a blank white background. Adding scenery or a simple splash of color can elevate your entire page.
- Soft Pastel Background: Use soft blues or greens to create an Easter morning sky or grassy field. Blend with a tissue or cotton ball for a dreamy effect.
- Simple Patterns: Draw easy patterns like polka dots, stripes, or little flowers to create a charming backdrop without overwhelming the bunny.
- Full Scenes: Get creative! Add a picnic blanket, a basket full of carrots, or a garden of colorful tulips. Your imagination is the limit.
- Fading Edges: If a full background feels like too much, lightly shade the edges of your page with a soft color (like light blue or pink). It frames your artwork without stealing the spotlight.
Pro Tip: If you’re nervous about adding a background freehand, sketch it lightly with a pencil first, then go over it with your colors.
5. Mix and Match Your Coloring Tools
Here’s a little secret: you don’t have to stick to just one type of coloring tool. In fact, mixing supplies can take your artwork to the next level!
- Colored Pencils + Markers: Use markers for bold, flat areas of color, then go in with colored pencils for fine details and shading.
- Watercolor Pencils: These are magic! Color with them like regular pencils, then lightly brush over the area with water to create a soft, painted effect.
- Gel Pens: Use gel pens to add shiny details like sparkles on eggs, ribbons, or bunny noses.
- Crayons + Blending Tools: If you’re coloring with kids (or just love crayons), use blending stumps or tissues to smooth out any waxy lines for a polished finish.
The combination of different textures and effects will make your Easter Bunny coloring pages truly one-of-a-kind.
6. Personalize It and Make It Yours
At the end of the day, these coloring pages are yours, and that means you get to add your own flair. Whether you’re coloring for relaxation, bonding time with the kids, or a little creative outlet, don’t be afraid to get personal.
- Add Names or Messages: Turn your page into a mini Easter card by adding your name, a message, or even the date.
- Decorate with Stickers: Who says you can’t add stickers? Glittery eggs, tiny flowers, or Easter bunnies can bring your page to life.
- Frame Your Favorite Pages: Once you’re done, display your masterpiece! Pop it in a frame or hang it up on the fridge for everyone to admire.
- Use It for Craft Projects: Colored pages make awesome DIY crafts. Turn them into Easter cards, gift tags, or even cut-out bunny garlands to decorate your home.
The more you personalize, the more your artwork feels like you. And isn’t that the whole point of creative time?
Time to Hop to It!
Coloring is one of those simple pleasures in life that never gets old. Whether you’re spending a quiet afternoon filling in Easter Bunny ears with pastel shades or getting the whole family involved for a coloring contest, these tips will help you create something truly special.
Remember, there’s no right or wrong way to color. The most important thing is to relax, enjoy the process, and have fun. So, pick your favorite page, grab those coloring supplies, and let your creativity hop to new heights.
Happy coloring, and Happy Easter!