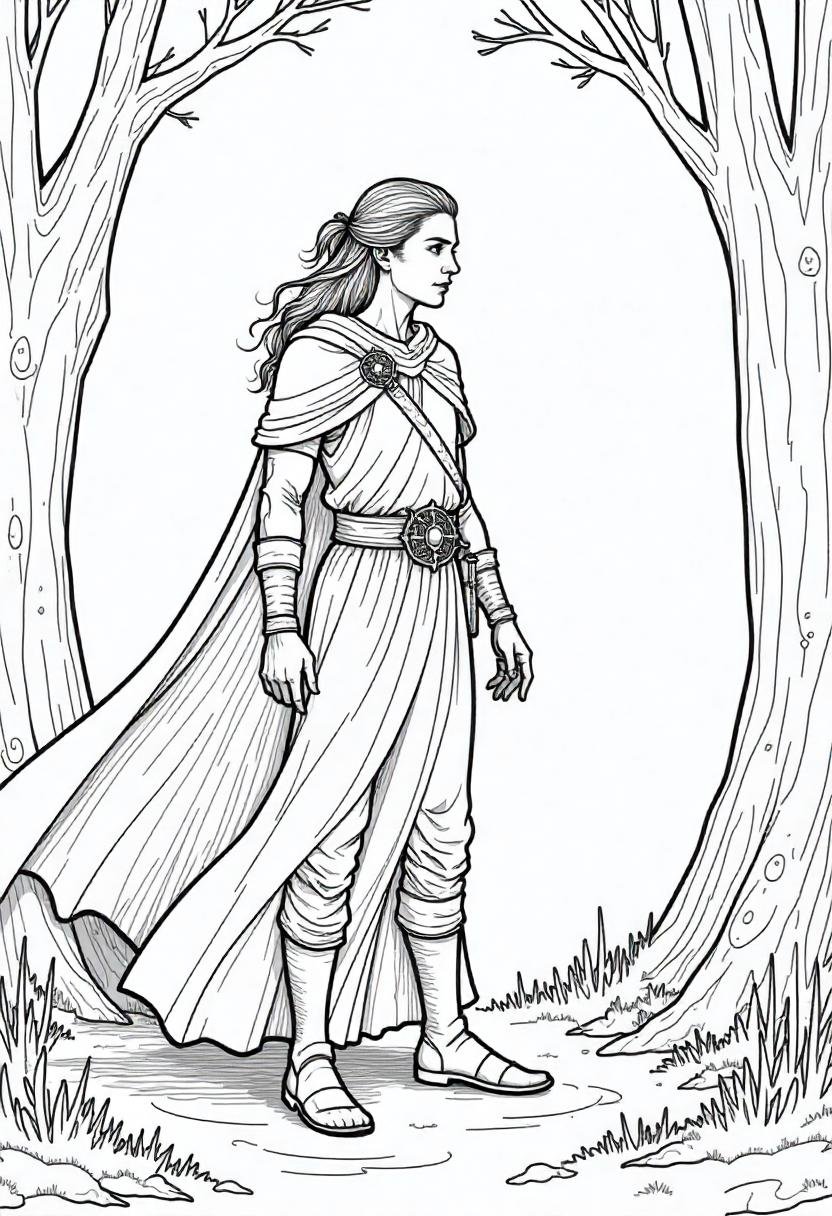
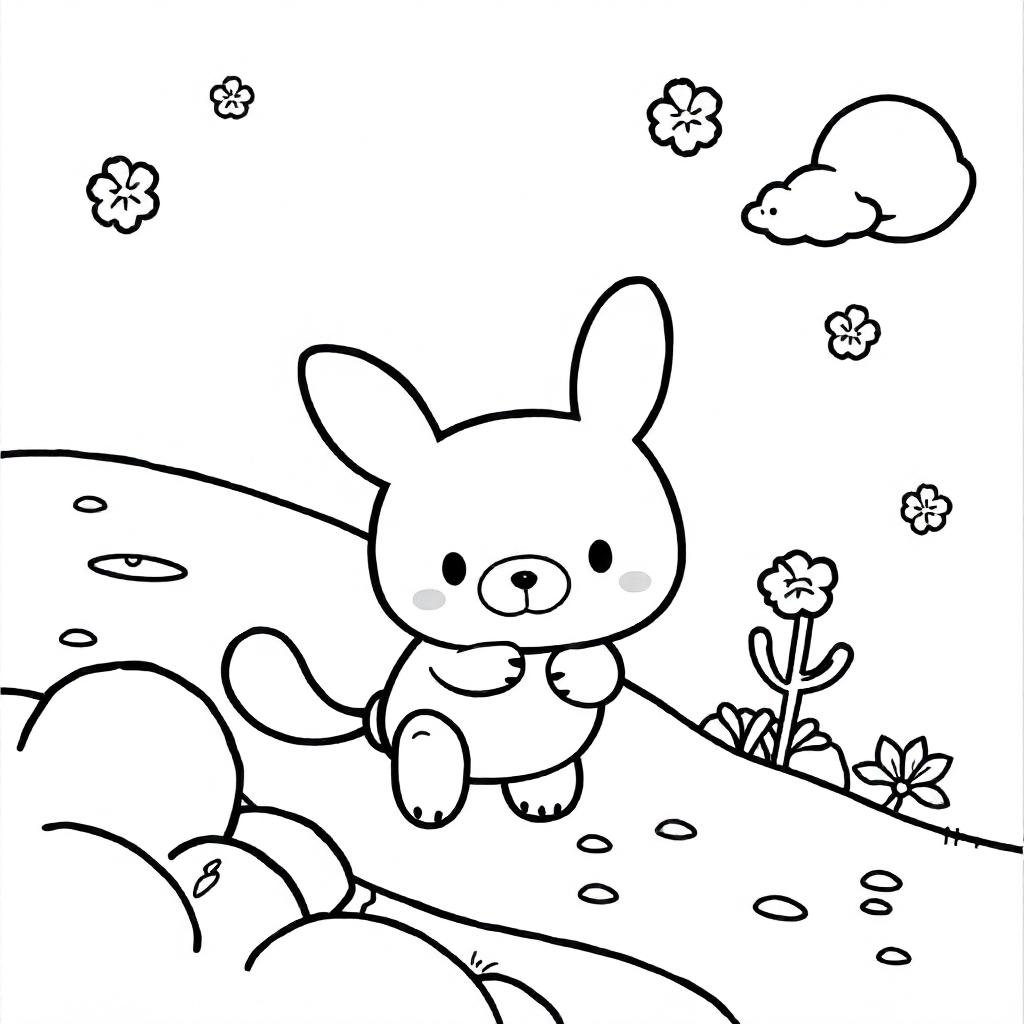
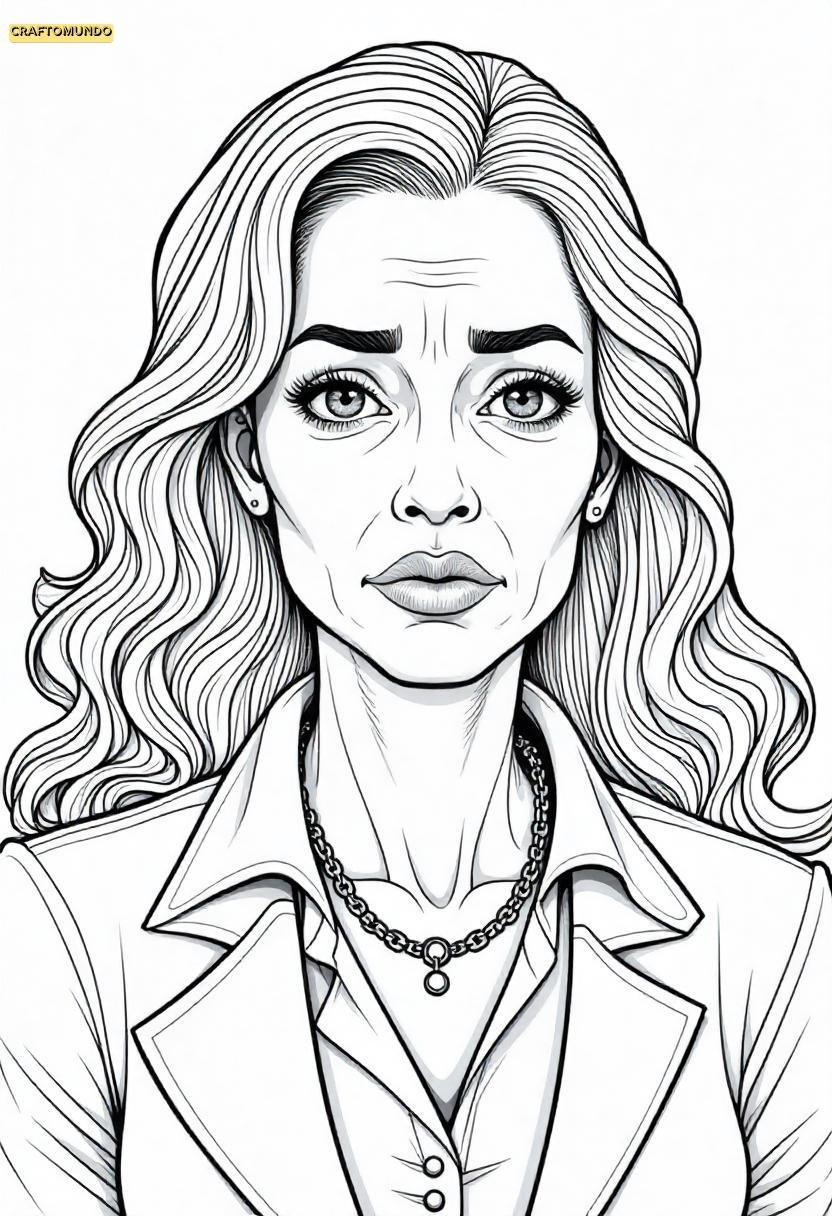
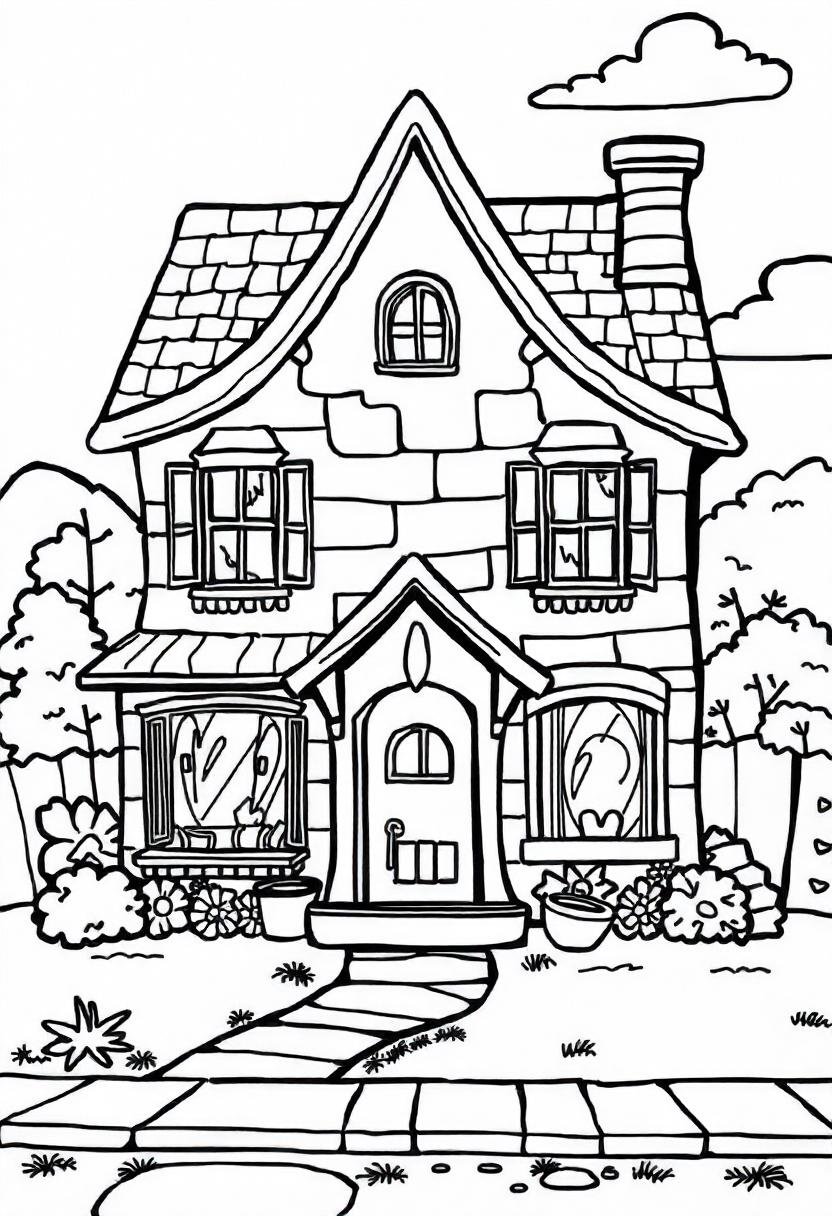
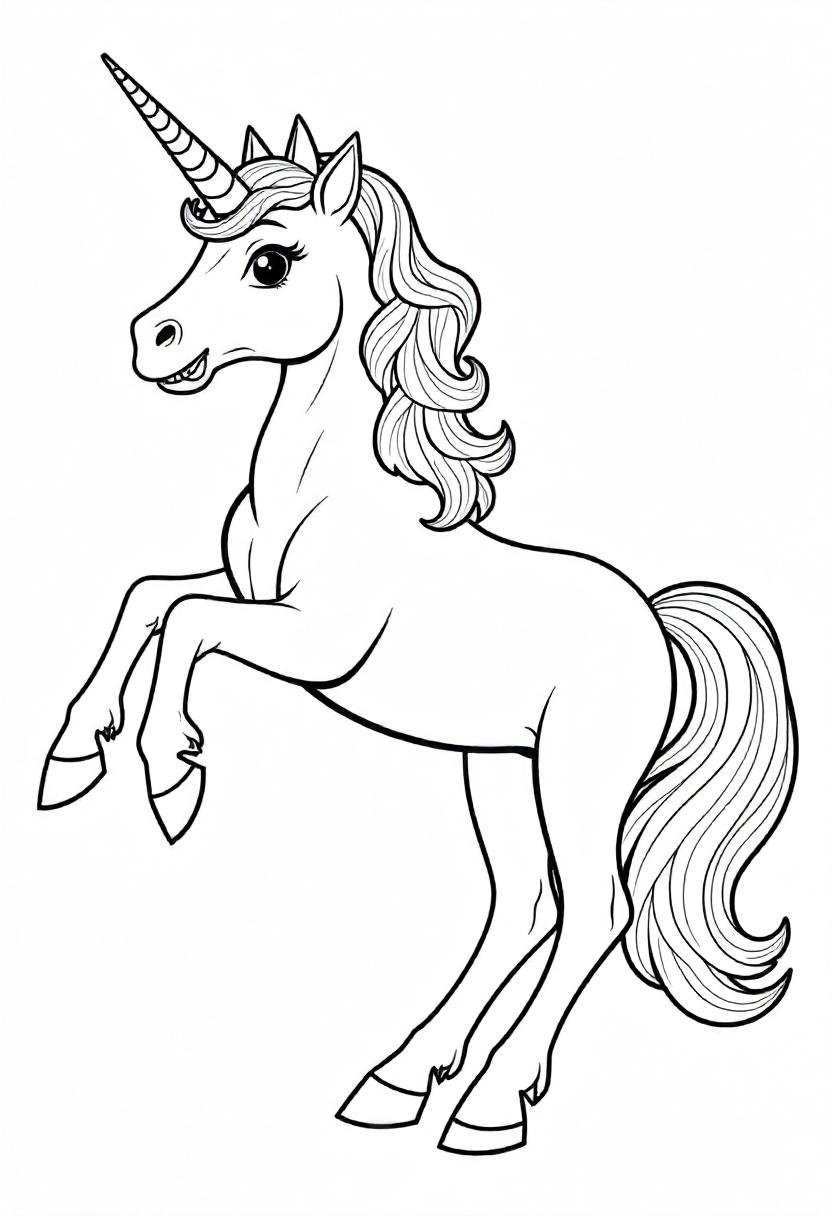
25 Disney Coloring Pages
I don’t care how old you are—Disney is magic, period.
There’s just something about those characters, those stories, that unshakeable nostalgia that keeps us all hooked. And here’s the deal: coloring Disney characters is basically therapy disguised as fun.
Whether you’re a kid, a parent looking for 10 minutes of peace, or a grown-up who refuses to let go of your childhood (hi, welcome to the club), these Disney coloring pages are exactly what you need.
We’re talking princesses, talking animals, iconic scenes—basically, the entire Disney vault at your fingertips, waiting for you to bring them to life with a splash of color.
Trust me, it’s going to be epic.
Disney Coloring Pages
1
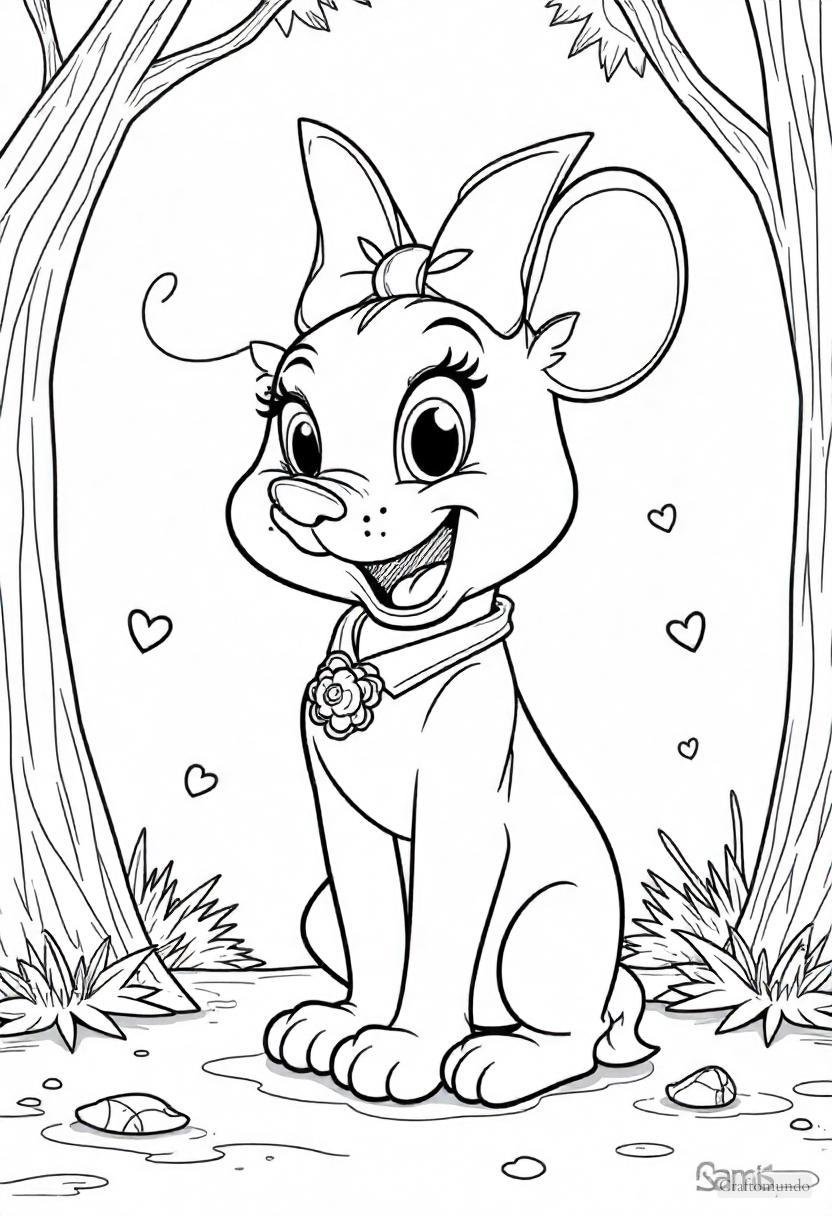
2
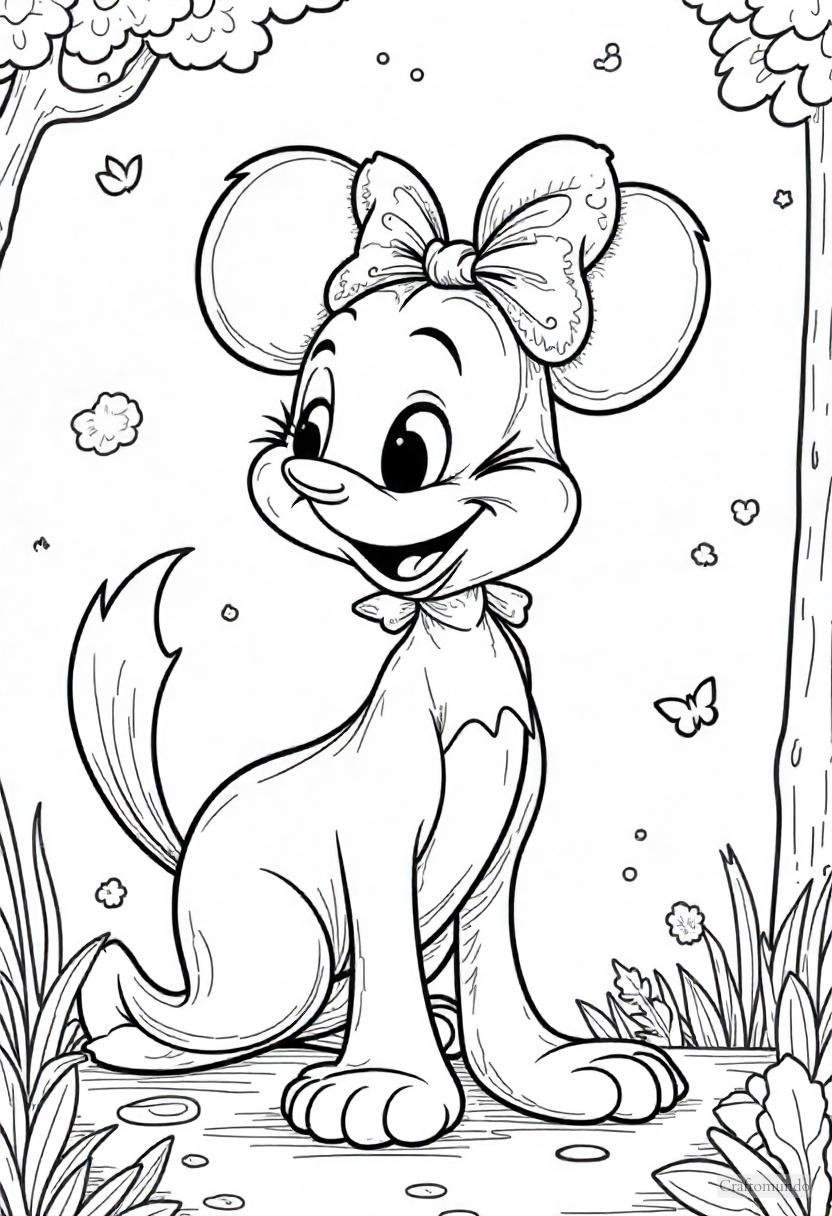
3
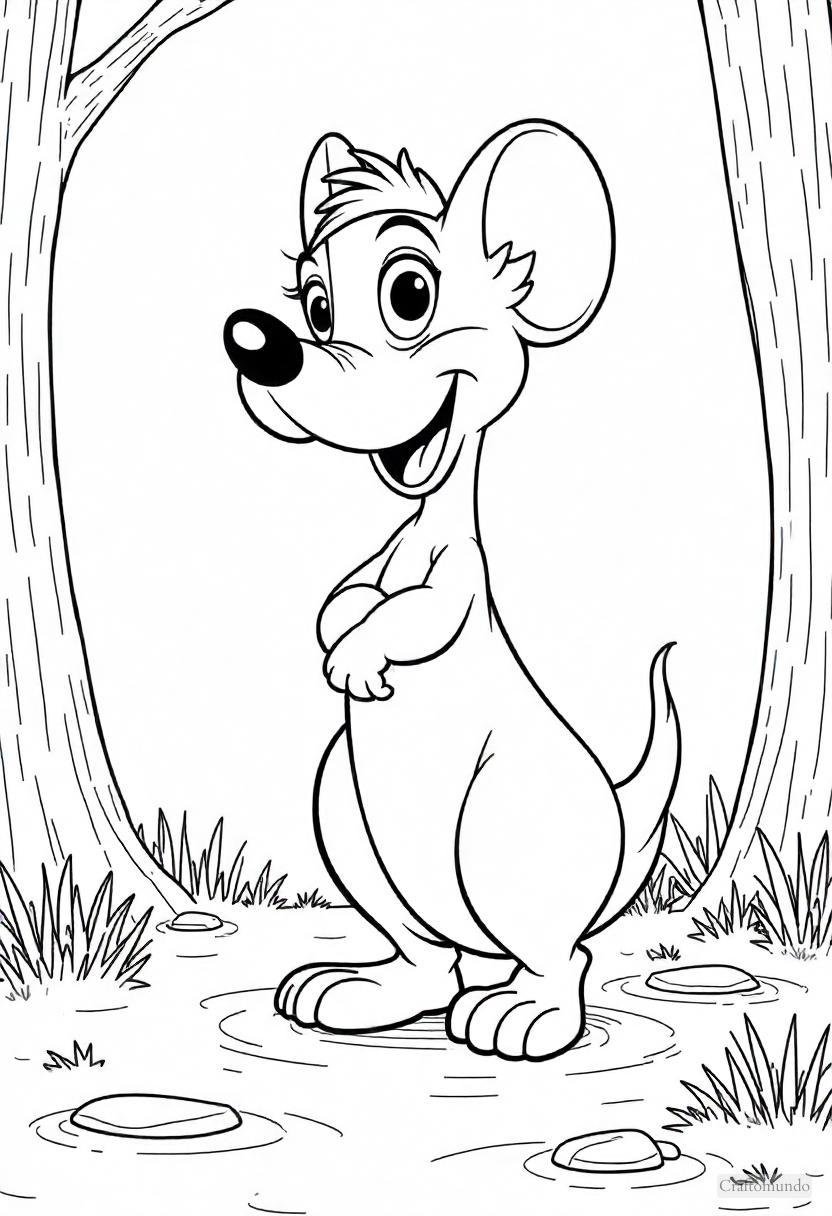
4
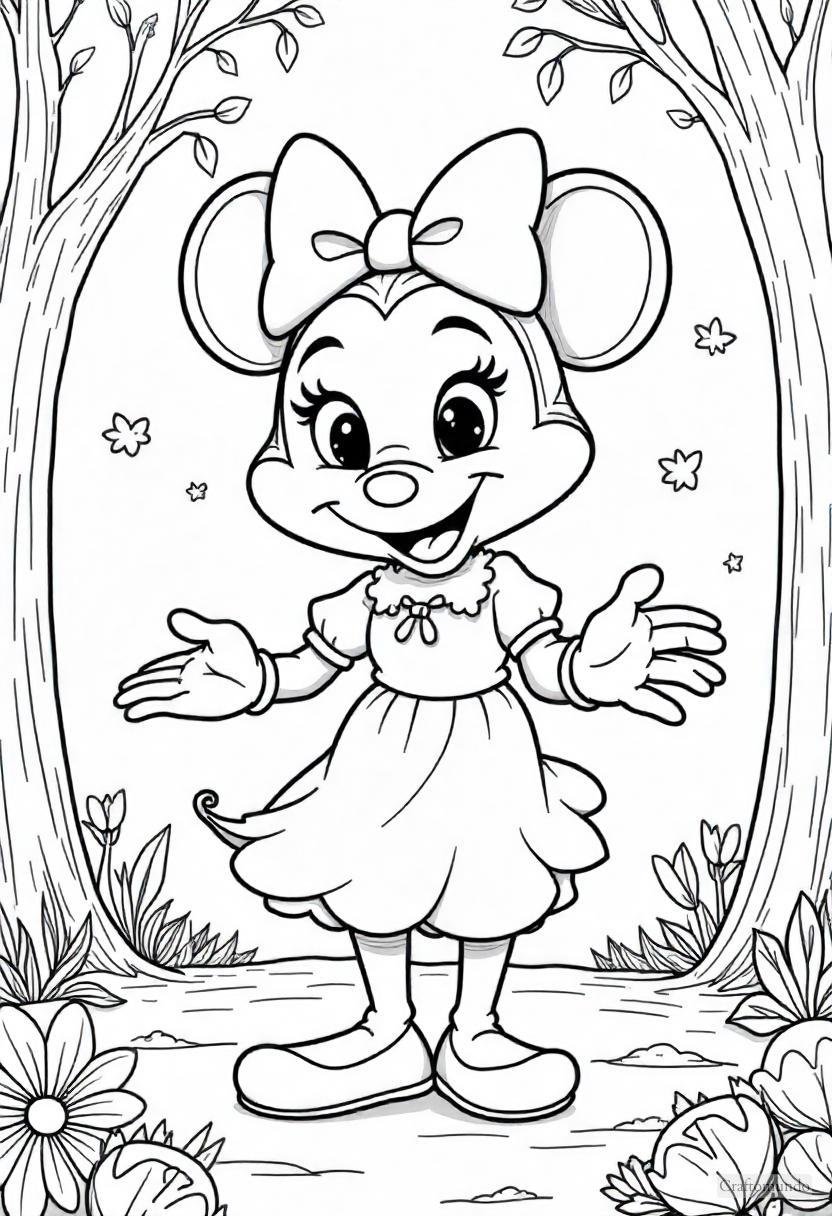
5
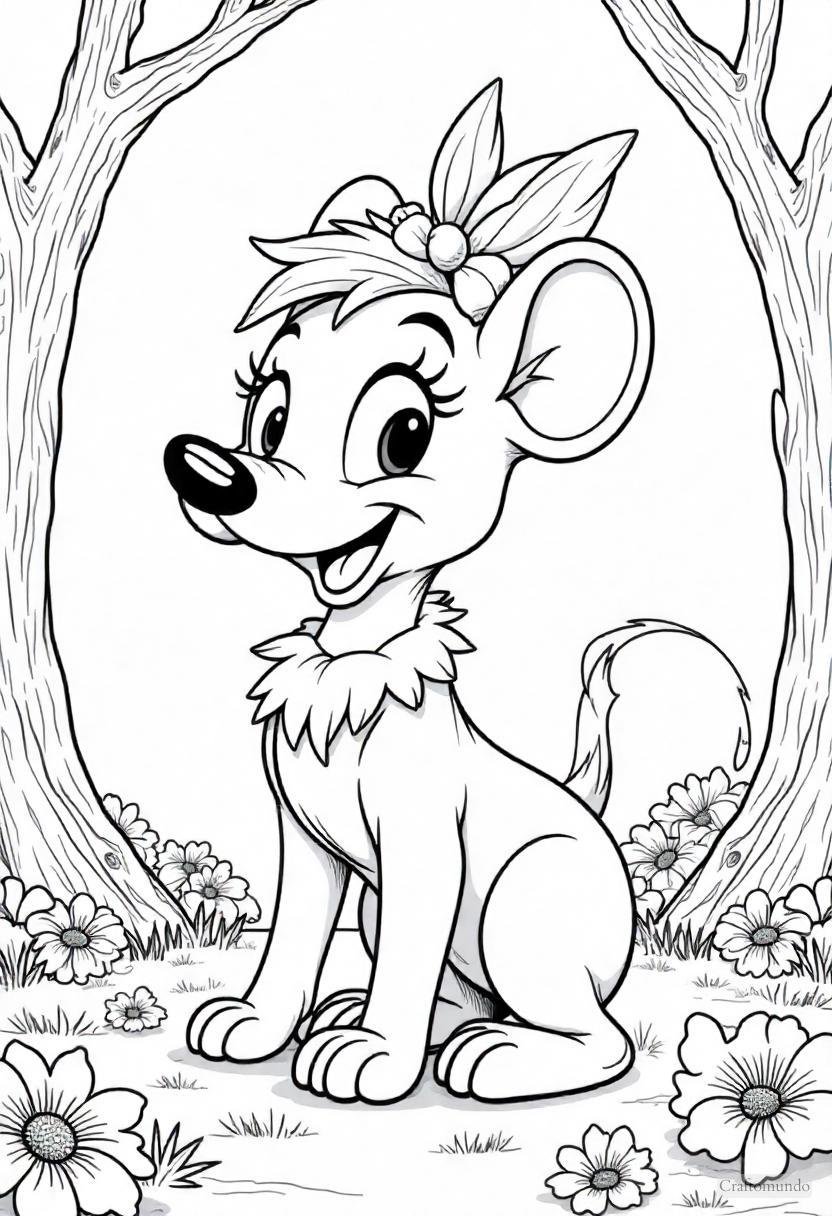
6
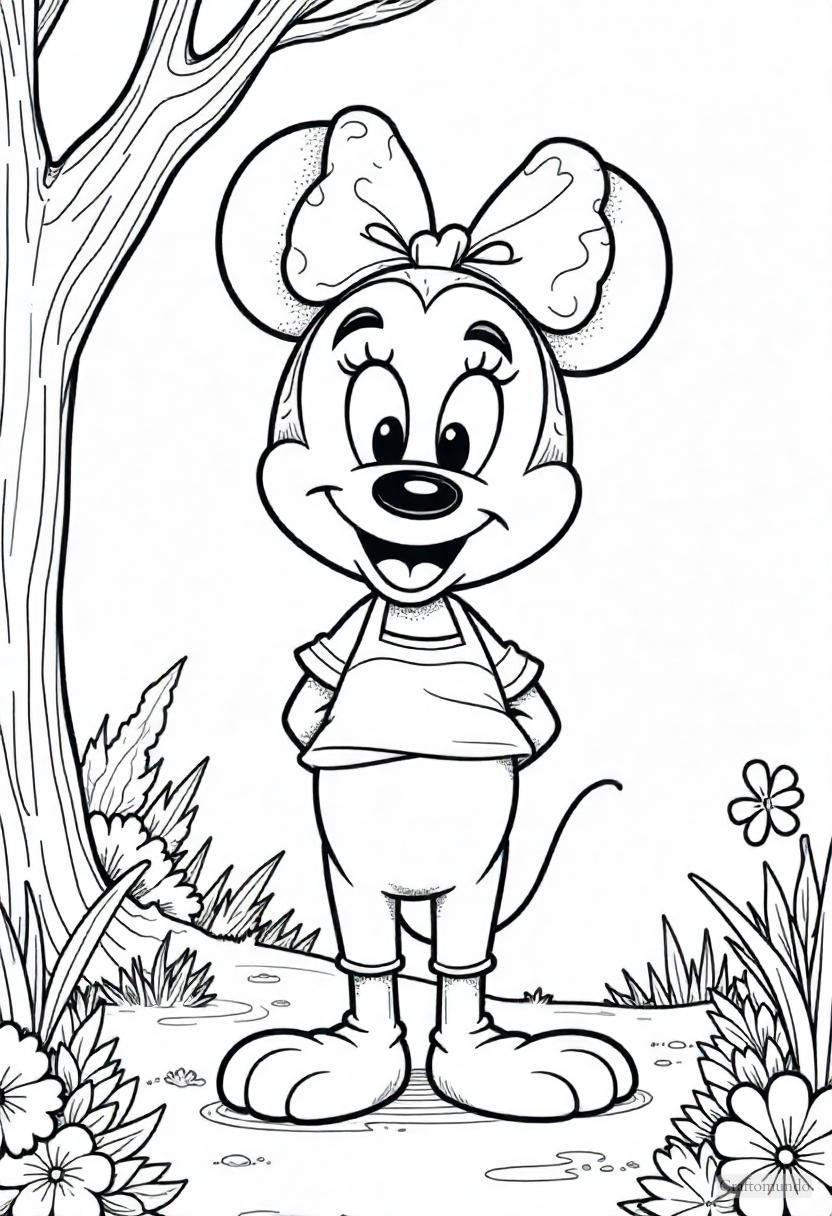
7
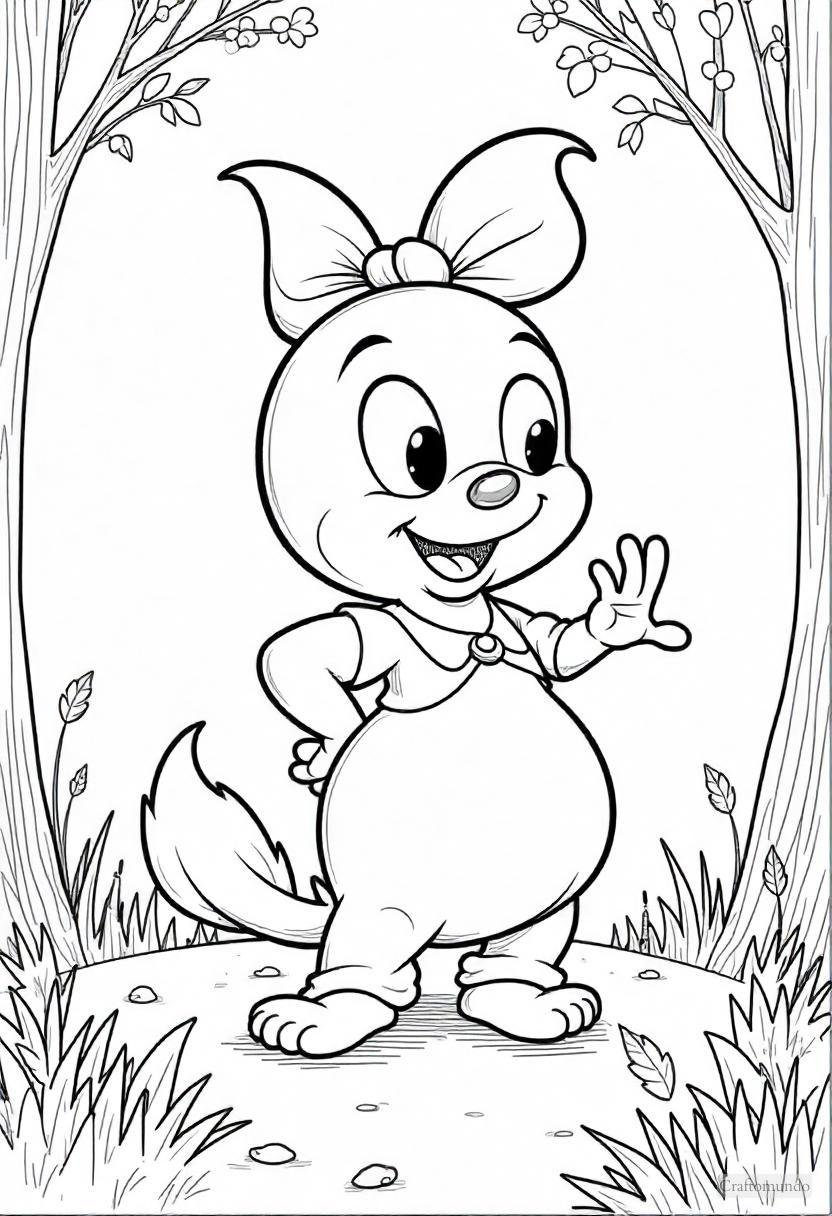
8
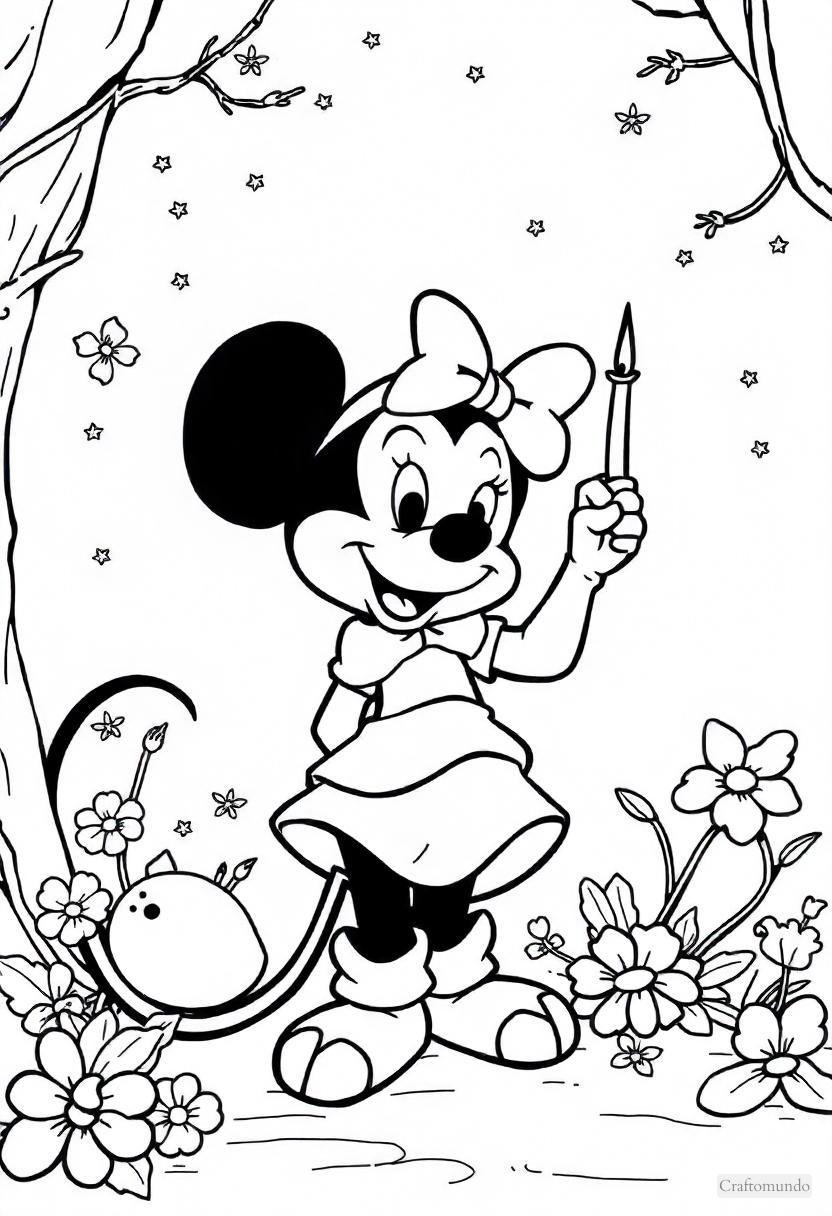
9
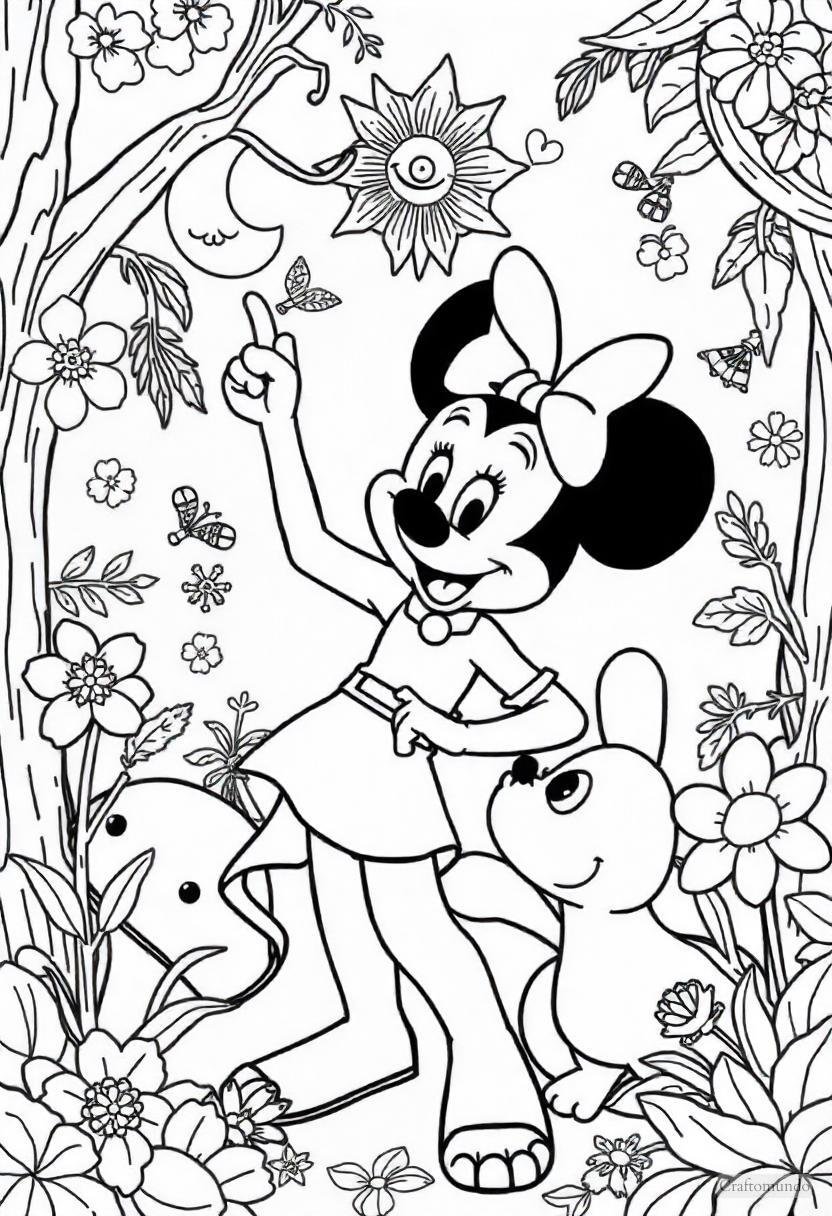
10
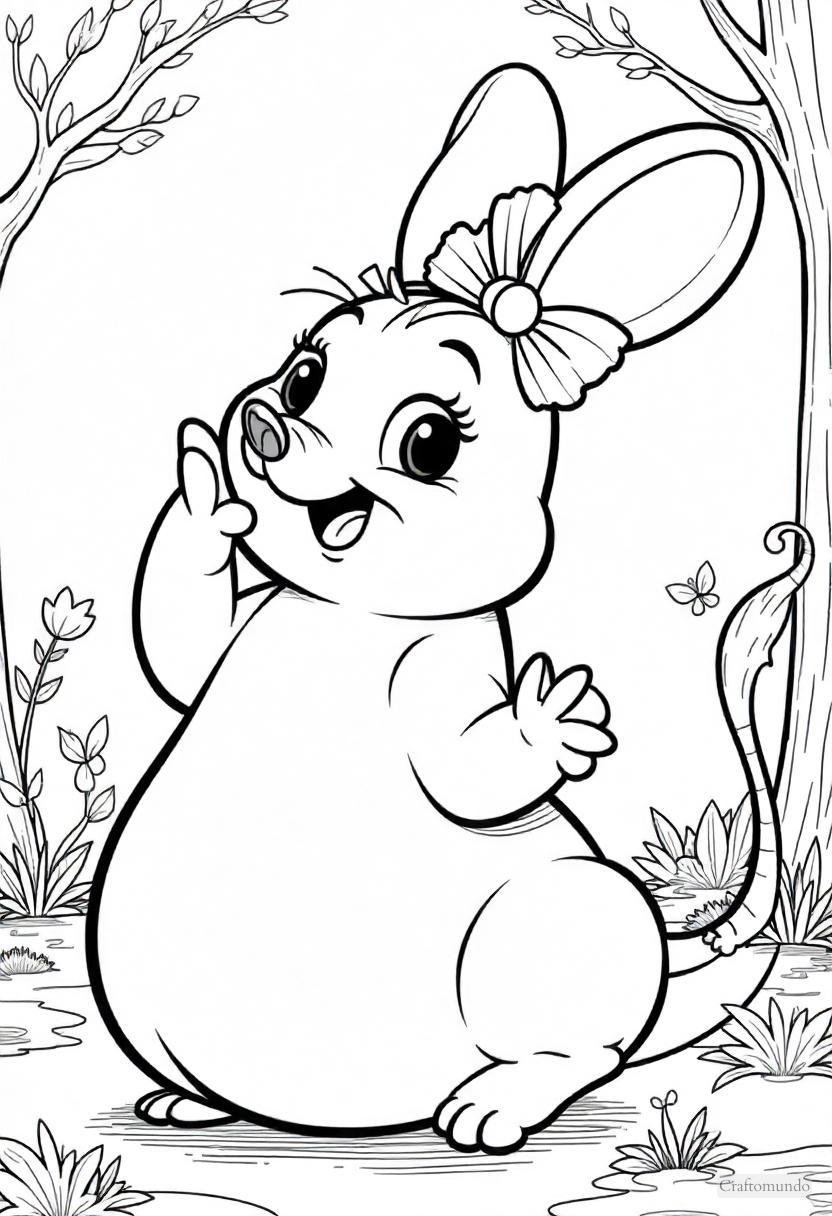
11
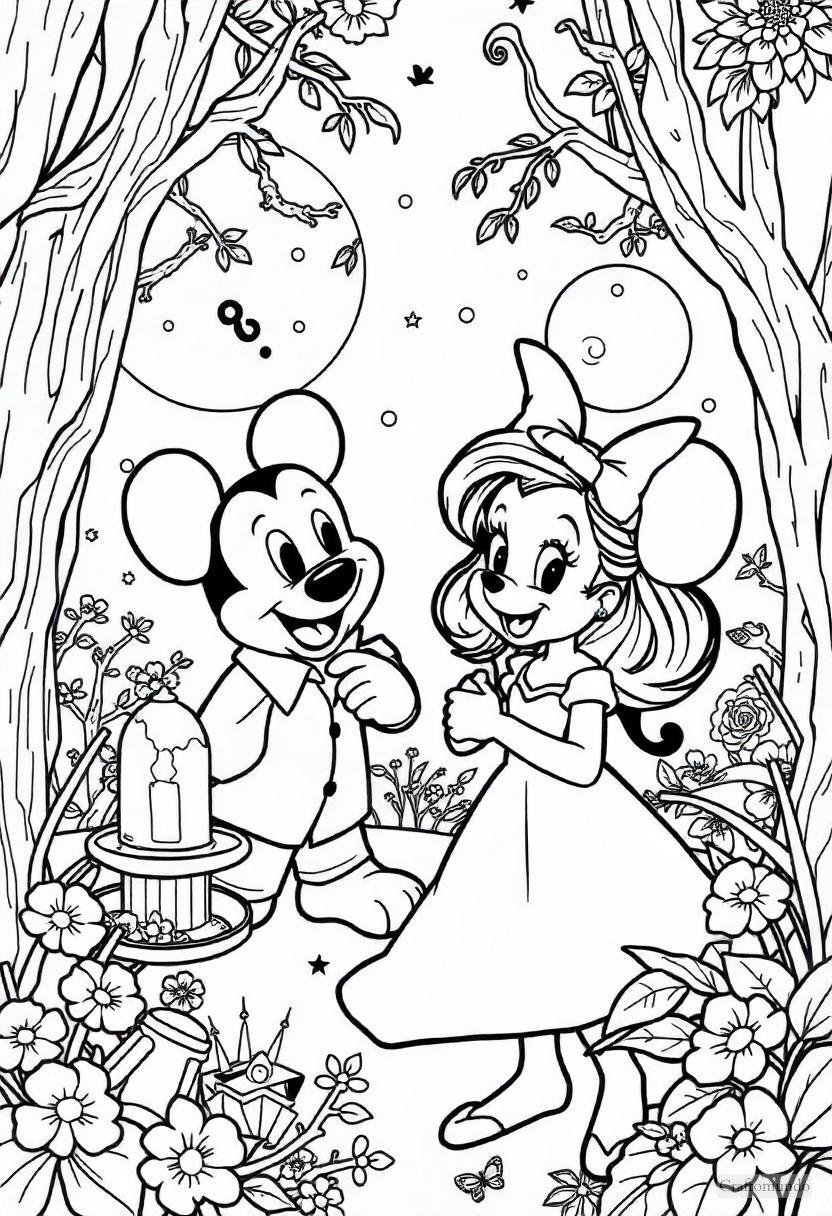
12
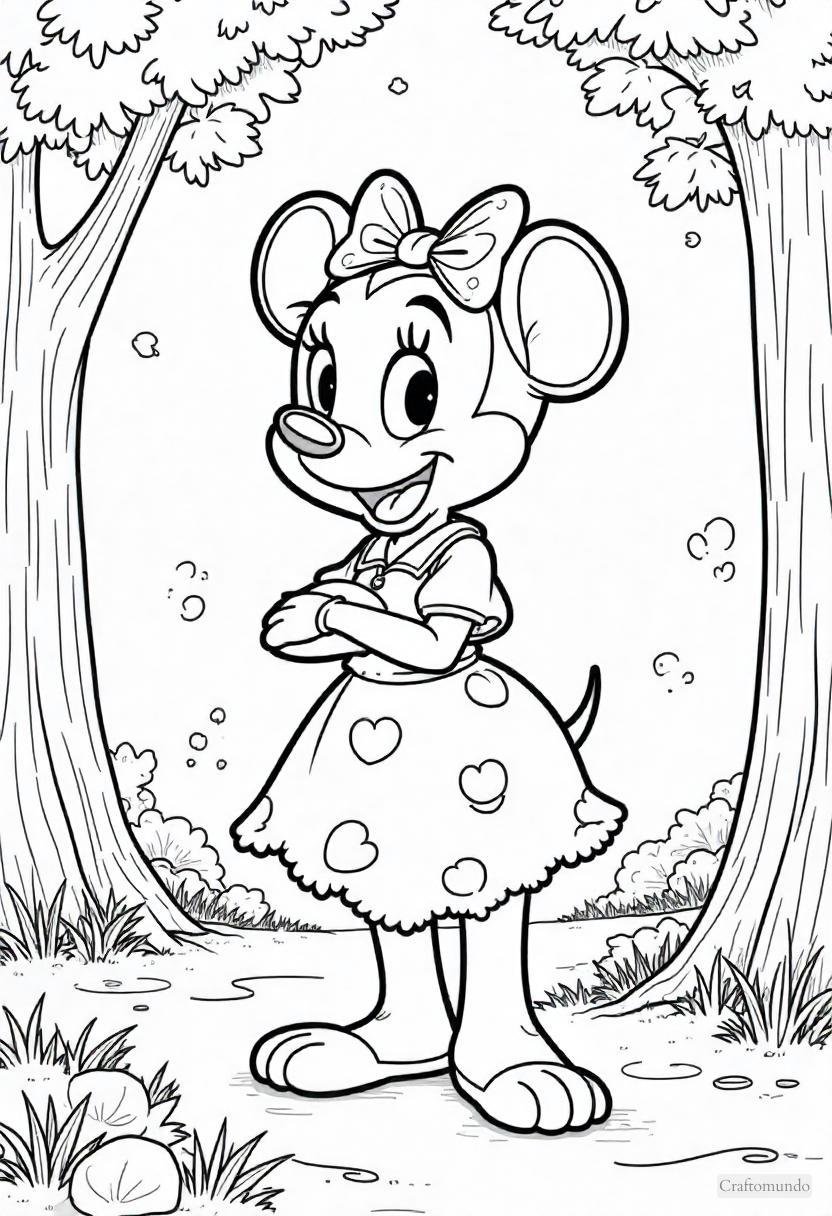
13
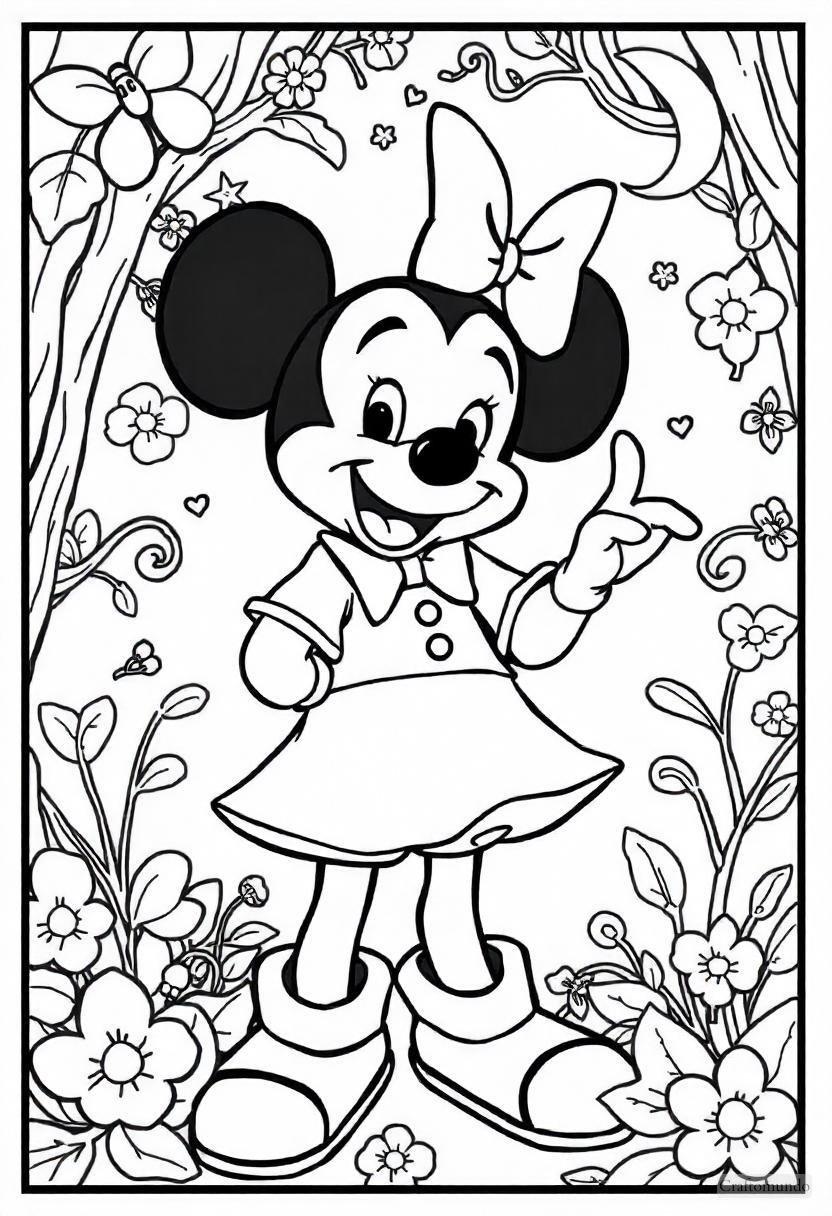
14
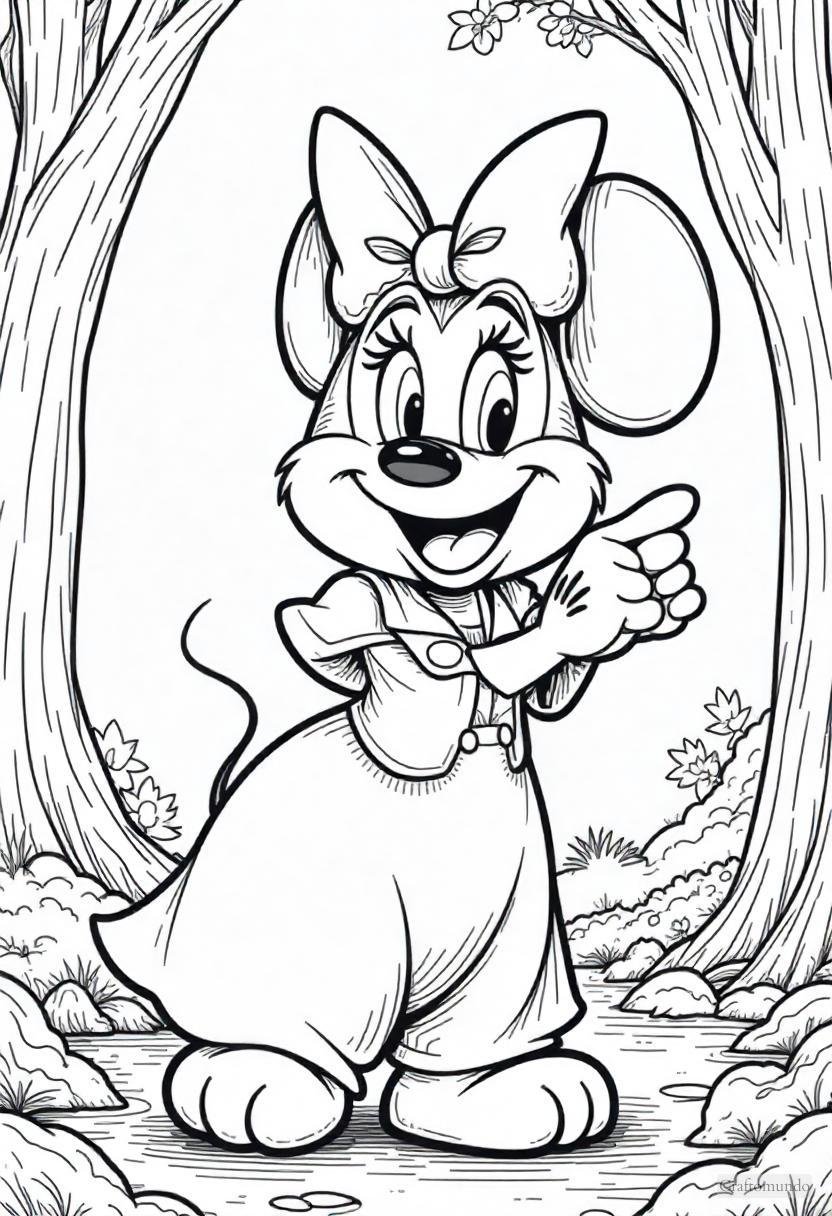
15
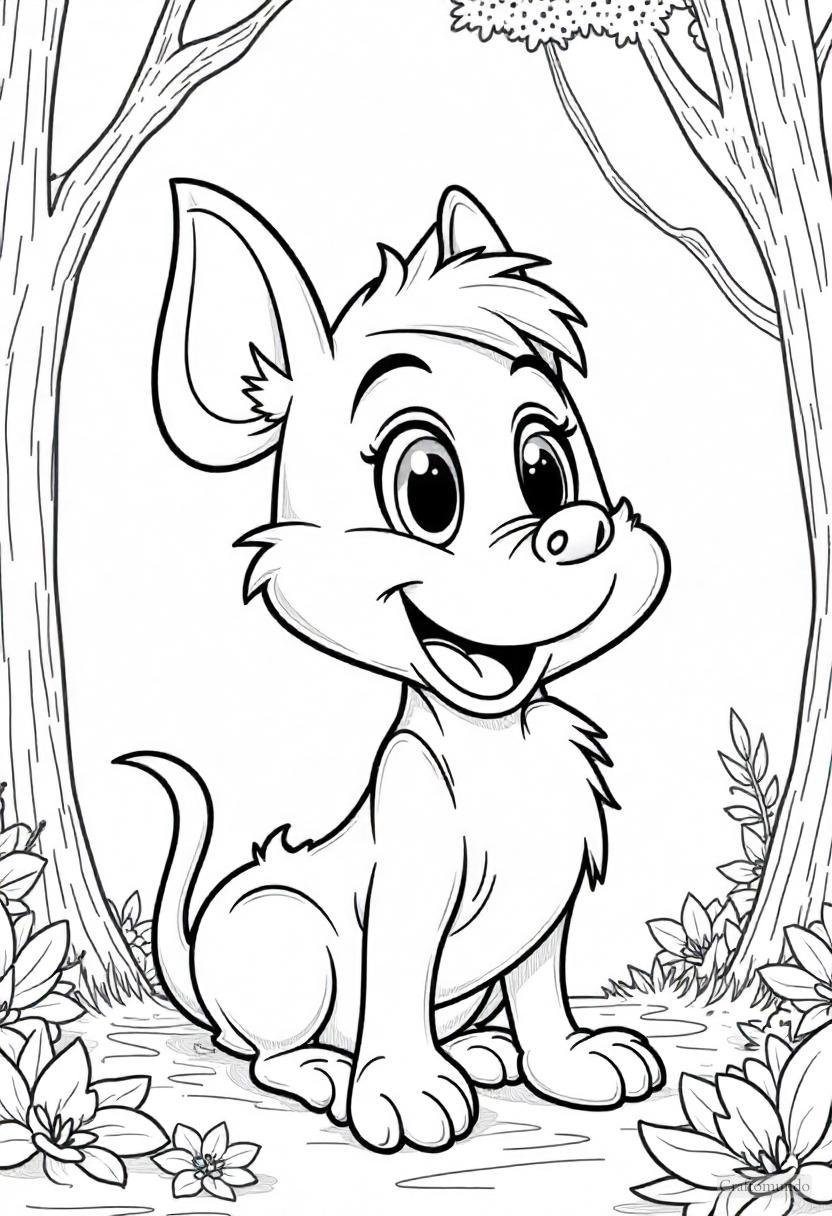
16
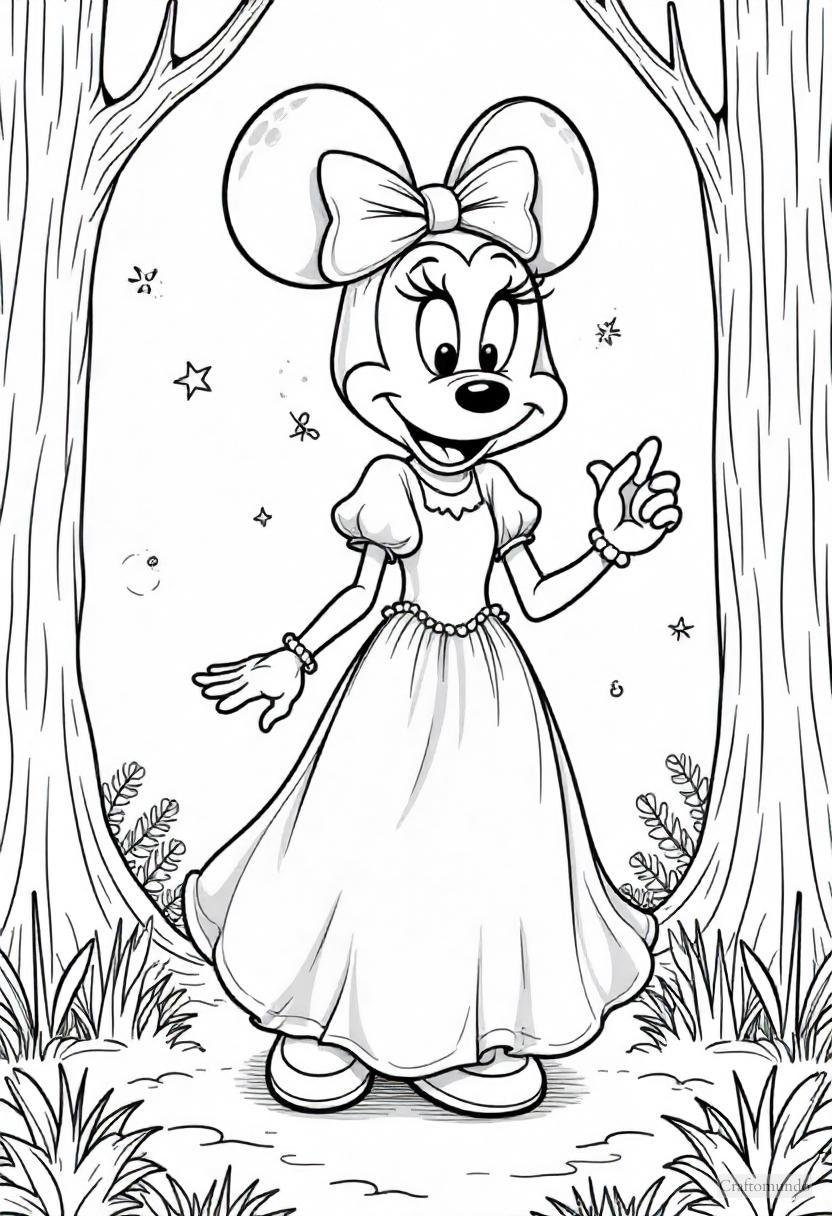
17
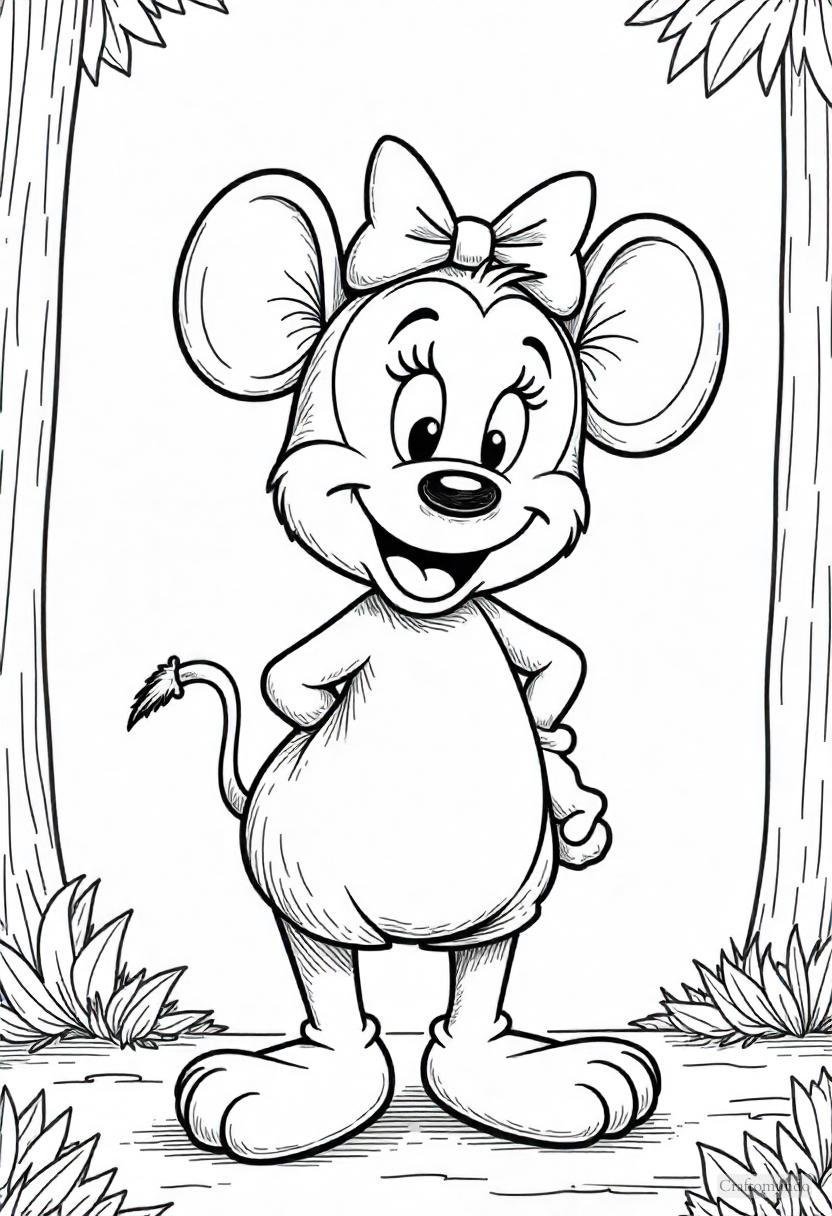
18
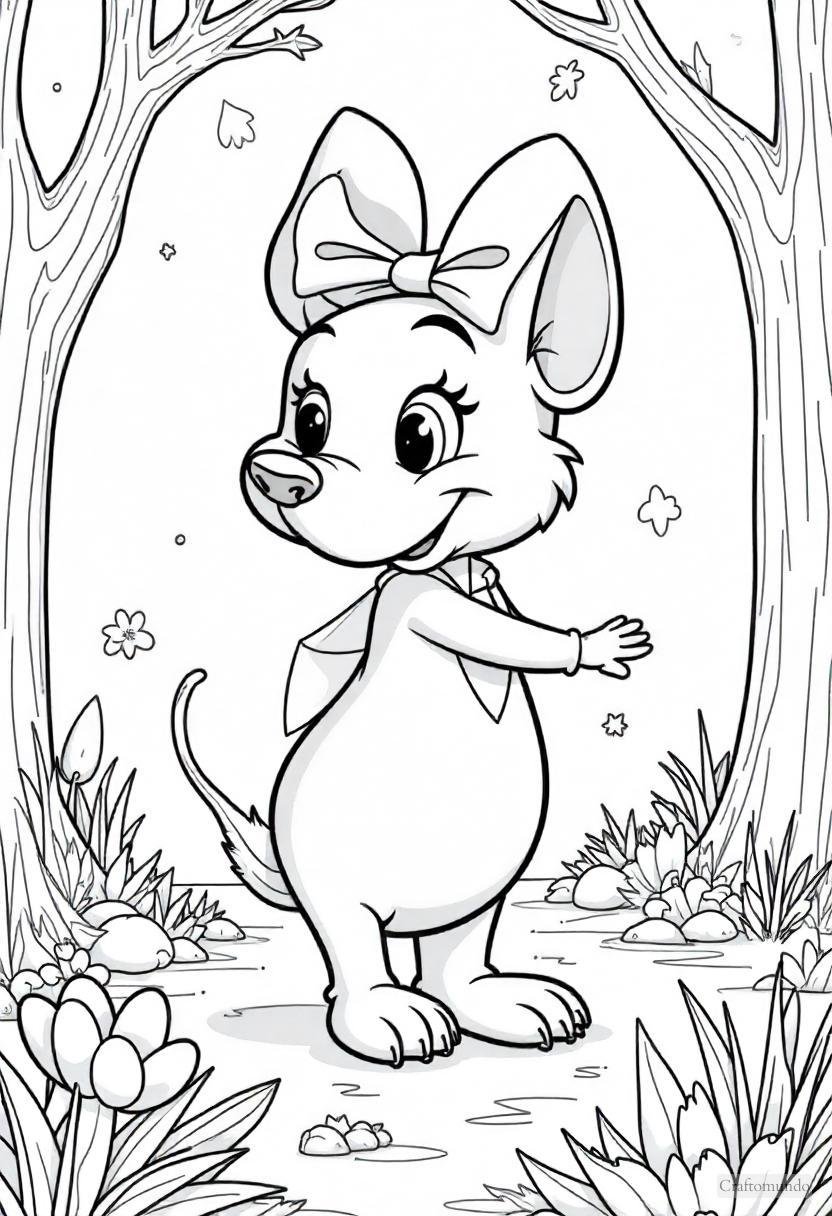
19
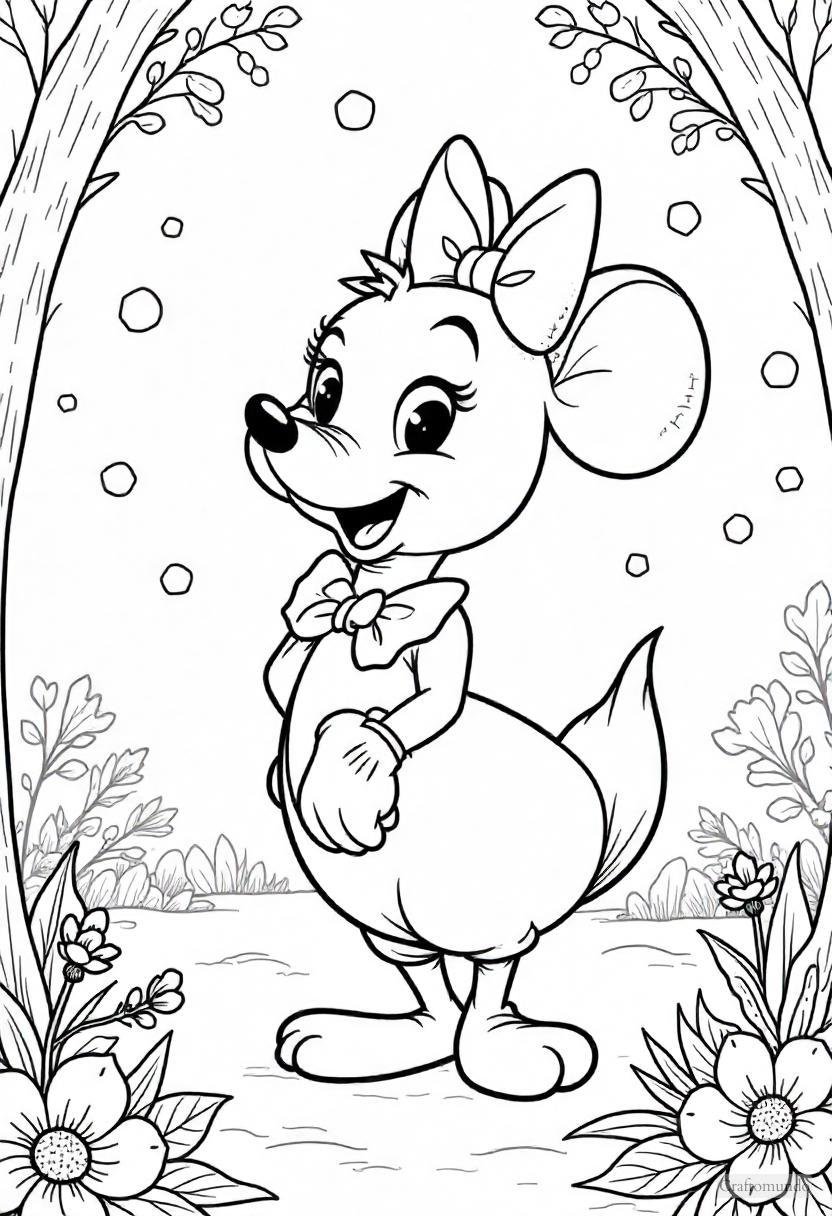
20
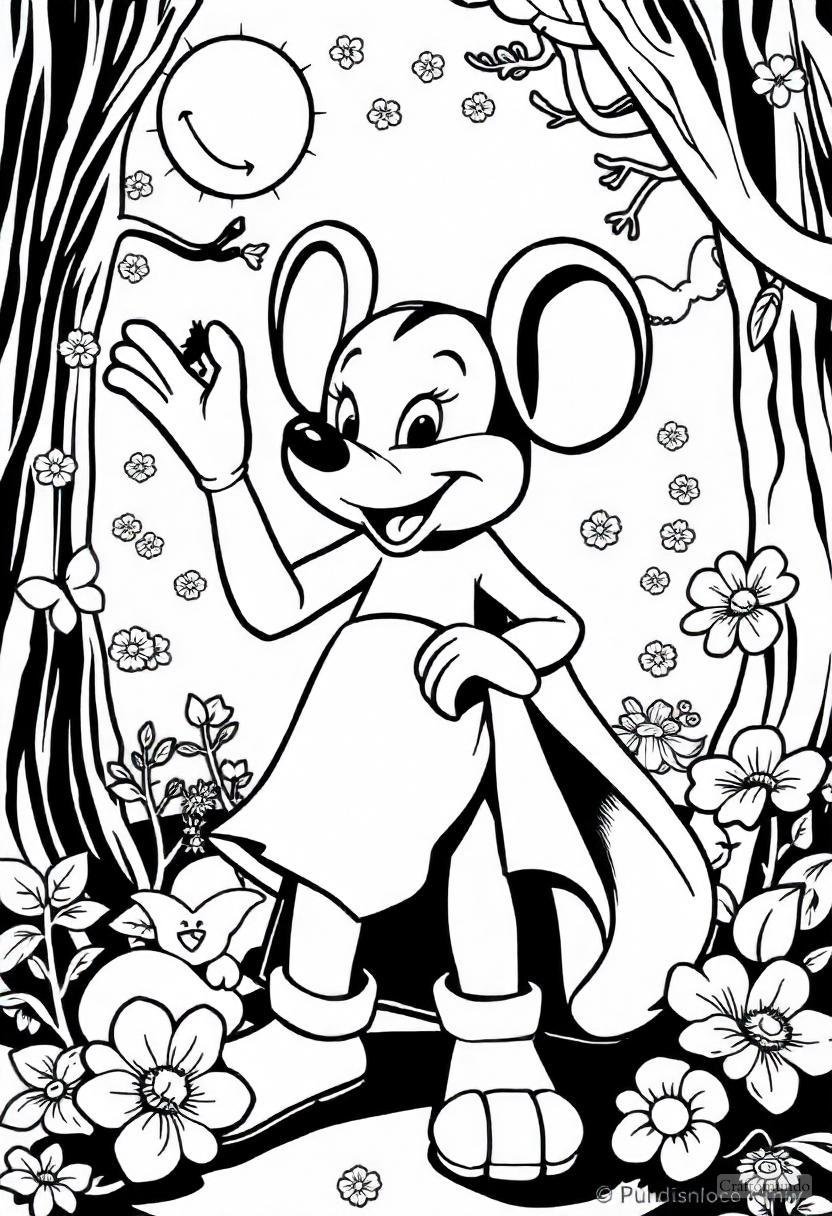
21
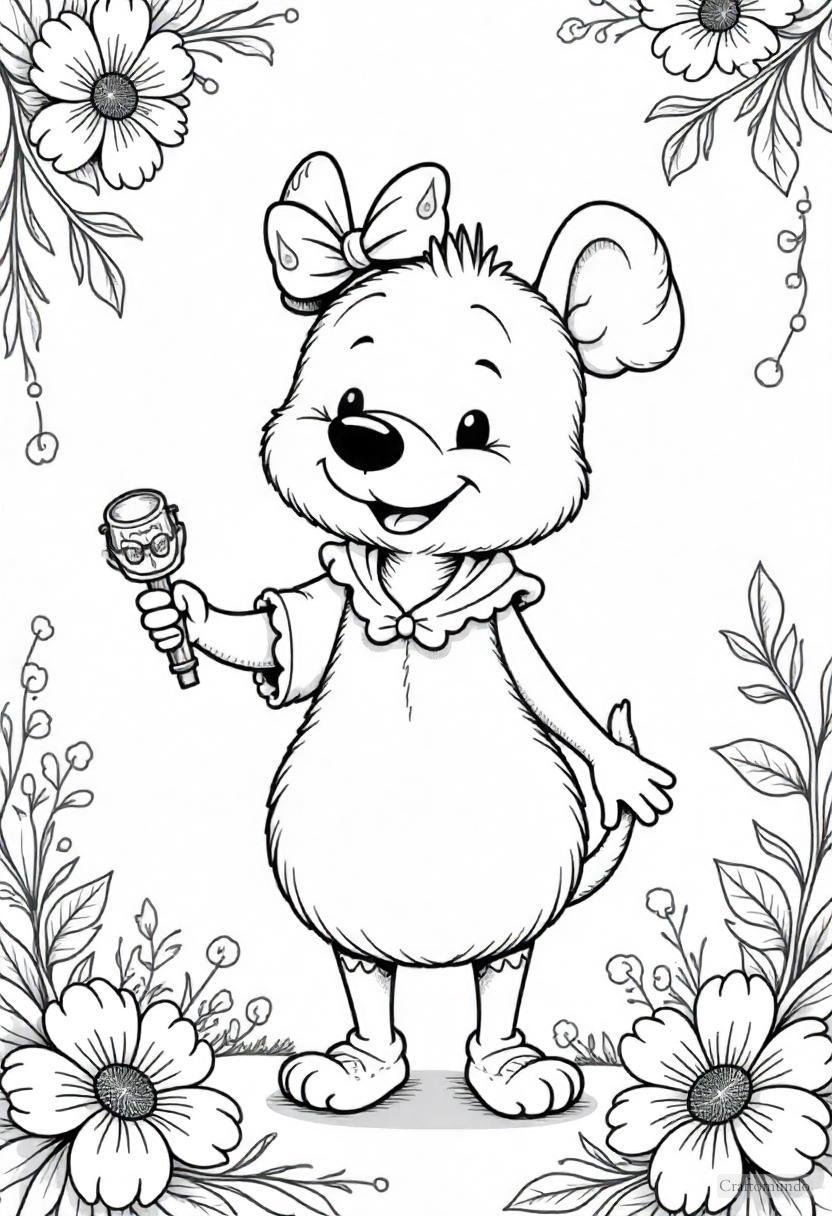
22
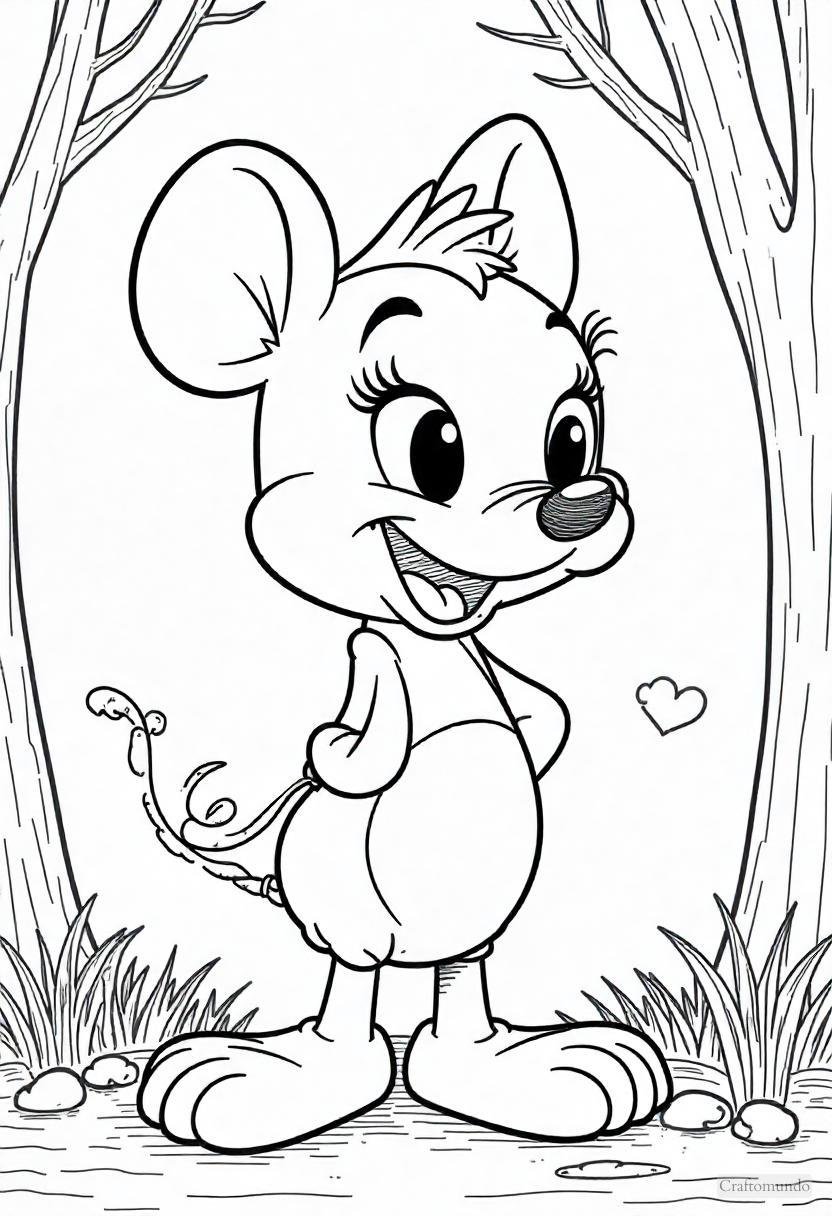
23
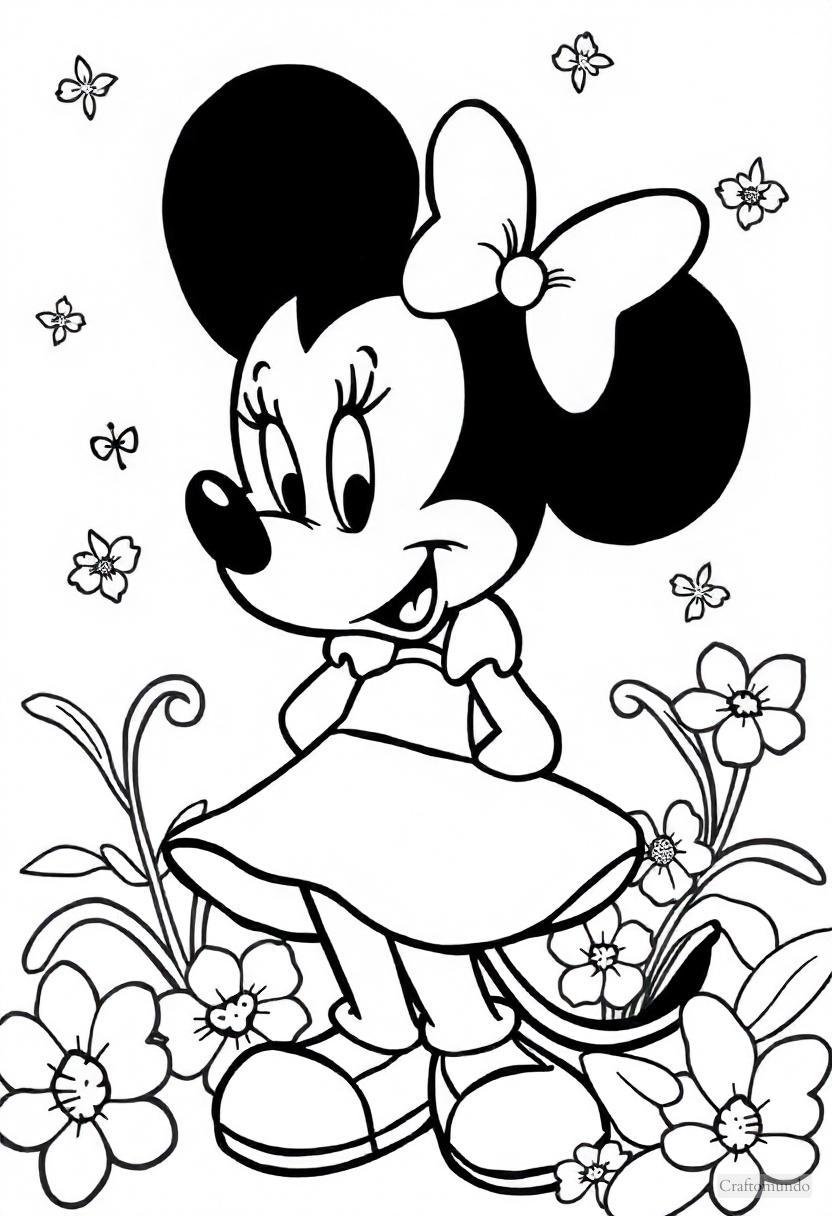
24
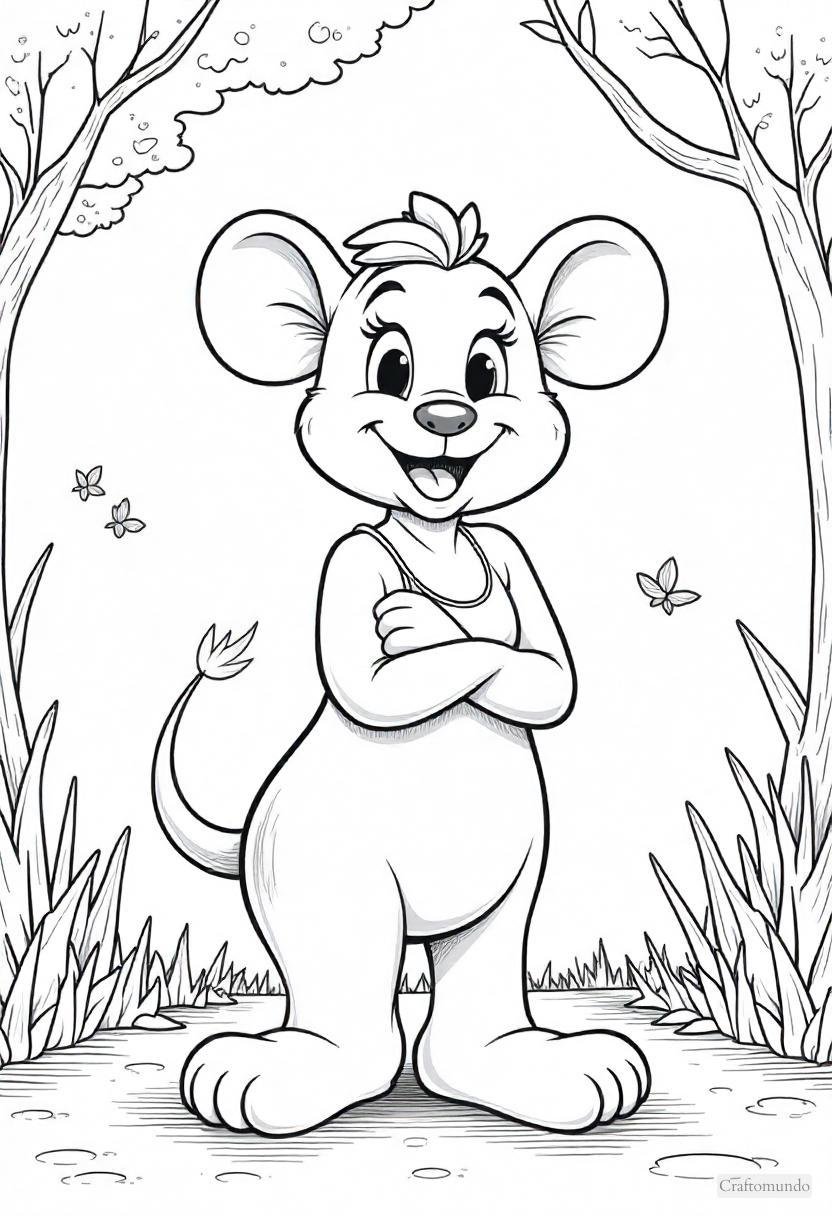
25
Tips and Tricks For Disney Coloring Pages
1. Choose the Right Tools for the Job
The magic of coloring lies in your tools, and having the right ones can make all the difference. Different tools can give your Disney pages different looks, from bold and vibrant to soft and subtle. Let’s break it down:
Markers:
- If you want bright, intense colors that pop, go for alcohol-based markers like Copics, Sharpies, or Ohuhu markers. They blend beautifully and are great for large areas.
- Water-based markers are another great choice for kids or those looking for easy clean-up (they’re less likely to bleed through paper).
Colored Pencils:
- Colored pencils are a game-changer for shading and adding details. Brands like Prismacolor, Faber-Castell, or Crayola are great options.
- Layer lighter colors first, then build up darker tones for more dimension—perfect for characters like Belle or Elsa, where you want their dresses to shine!
Crayons:
- Classic and easy-to-use, crayons are great for younger artists or anyone who loves a textured look.
- Pro Tip: Use a white crayon to highlight certain areas by coloring lightly over them after adding a darker tone.
Gel Pens and Glitter Pens:
- If you want to add sparkle, shine, or fine details, gel pens are your best friend. Perfect for princess crowns, magic sparkles, or shimmering ocean waves in a Moana scene.
Tip: Don’t be afraid to mix and match tools! Use markers for bold colors, colored pencils for detail, and gel pens for highlights. It’s like building layers of magic.
2. Start with a Color Plan
Ever get halfway through coloring and realize your colors don’t work together? That’s where a color plan comes in! Disney characters are iconic, and while you can stick to their classic color schemes, planning ahead can help you experiment with new combinations.
Here’s how to create a color plan:
- Pick a Theme: Are you going for classic Disney vibes or a more modern look? For example, give Mickey and Minnie a pastel makeover for a cute twist, or use bold primary colors for a more traditional look.
- Test Colors First: Before you commit to a color, swatch it on a separate piece of paper. This ensures the shade matches your vision and blends well with your other choices.
- Focus on Harmony: Choose a palette of 4-6 colors that work well together. For instance:
- Warm palette: Reds, oranges, yellows (perfect for scenes with Simba and the Lion King crew).
- Cool palette: Blues, purples, greens (ideal for Elsa’s ice kingdom or underwater scenes with Ariel).
- Neutral palette: Soft grays, creams, and browns (great for Pooh Bear, Bambi, or other nature-inspired Disney characters).
- Plan Character Details: Disney characters are often defined by their signature look—Ariel’s red hair, Cinderella’s blue dress, or Aladdin’s purple vest. Plan these out first, and then choose complementary background colors.
Tip: Don’t feel boxed in by tradition! Want to color Elsa’s dress gold or Ariel’s tail purple? Go for it. This is your art—let your creativity shine.
3. Master Shading and Blending
The secret to making your Disney coloring pages look professional and dynamic? Shading and blending. These techniques add depth, dimension, and a touch of realism to your art.
Here’s how to get started with shading and blending:
- Light Source: Imagine where the light in the scene is coming from. For example, if light is hitting Rapunzel’s face from the left, her right side will be slightly darker.
- Layer Colors: Start with a light base, and slowly add darker tones. For example, when coloring Belle’s iconic yellow dress, begin with a pale yellow and build up layers of gold and deeper yellows for shadow.
- Blend Smoothly:
- With colored pencils, use a light touch and make small circular motions to blend colors together.
- With markers, overlap the edges of two colors to create a seamless gradient.
- Highlight Areas: Use a white pencil, white gel pen, or even an eraser to add highlights to areas like shimmering hair, glowing snowflakes, or sparkling eyes.
Pro Tip: Blending tools like blending stumps (for pencils) or colorless blender markers can help you achieve a polished look without harsh lines.
4. Make the Background Stand Out
It’s easy to focus so much on the characters that we forget about the backgrounds—but trust me, a well-colored background can take your Disney masterpiece to the next level.
Ideas for Backgrounds:
- Soft Gradients: Use light shades to create a gradient background—like pink to blue for a dreamy sky or yellow to orange for a sunset (perfect for scenes with Simba or Pocahontas).
- Patterned Details: Add fun details like stars, polka dots, or waves to fill empty spaces without overwhelming the page.
- Nature Elements: Bring in natural tones like greens, blues, and browns for grass, water, or trees. For example, with Bambi or The Jungle Book pages, you can use greens of different shades to make the forest come alive.
- Silhouettes: Use a darker color to create silhouettes of mountains, trees, or castles in the background. For a princess page, add a glowing castle outline in light gray for a fairytale effect.
Tip: Don’t feel like you have to color the whole background. Sometimes leaving white space around your character makes them pop even more.
5. Add Personal Touches and Details
Coloring isn’t just about staying inside the lines—it’s about making the art yours. By adding personal touches, you can take Disney’s magic and mix it with your own imagination.
Here’s how to add your creative spin:
- Add Patterns to Clothing: Give Snow White’s dress polka dots or decorate Moana’s skirt with tribal-inspired designs.
- Create Unique Textures: Use crosshatching for fur (like Simba or Bambi) or wavy lines for water (Ariel’s underwater kingdom).
- Glitter and Sparkle: Use glitter gel pens, metallic markers, or even glue and glitter to make Elsa’s snowflakes or Cinderella’s ball gown shimmer.
- Write a Message: Turn your coloring page into a card or a keepsake by adding a favorite Disney quote like, “The flower that blooms in adversity is the most rare and beautiful of all” (Mulan).
- Frame Your Work: Once you’re done, why not show it off? Frame your favorite pages to create a Disney-themed gallery wall in your home.
Tip: Don’t be afraid to experiment. Maybe you want to color Mickey Mouse in rainbow shades or give Tiana a sparkling silver dress—go for it!
It’s your world to create.
