24 Car Coloring Pages
Let’s be real – there’s something oddly satisfying about picking up a crayon, pencil, or marker and bringing a black-and-white outline to life.
And cars?
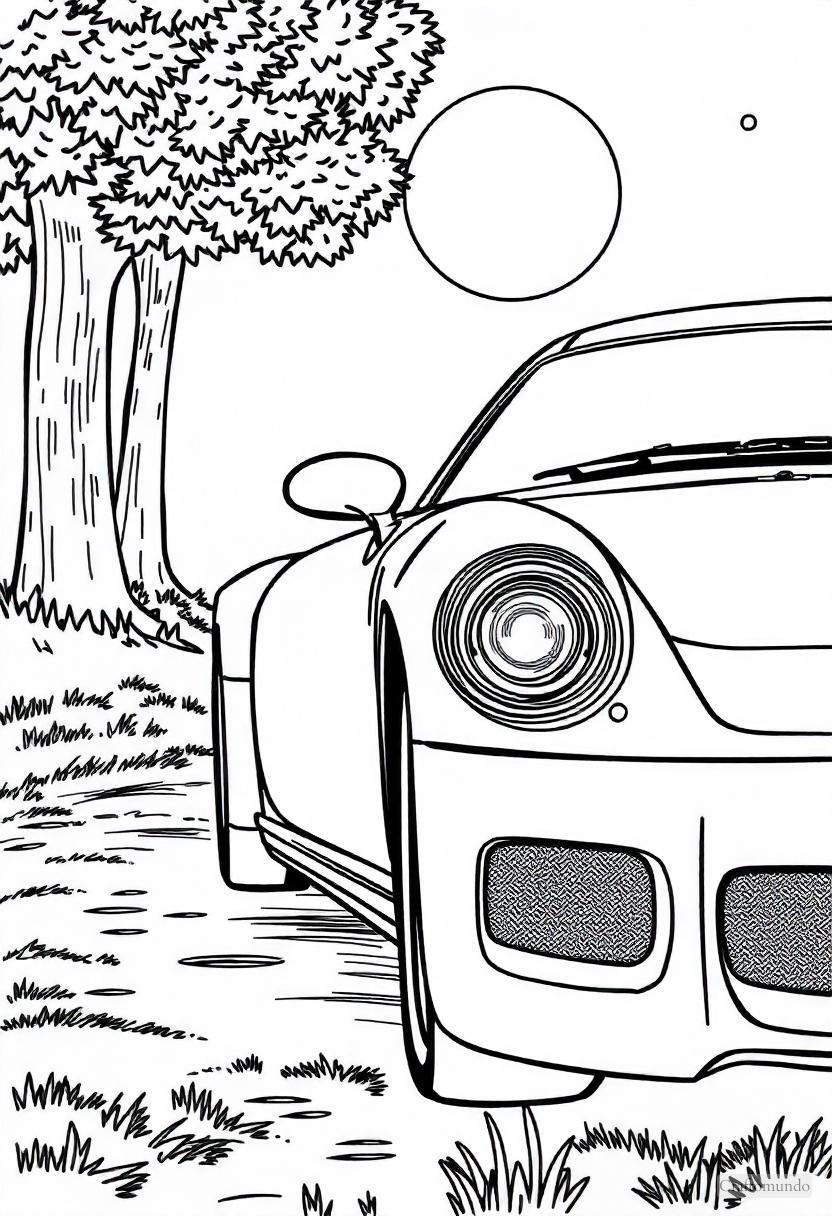
Oh, they’re in a league of their own. Whether you’re into sleek sports cars, monster trucks that defy gravity, or vintage classics that whisper nostalgia, car coloring pages have a way of unleashing creativity while revving up some serious fun.
I’m about to share some awesome car coloring pages that are perfect for kids, adults, and anyone craving a little ‘me time’ with art and imagination.
So buckle up, grab your coloring gear, and let’s hit the road – one masterpiece at a time!
Car Coloring Pages
1
2
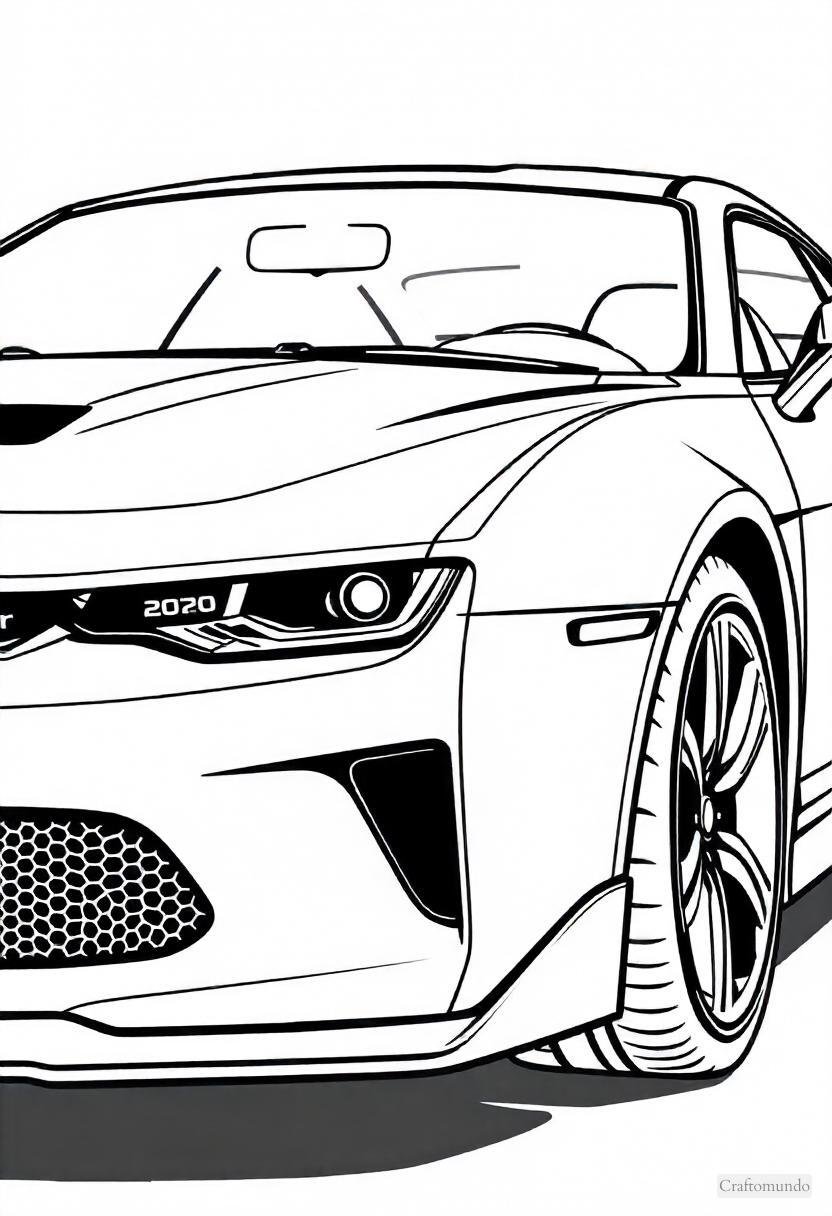
3
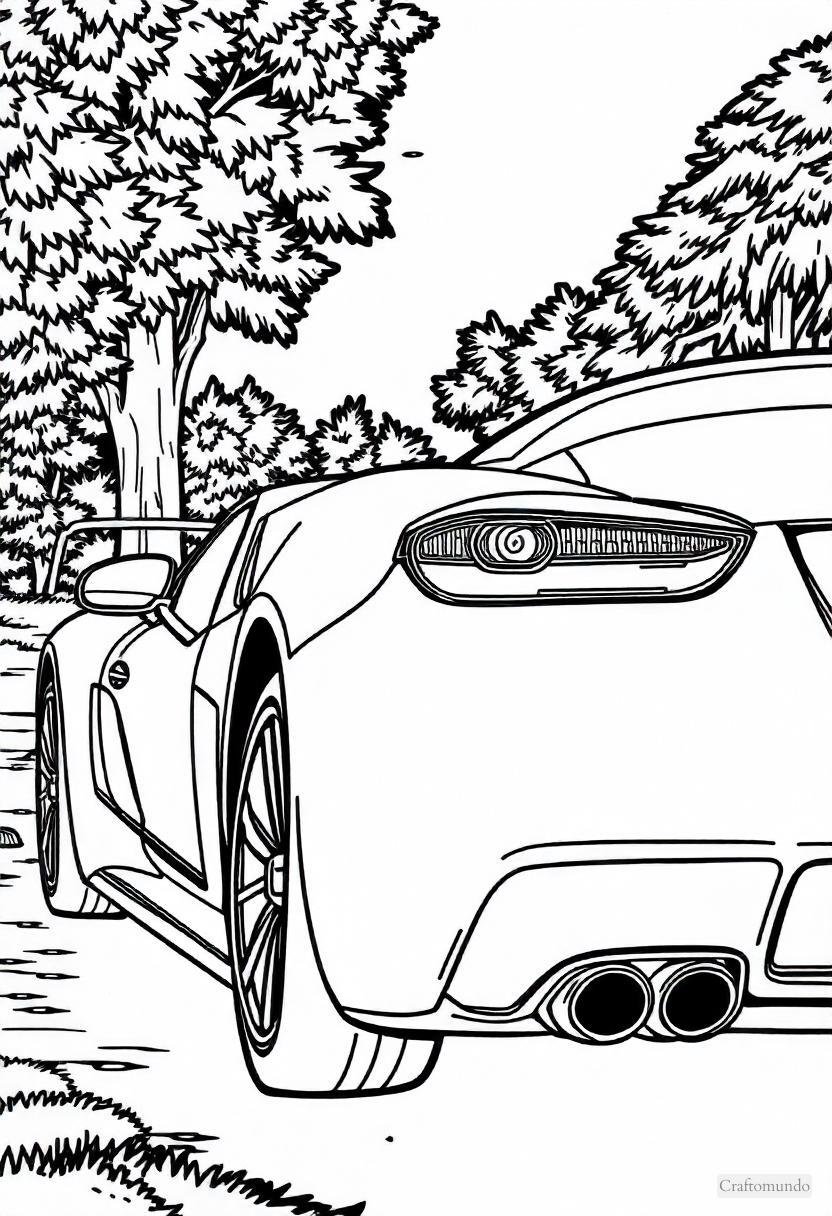
4

5
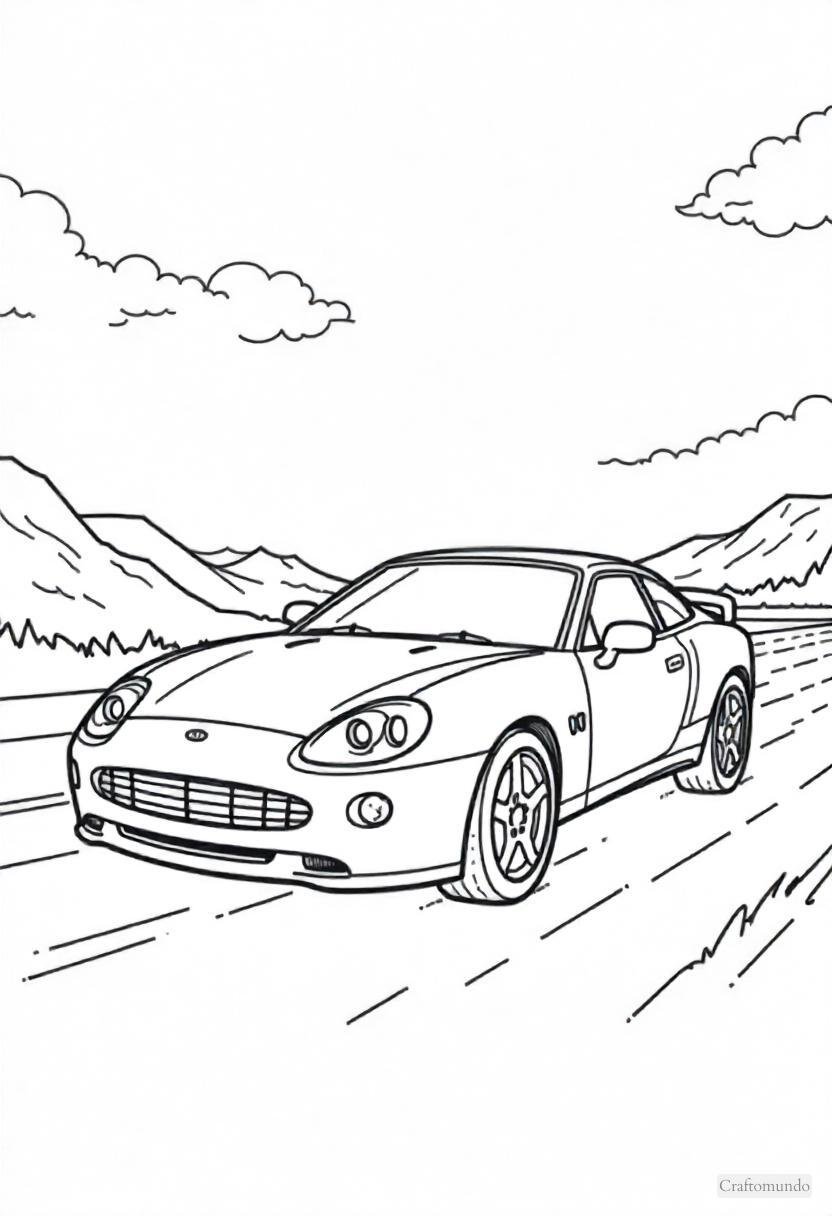
6
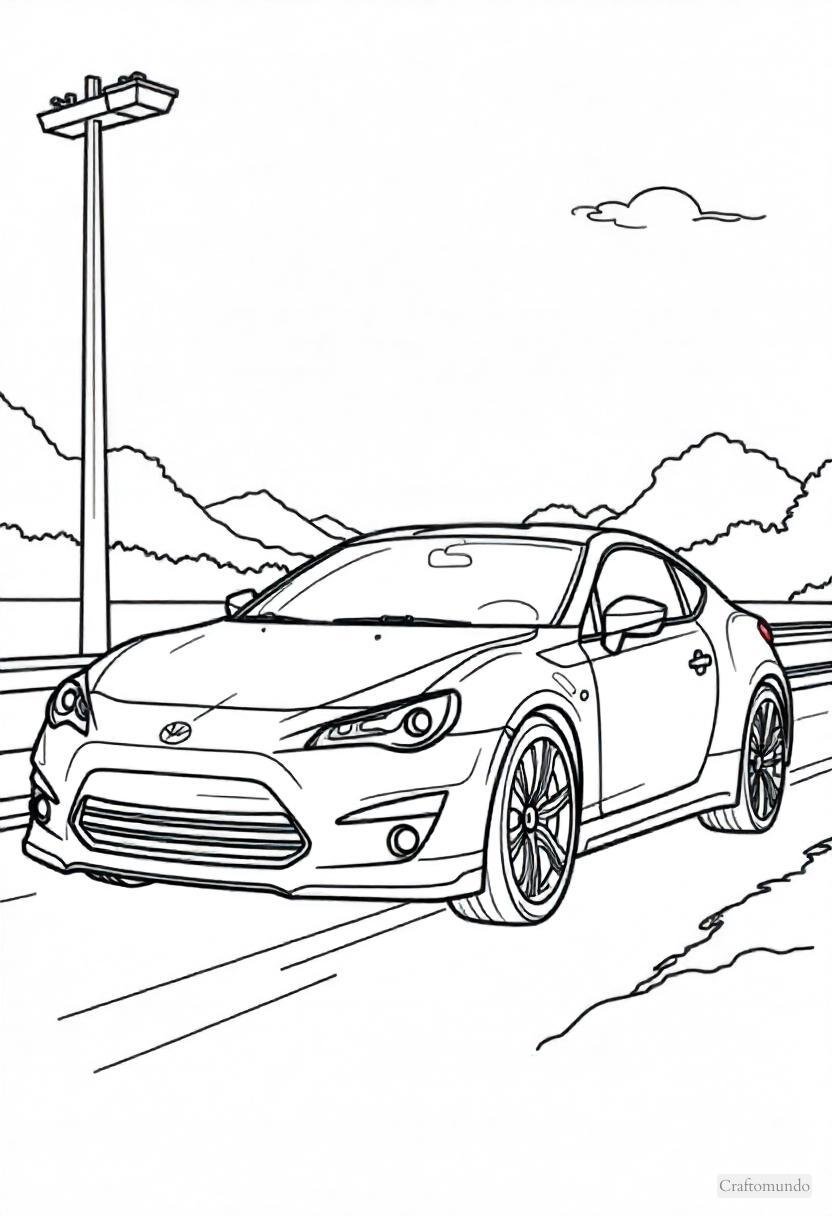
7
8
9
10
11
12
13
14
15
16
17
18
19
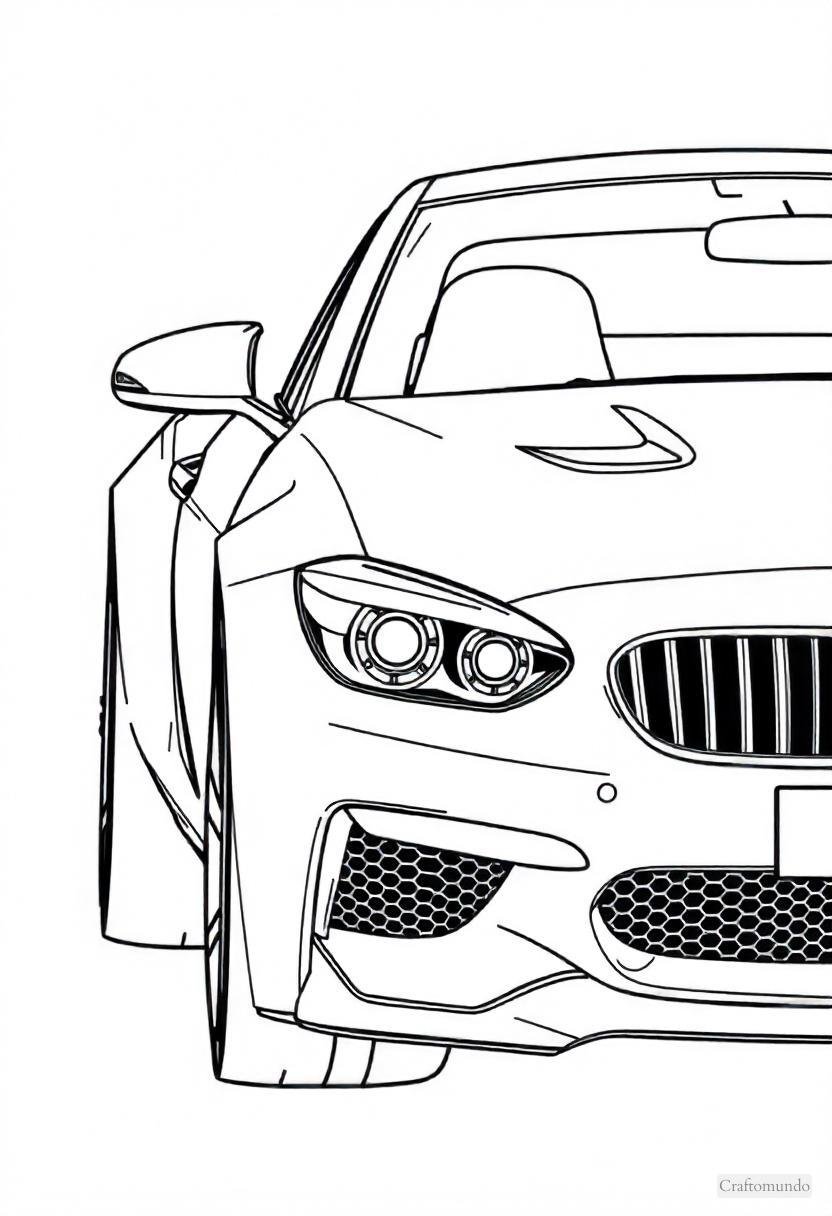
20
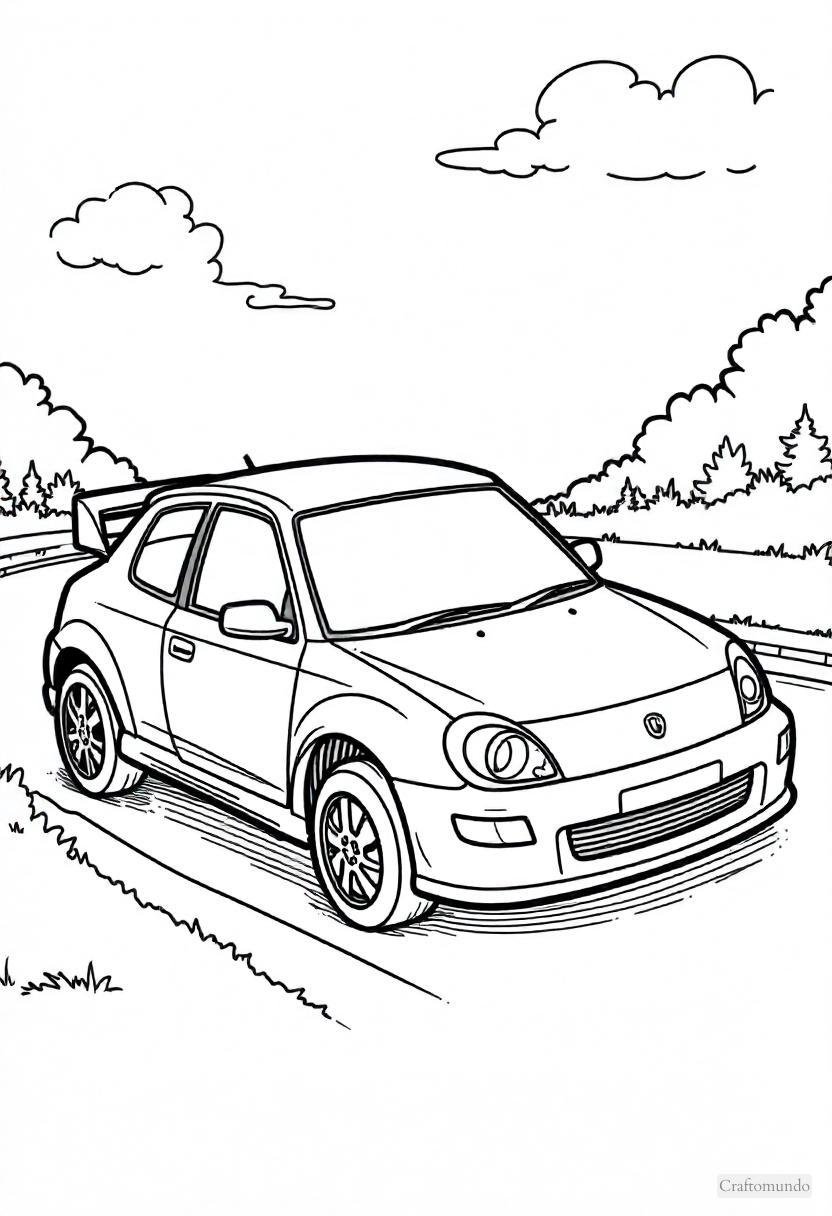
21
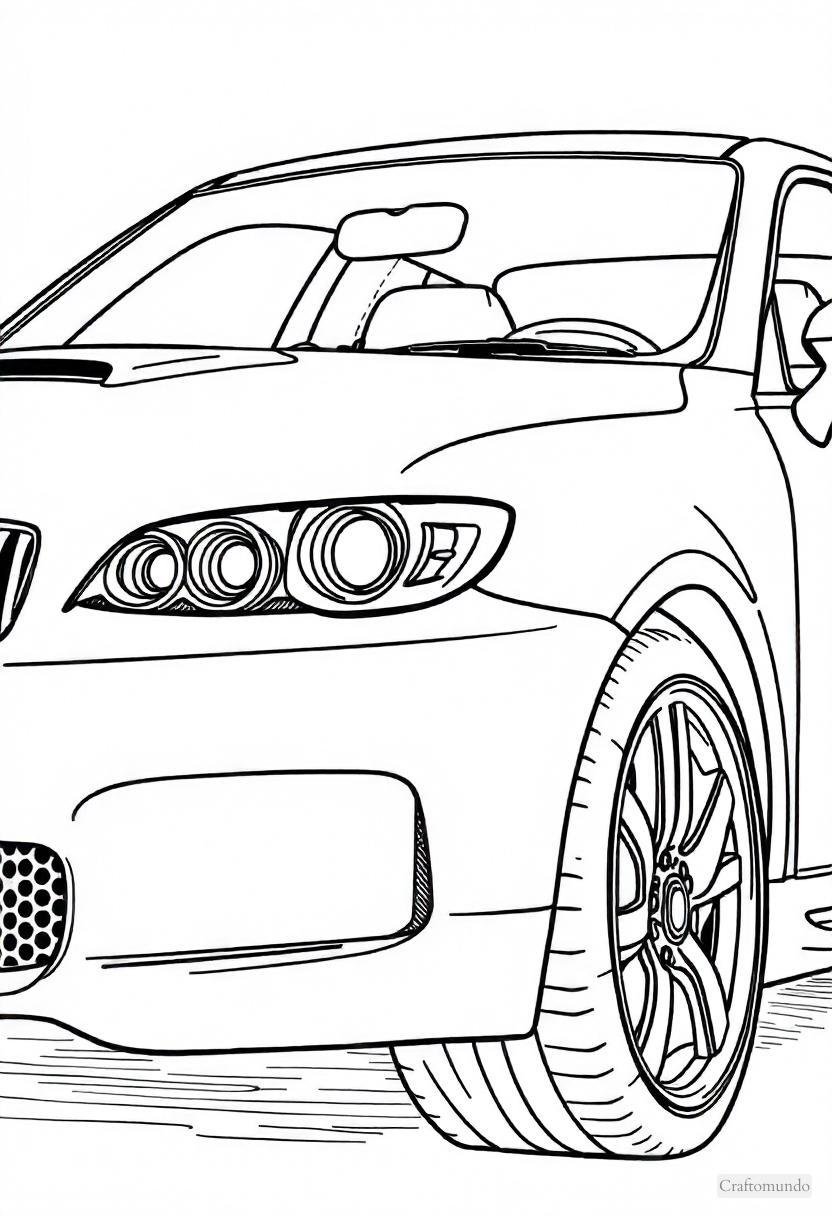
22
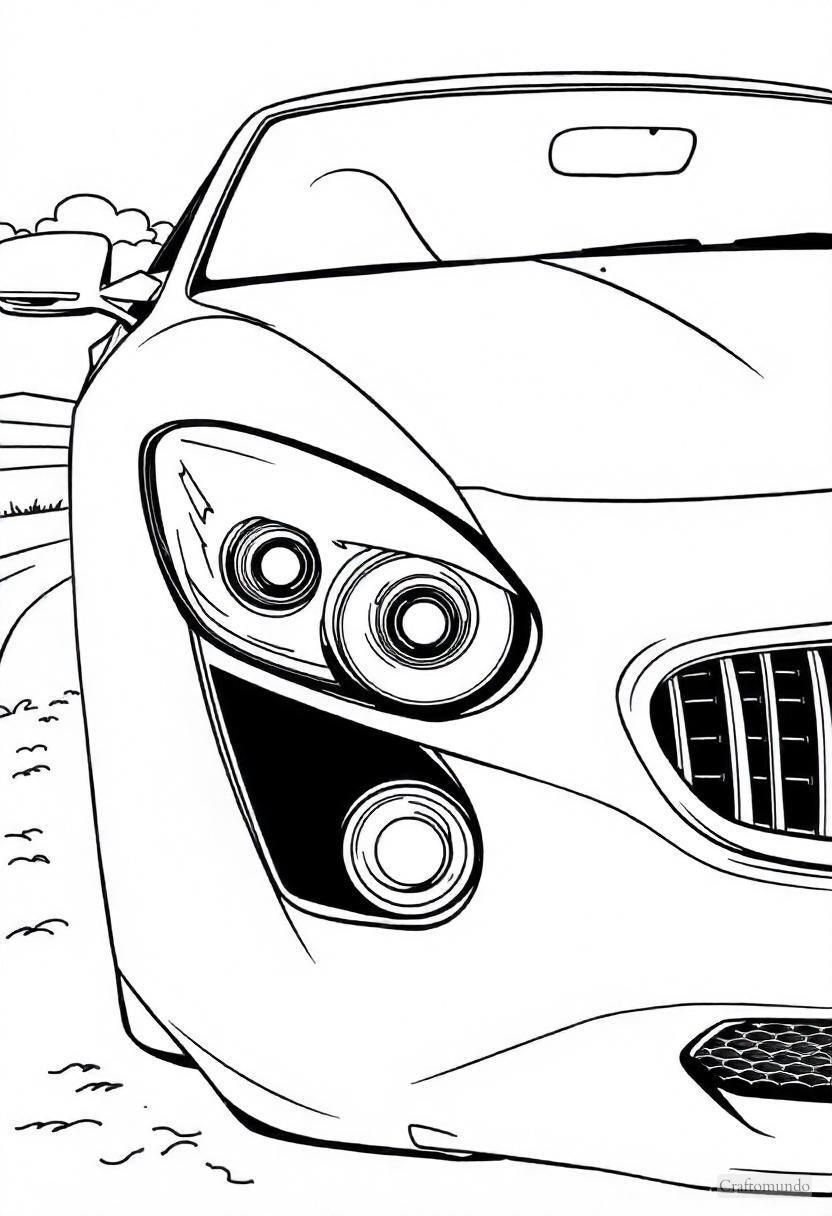
23
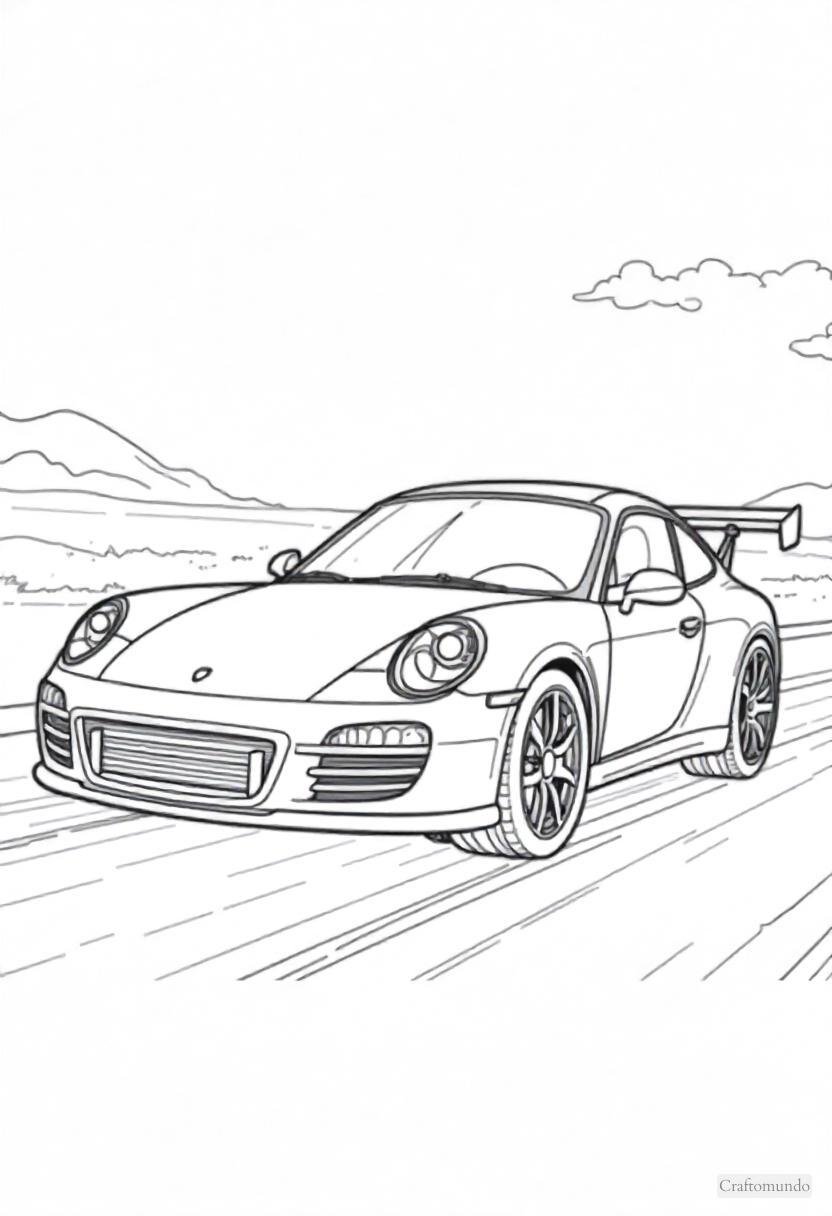
24
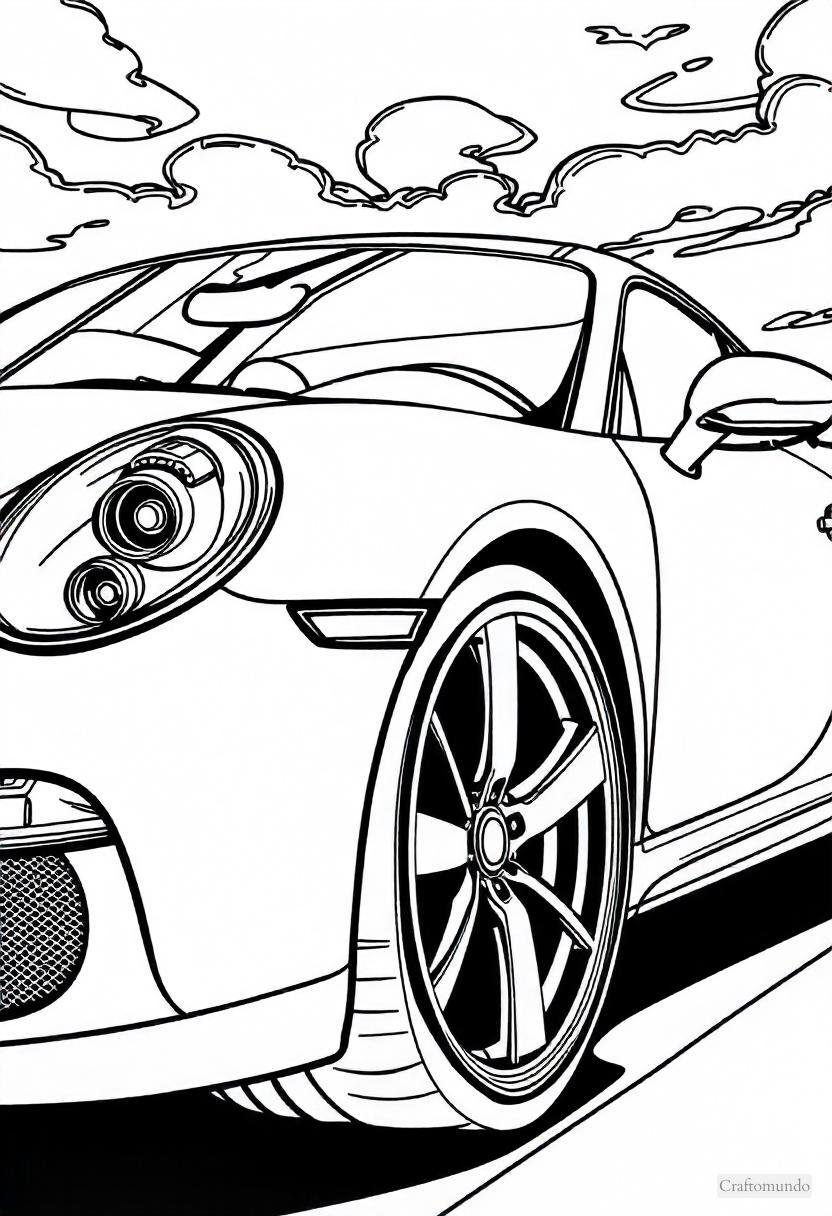
Things To Keep in Mind While Coloring These Pages
1. Choose the Right Tools for the Job
The first step to creating these gorgeous car coloring pages is selecting the right tools. Coloring tools can make or break your results, so consider what works best for the style and look you’re aiming for.
- Colored Pencils: These are fantastic for detailed work and blending colors. Use high-quality colored pencils for richer pigmentation and smoother shading.
- Markers: Markers offer bold, vibrant colors that are perfect for modern sports cars or vibrant cartoon-like styles. Dual-tip markers (with a brush tip and fine tip) provide versatility for both broad strokes and intricate details.
- Crayons: Ideal for kids or those seeking a nostalgic feel, crayons are easy to use and work well for bold, colorful car pages.
- Gel Pens: For adding small details, metallic finishes, or highlights, gel pens are perfect for enhancing realism and giving your car a shiny, reflective appearance.
Pro Tip: Don’t limit yourself to one medium! Mixing colored pencils and markers, for example, allows you to get both vibrant fills and subtle shading.
2. Understand the Basics of Color Theory
If you want your cars to look visually appealing, understanding color theory is essential. Here are a few basics to consider:
- Primary Colors: Red, yellow, and blue are your base colors. You can mix them to create other shades.
- Complementary Colors: These are colors that sit opposite each other on the color wheel (e.g., blue and orange, red and green). Using complementary colors together can create contrast and visual interest.
- Analogous Colors: Colors that sit next to each other on the color wheel (e.g., blue, green, and teal) work well for a more harmonious look.
- Warm vs. Cool Tones: Warm colors (red, orange, yellow) evoke energy and excitement—great for fiery sports cars. Cool tones (blue, green, purple) create calm, sophisticated looks—perfect for luxury or classic vehicles.
Pro Tip: Pick a dominant color for the car and use complementary or analogous shades for accents, such as rims, stripes, or backgrounds.
3. Start with Light Colors and Build Layers
When coloring cars, especially with colored pencils or markers, always work from light to dark. Light colors are easier to adjust or layer over, while dark colors are difficult to lighten.
- Begin with a base layer using a light color.
- Gradually build up layers, adding depth and dimension by increasing pressure or switching to darker shades.
- Use soft, circular motions with colored pencils to avoid harsh lines or streaks.
Example: If you’re coloring a bright red sports car, start with a light red base, then deepen the shadows with maroon or burgundy, and finish with highlights using a white pencil or gel pen.
4. Add Realistic Shading and Highlights
Shading and highlights are the secret sauce to making your car look three-dimensional and realistic.
- Shading: Identify where shadows would naturally fall. Typically, the lower parts of the car, the areas under the roof, and near the wheels will be darker. Use darker tones to create a gradient effect.
- Highlights: Cars have shiny surfaces that reflect light. Use a white colored pencil, gel pen, or eraser to add highlights on areas like the roof, hood, or curved parts of the car.
- Blending: Blend colors smoothly using a blending pencil, tissue, or blending stump to create a polished look.
Pro Tip: Look at photos of real cars to understand how light hits different surfaces and use that as a reference.
5. Experiment with Different Car Styles
Cars come in many shapes, sizes, and styles. Each type requires a slightly different approach, so mix it up!
- Sports Cars: Use bold, vibrant colors like red, yellow, or electric blue. Add highlights for a glossy, sleek look.
- Classic Cars: Opt for muted colors like vintage greens, soft blues, or cream tones. Add subtle shading for an aged effect.
- Rugged Trucks and Off-Road Vehicles: Experiment with earthy tones like browns, grays, and greens. Adding mud splatters or dirt effects can make them look rugged and realistic.
- Cartoon Cars: Play with bright, fun colors. Don’t worry about being super realistic—the goal here is creativity and personality.
Pro Tip: Create themed cars! For example, a fiery orange and black car for Halloween or a cool icy-blue vehicle for a winter theme.
6. Pay Attention to the Details
The magic often lies in the small details, so don’t rush through them. Pay attention to:
- Windows: Use light grays, blues, or even white to create a reflective glass effect.
- Tires and Rims: Tires are rarely pure black—use dark grays and add highlights for a more realistic appearance. Rims can be metallic silver, gold, or even bold colors for sporty cars.
- Grilles and Lights: Use silver, gray, or white for car grilles and headlights. Adding small reflections or sparkles will make them pop.
- Backgrounds: Adding a simple background like a road, city skyline, or nature scene can enhance the overall look of your coloring page.
Pro Tip: Don’t be afraid to use metallic or glitter gel pens for chrome and shiny details like rims or trim.
7. Take Your Time and Enjoy the Process
One of the best parts of coloring is how relaxing and rewarding it can be. Rushing through a car coloring page might lead to sloppy results, so take your time:
- Work in small sections to maintain focus and precision.
- Take breaks if needed, especially for more intricate pages.
- Experiment, make mistakes, and have fun—every page is an opportunity to learn and improve.
Pro Tip: If you’re unsure about a color scheme, test it on a separate sheet of paper first to see how the colors work together.
8. Protect and Showcase Your Finished Artwork
After putting so much effort into your car coloring page, it deserves to be protected and displayed!
- Seal Your Work: If you’re using colored pencils, consider applying a fixative spray to prevent smudging.
- Frame It: Place your best pages in a frame to display on your wall or desk.
- Create a Portfolio: Use a binder or a sketchbook to collect all your completed coloring pages.
- Share Your Art: Post your masterpieces on social media, share them with friends, or even gift them to car enthusiasts in your life.
Pro Tip: Use clear plastic sleeves to protect finished pages while allowing you to flip through and enjoy them.
