21 Book Coloring Pages
I have a confession to make.
I’m one of those people—completely obsessed with books. The smell of fresh pages, the weight of a well-worn paperback, and the magic of getting lost in a story—books are my happy place.
But you know what else I can’t resist?
Coloring.
Yep, give me some markers, pencils, and a blank page, and I’m basically a kid again, grinning ear to ear.
So, imagine my excitement when I realized I could combine my two great loves—books and coloring!
That’s right, book-themed coloring pages that let you unleash your creativity and celebrate your love of literature. Whether you’re into cozy libraries, whimsical open books, or classic story illustrations, these pages are a dream for bookworms and artists alike.
Ready to grab your pencils and bring some bookish magic to life?
Let’s dive in!
Book Coloring Pages
1

2
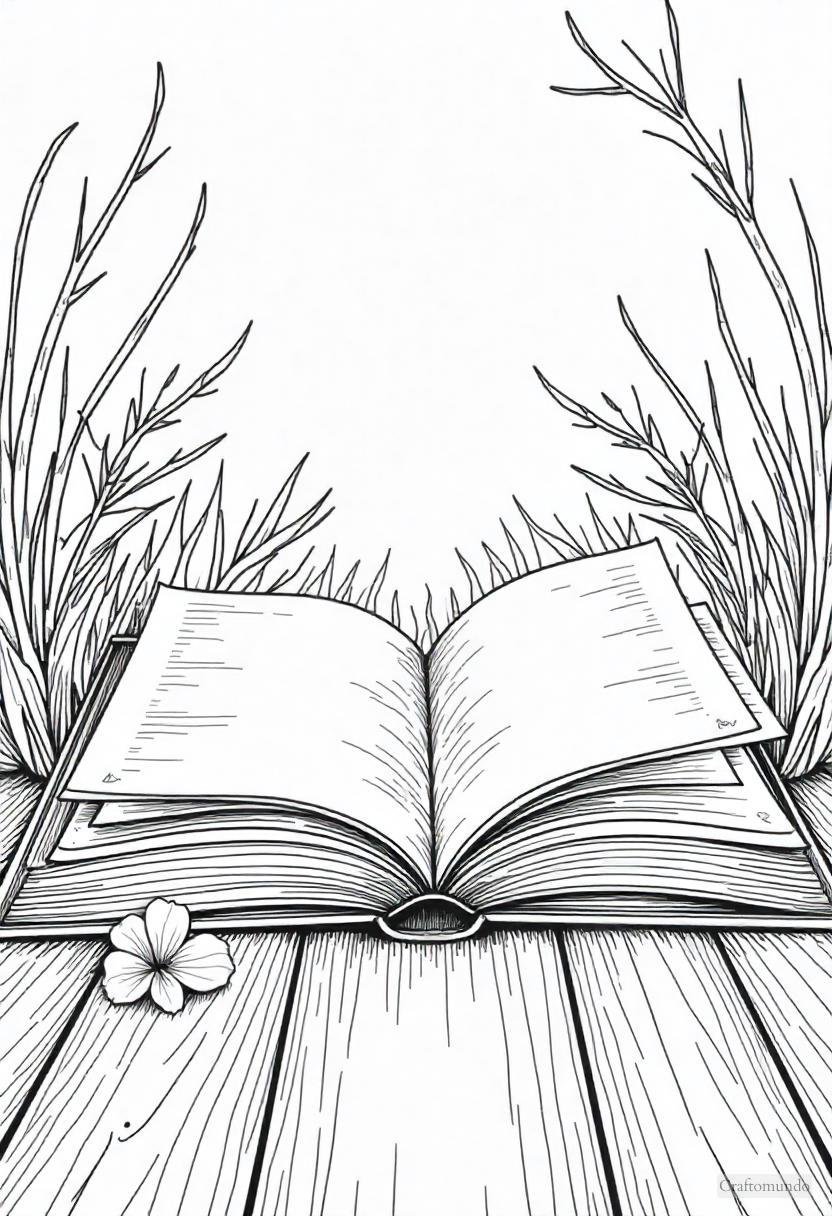
3

4
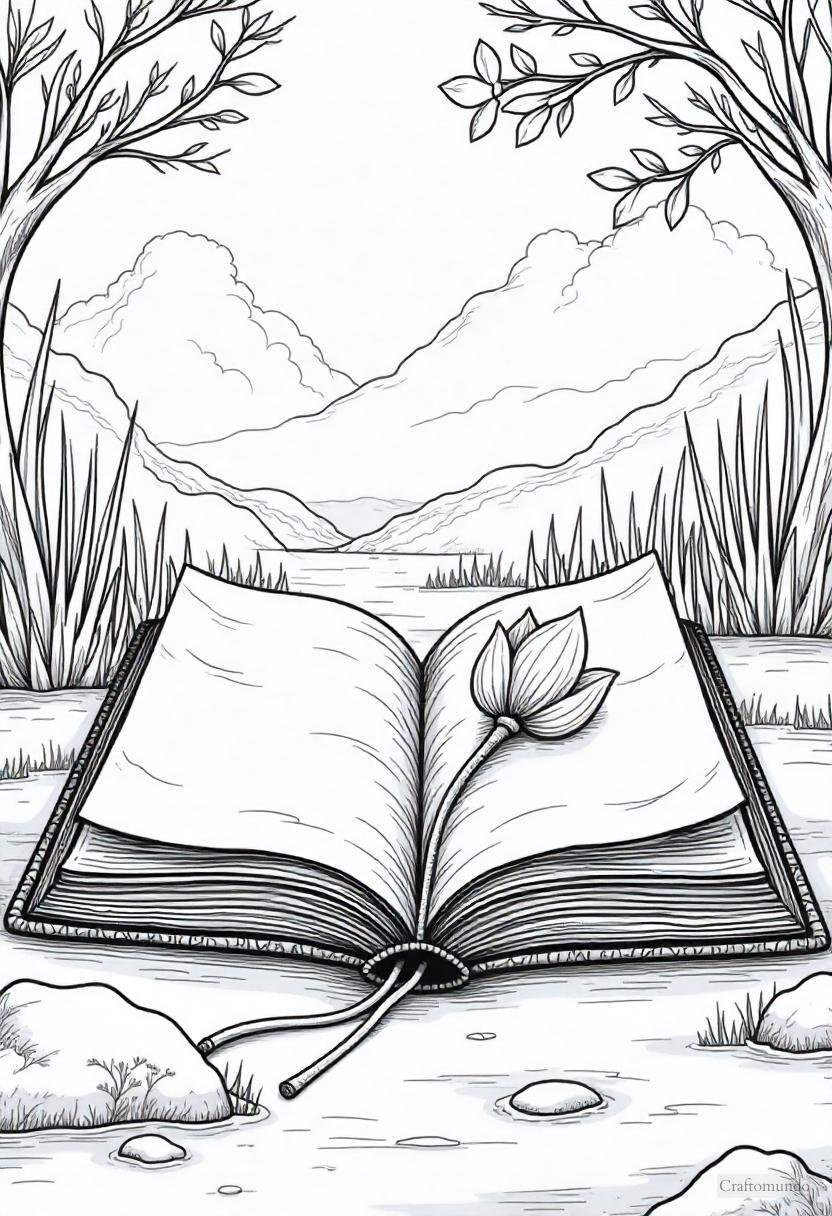
5
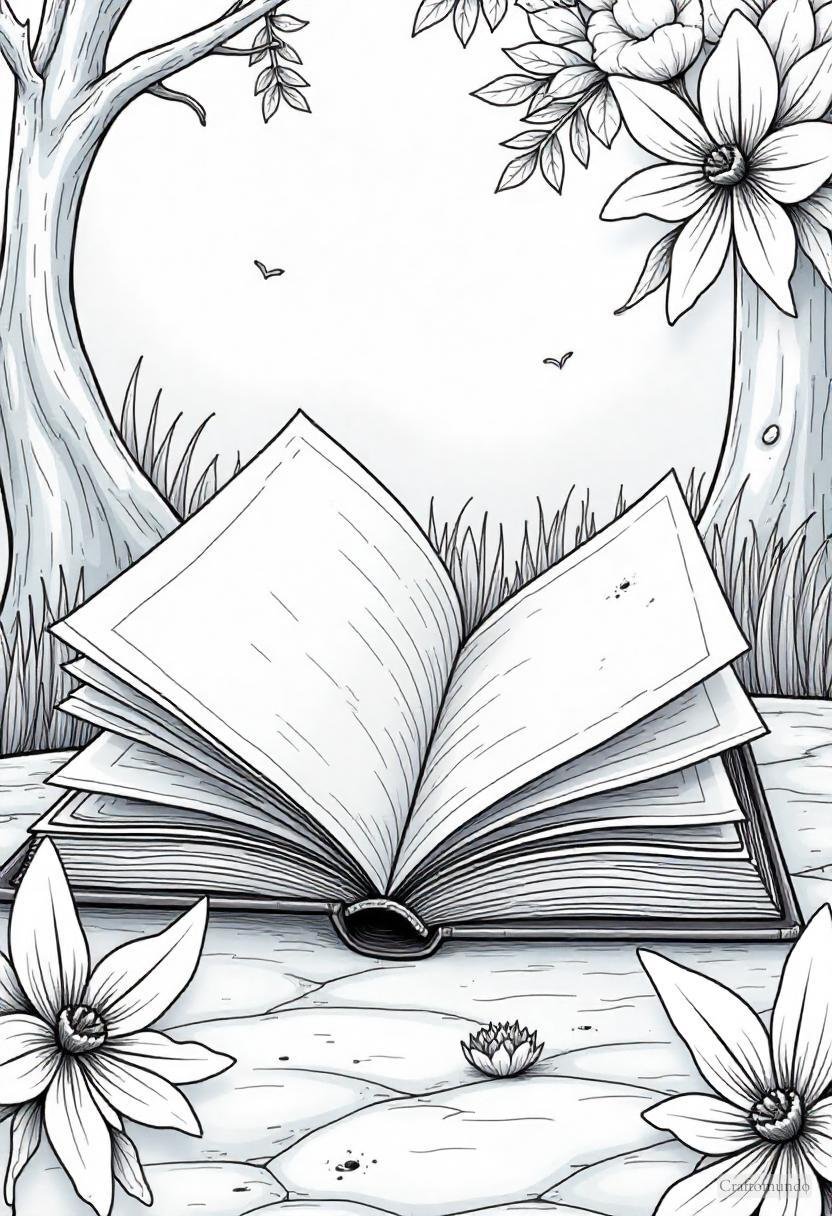
6

7
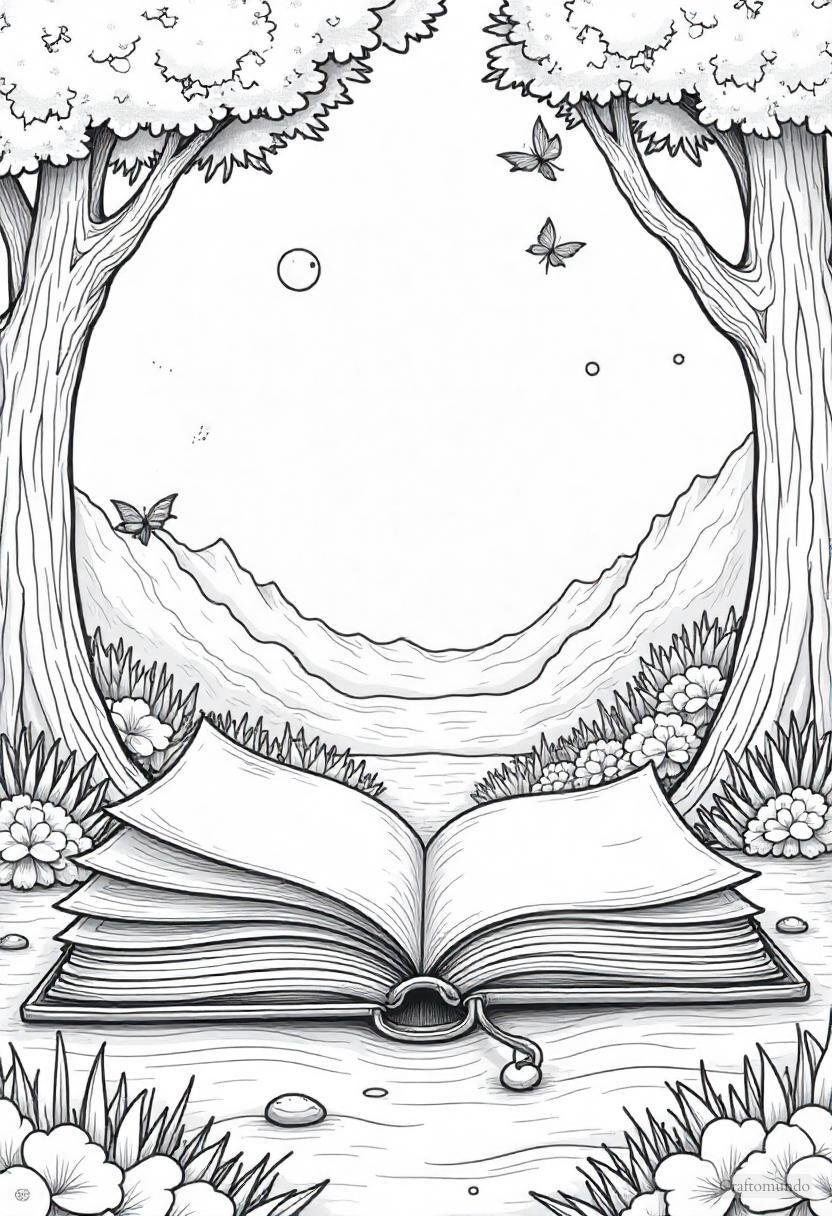
8

9

10

11

12

13

14

15

16

17

18

19

20

21

Tips and Tricks While Coloring These Pages
1. Choose the Right Tools
Before you start, your tools are everything. The right supplies can enhance your creativity and help you achieve professional-looking results.
- Colored Pencils: Perfect for blending, shading, and achieving fine details. Opt for quality brands like Prismacolor, Faber-Castell, or Staedtler for vibrant, smooth colors.
- Markers: Alcohol-based markers (like Copic or Ohuhu) give a rich and smooth finish but may bleed through thin pages. Water-based markers are more budget-friendly and less likely to bleed.
- Gel Pens: Excellent for adding highlights, sparkles, or fine-line work. Metallic and glitter gel pens work beautifully for accents.
- Crayons: A classic option for younger colorists or simple pages. Crayons are affordable and nostalgic but lack the precision of pencils or markers.
- Blending Tools: Blending stumps, colorless blenders, and even cotton swabs can help smooth out pencil strokes for a polished look.
Pro Tip: Test your tools on a scrap piece of paper or the back of the coloring page to see how they interact with the paper.
2. Start with a Plan
Jumping in without direction can be fun, but a little planning can make a big difference in the final product.
- Color Palette: Choose your colors ahead of time. Think about the mood you want—calming blues and greens, vibrant reds and oranges, or soft pastels. Tools like online color palette generators can inspire harmonious color combinations.
- Test Small Areas: If you’re unsure about a color, test it in a small corner of the page or on a separate paper. This prevents surprises!
- Background First: If your coloring page has a large background, start there. It allows you to set the tone without accidentally smudging your main subject.
Pro Tip: Look at reference images or photos to see real-world color combinations—this works great for flowers, animals, and landscapes.
3. Master Shading and Blending
Shading and blending are the secrets to turning flat illustrations into dynamic, lifelike images.
- Light Pressure Technique: Start with a light hand and build up color gradually. Layering softly gives you control and depth.
- Layering Colors: Instead of pressing hard with one color, layer multiple shades to create depth. For example, mix a dark blue with a lighter blue to add dimension.
- Shading with a Gradient: Transition colors from light to dark to create a smooth gradient. Use darker shades near edges and lighter ones in the middle for a 3D effect.
- Blending Tools: Use a blending stump or a white pencil to blend colors seamlessly. Alternatively, a colorless blending marker can soften and unify colors in marker-based illustrations.
Pro Tip: Don’t be afraid to use unconventional colors for shading—like a bit of purple to shade blue, or pink to shade orange!
4. Add Highlights and Accents
Highlights and accents give your artwork that final, polished touch that really makes it stand out.
- White Gel Pens: Add tiny dots or lines for highlights on objects like glass, water, or even the eyes of animals and people.
- Metallic Pens: Gold, silver, and bronze can add beautiful accents to jewelry, frames, and decorative designs.
- Use an Eraser: A kneaded eraser can lighten pencil marks to create highlights without adding another tool.
- Contrast: Emphasize your highlights by deepening the shadows around them. This makes the light areas pop!
Pro Tip: Think about where the light source is coming from on your page, and add highlights accordingly.
5. Avoid Bleeding and Smudging
Nothing is more frustrating than seeing your hard work smudge or bleed through the page. Here’s how to prevent it:
- Paper Matters: Use coloring books with thick, high-quality paper. For thinner books, place a scrap paper or cardstock behind the page to protect the next sheet.
- Work Light to Dark: When layering colors, work from the lightest to the darkest. This prevents smudges and mistakes.
- Let Ink Dry: If you’re using markers or gel pens, let the ink dry completely before moving your hand over it.
- Fixative Spray: Once finished, lightly spray a fixative over your page to prevent smudging and to seal your colors.
Pro Tip: Always store markers and gel pens tip-down to keep the ink flowing smoothly.
6. Experiment with Different Techniques
If you feel stuck or uninspired, experimenting with new techniques can reignite your creativity.
- Stippling: Create texture by adding small dots with your pencil or marker. This works great for fur, flowers, and skies.
- Cross-Hatching: Use crisscross lines to add texture and shading in areas where you want more definition.
- Burnishing: Use a white pencil or colorless blender to press hard over layered colors, creating a smooth, polished finish.
- Mixed Media: Combine different tools, like layering colored pencils over markers or adding gel pen accents to crayon work.
Pro Tip: Don’t stress about perfection. Experimenting often leads to surprising and beautiful results.
7. Take Breaks and Enjoy the Process
Coloring is meant to be relaxing and enjoyable. Don’t rush through it!
- Take Breaks: Step away from your page if you start feeling frustrated or tired. Fresh eyes can make all the difference.
- Focus on Small Sections: Break the page into small areas to avoid feeling overwhelmed. Finish one section at a time.
- Play Music or Meditate: Pair your coloring sessions with relaxing music, a podcast, or even complete silence to make it a soothing experience.
Pro Tip: Remember, there’s no right or wrong way to color. If you’re having fun, you’re doing it right!
8. Keep Your Tools Organized
Staying organized saves time and makes the process more enjoyable.
- Use a Pencil Case or Organizer: Keep your tools sorted by type or color. Clear organizers make it easy to find what you need.
- Sharpen Regularly: Keep your pencils sharp for detailed areas and fine lines.
- Label Your Tools: If you use a lot of shades, label your pencils or create a swatch sheet to track your colors.
Pro Tip: Swatch all your tools on the paper you’re using to see how the colors look and behave before starting.
9. Practice Makes Perfect
Like any art form, practice is key. The more you color, the better you’ll get at blending, shading, and choosing color palettes.
- Start Simple: Begin with easier pages and gradually work your way up to more complex designs.
- Focus on One Skill at a Time: For example, spend one session practicing shading and another experimenting with highlights.
- Celebrate Progress: Keep older pages to track your improvement over time—it’s incredibly rewarding to see how far you’ve come!
Pro Tip: Share your work in coloring groups or with friends. Feedback and inspiration from others can boost your confidence and creativity.

