27 Beach Coloring Pages
There’s something magical about the beach, isn’t there?
The sound of waves crashing, the feel of warm sand between your toes, and that unmistakable scent of salty air—it’s like a mini vacation for your soul. Now imagine capturing all that beachy bliss and bottling it up into a creative, calming activity you can do anywhere.
That’s where these beach coloring pages come in!
Whether you’re a sun-worshipping adult looking for a relaxing outlet or a parent trying to entertain your little sandcastle architects, these pages are your ticket to an instant escape.
Grab your crayons, markers, or colored pencils—it’s time to bring the beach to life, one vibrant hue at a time!
Let’s dive into this collection of sandy shores, tropical vibes, and ocean adventures that are just waiting for your artistic touch.
Ready?
Let’s make some waves!
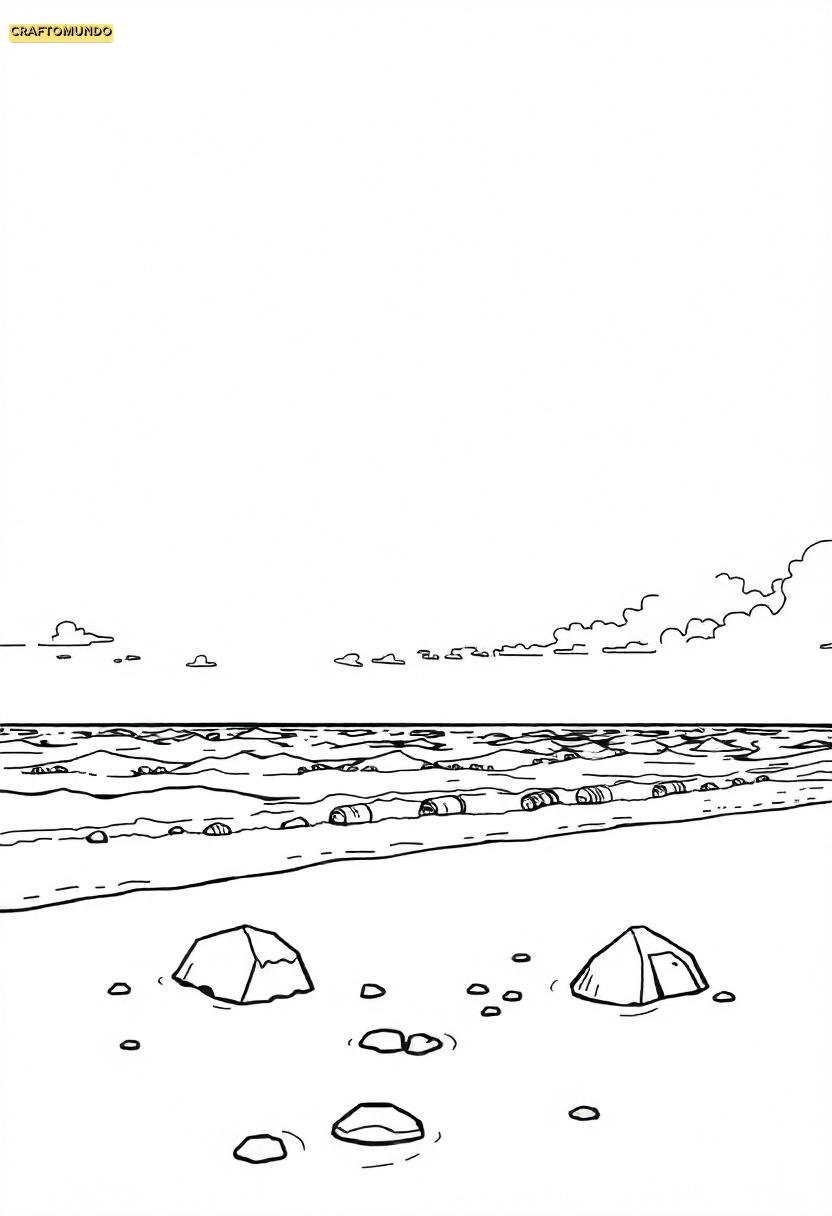
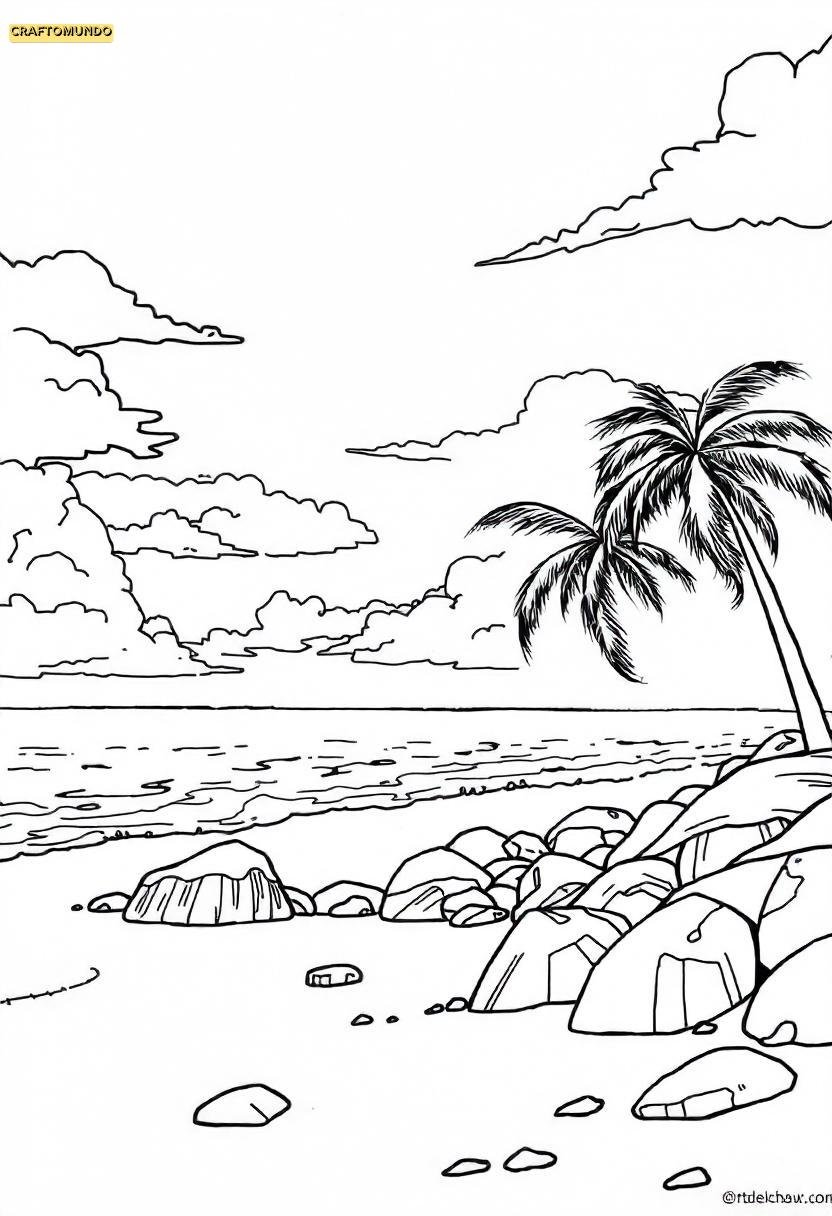
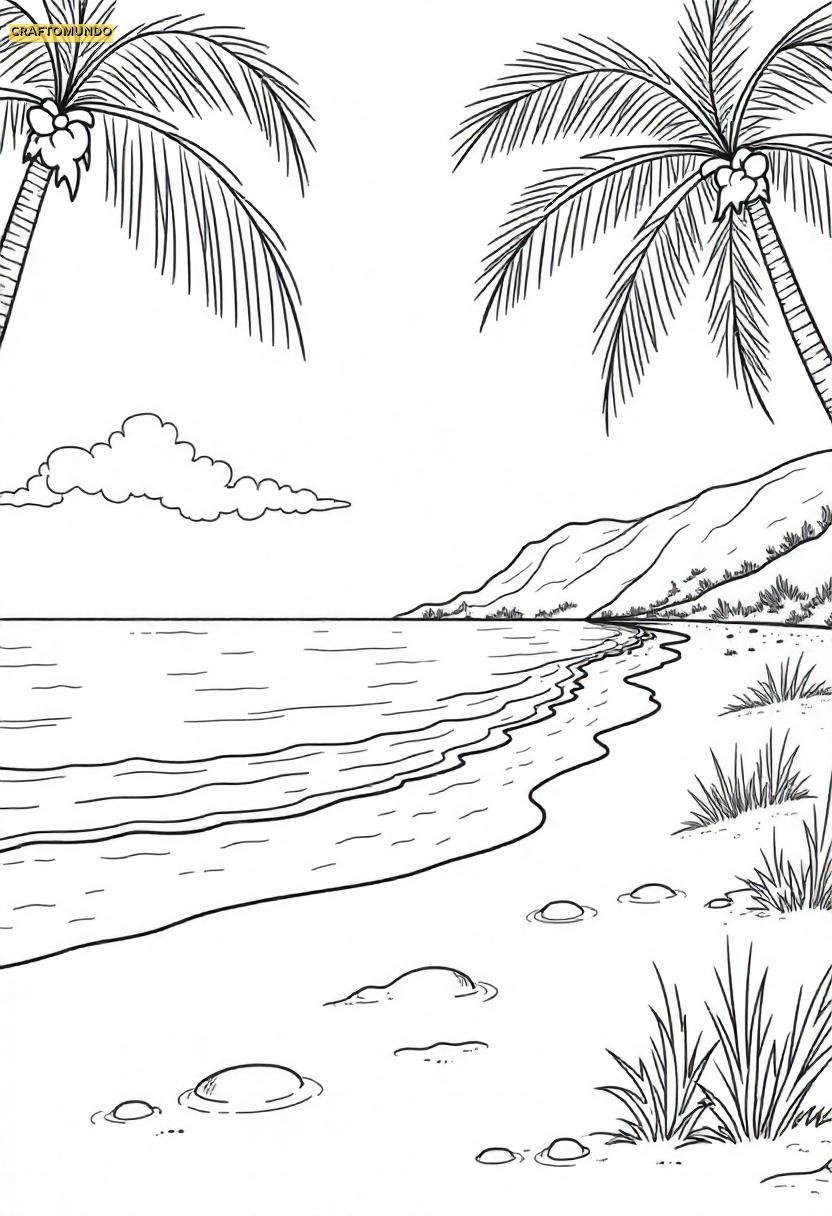
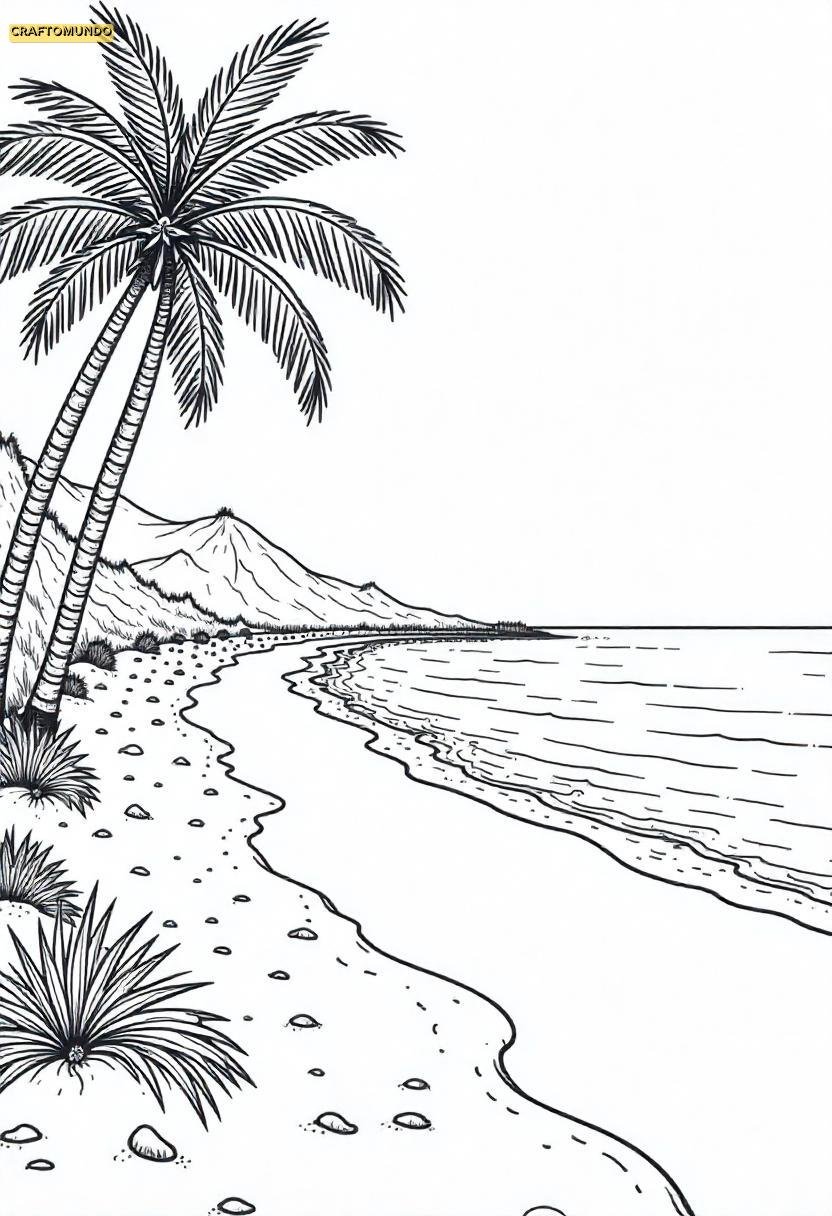
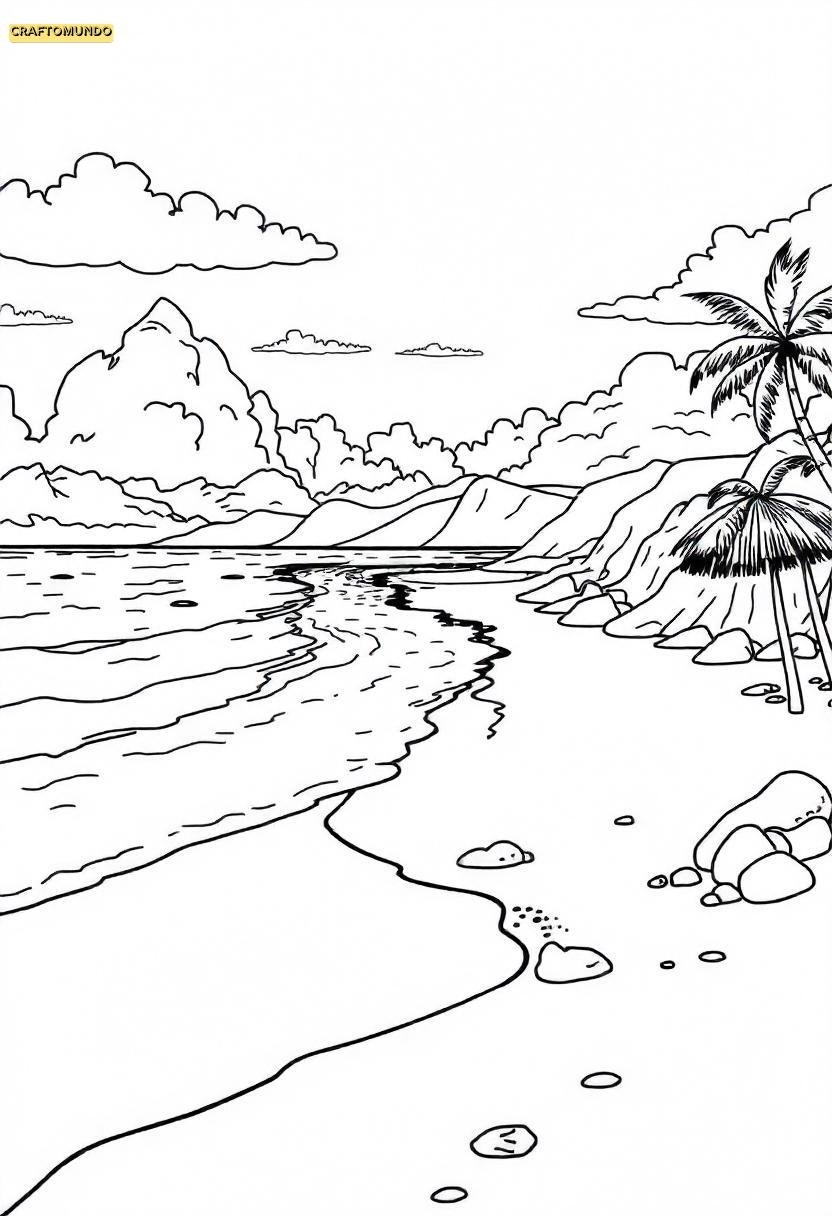
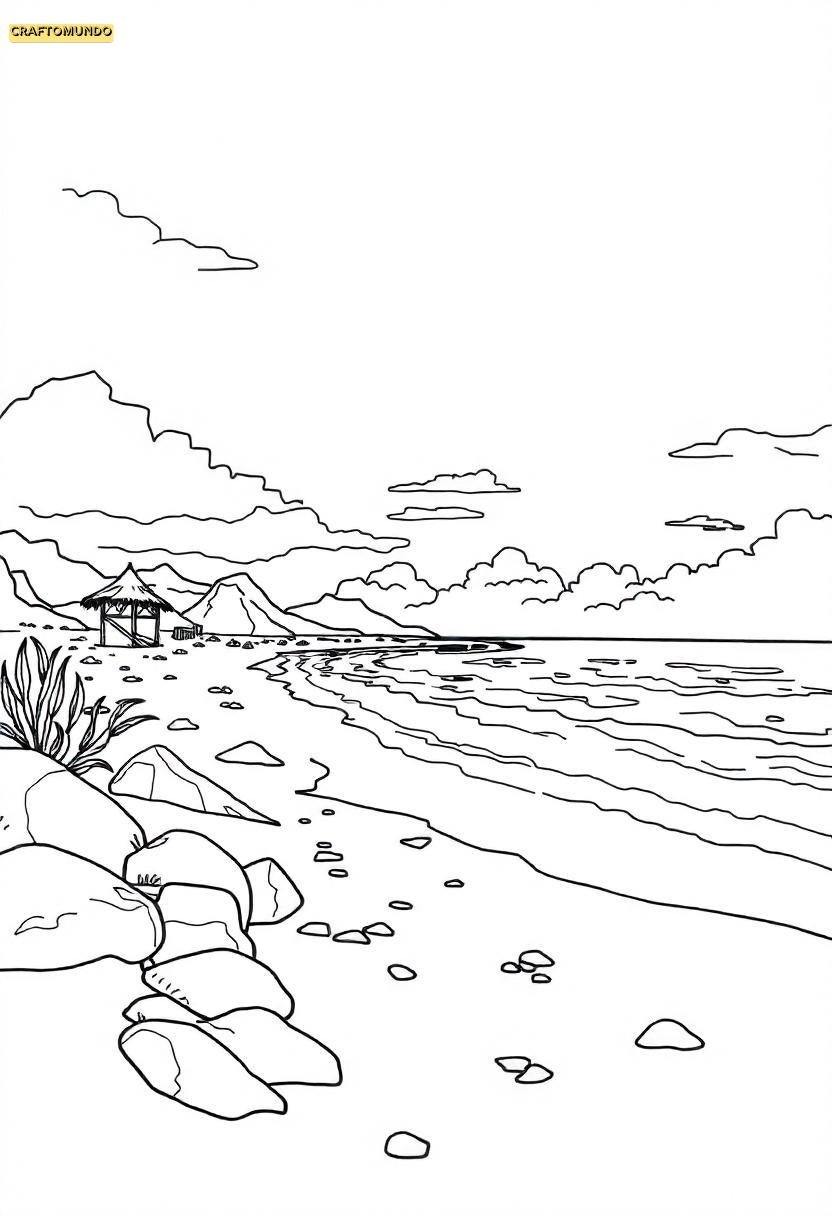
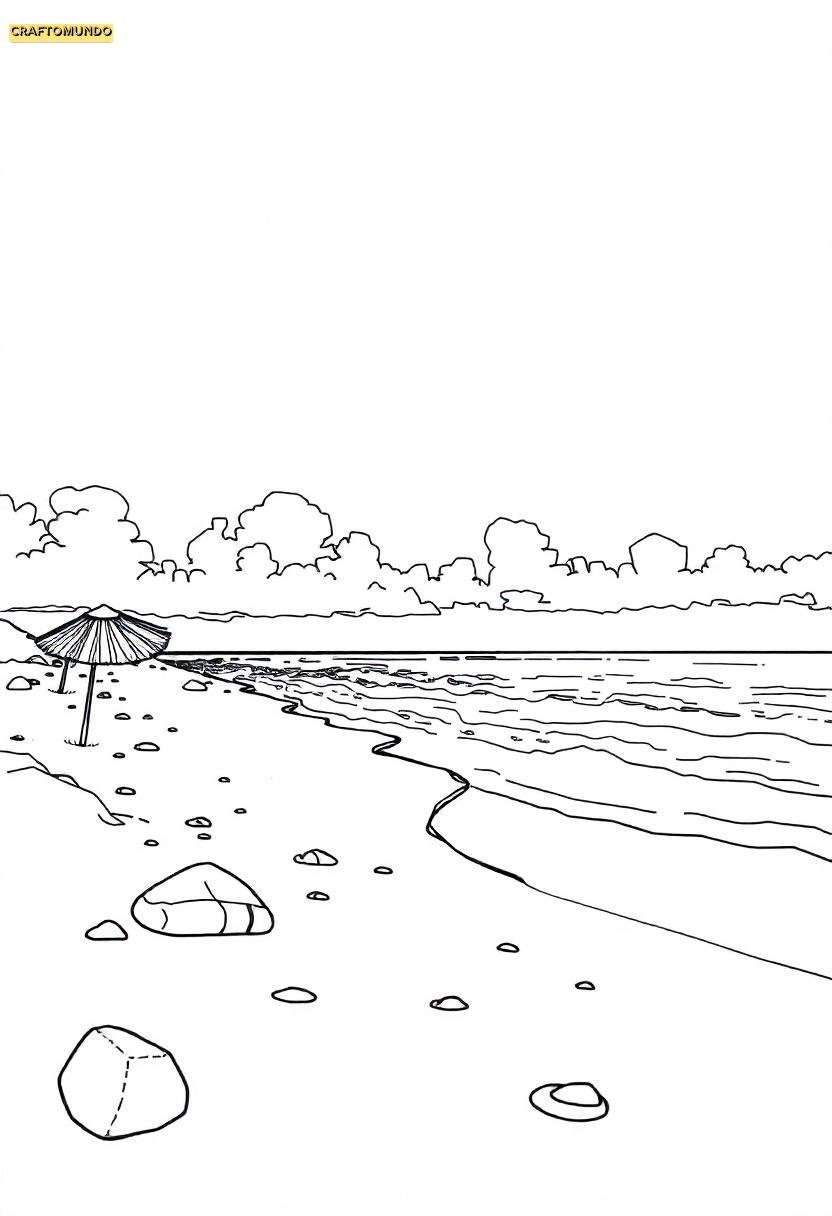
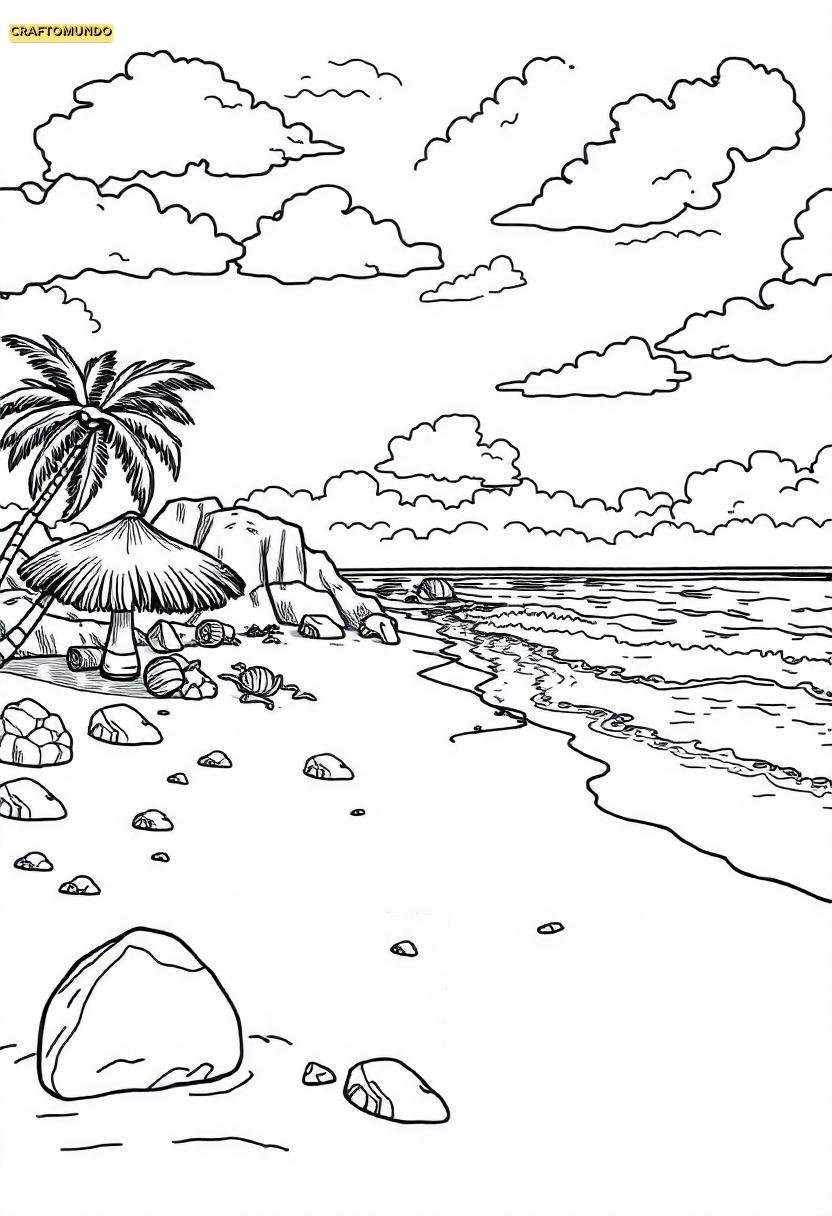
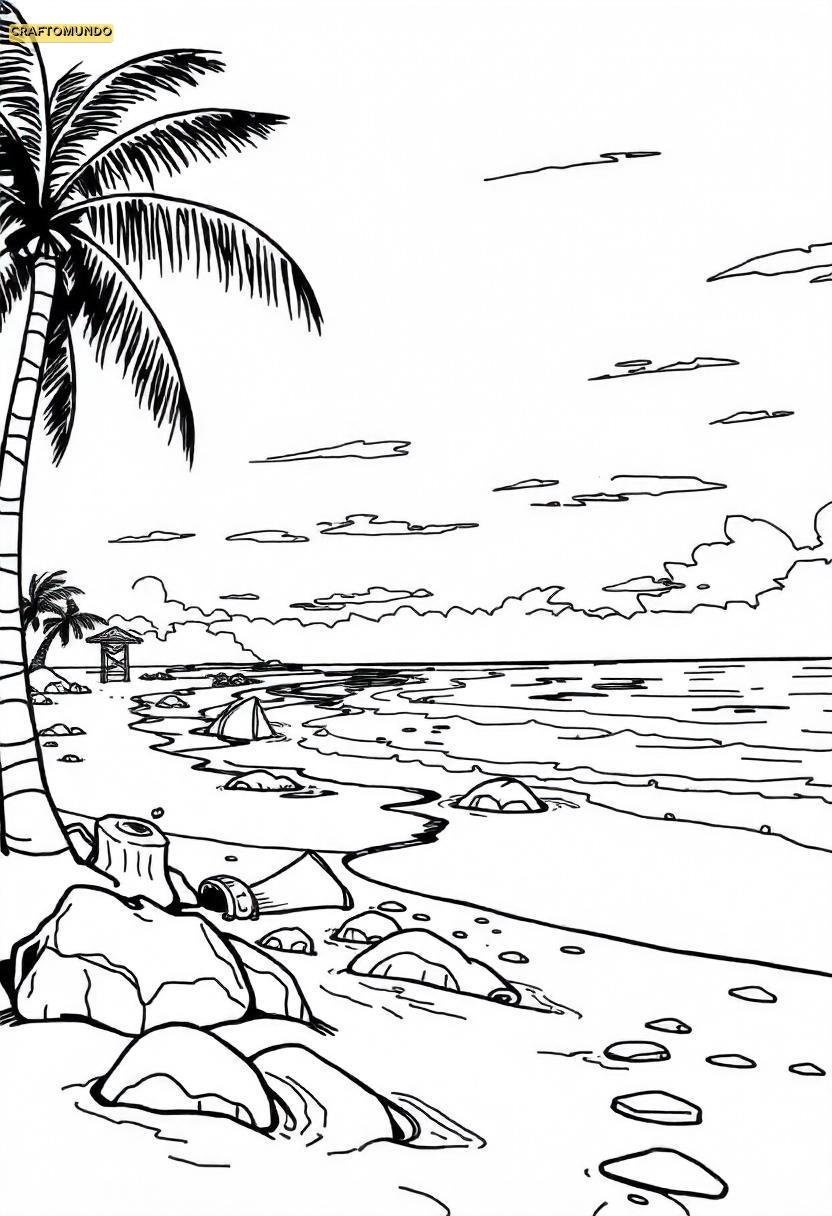
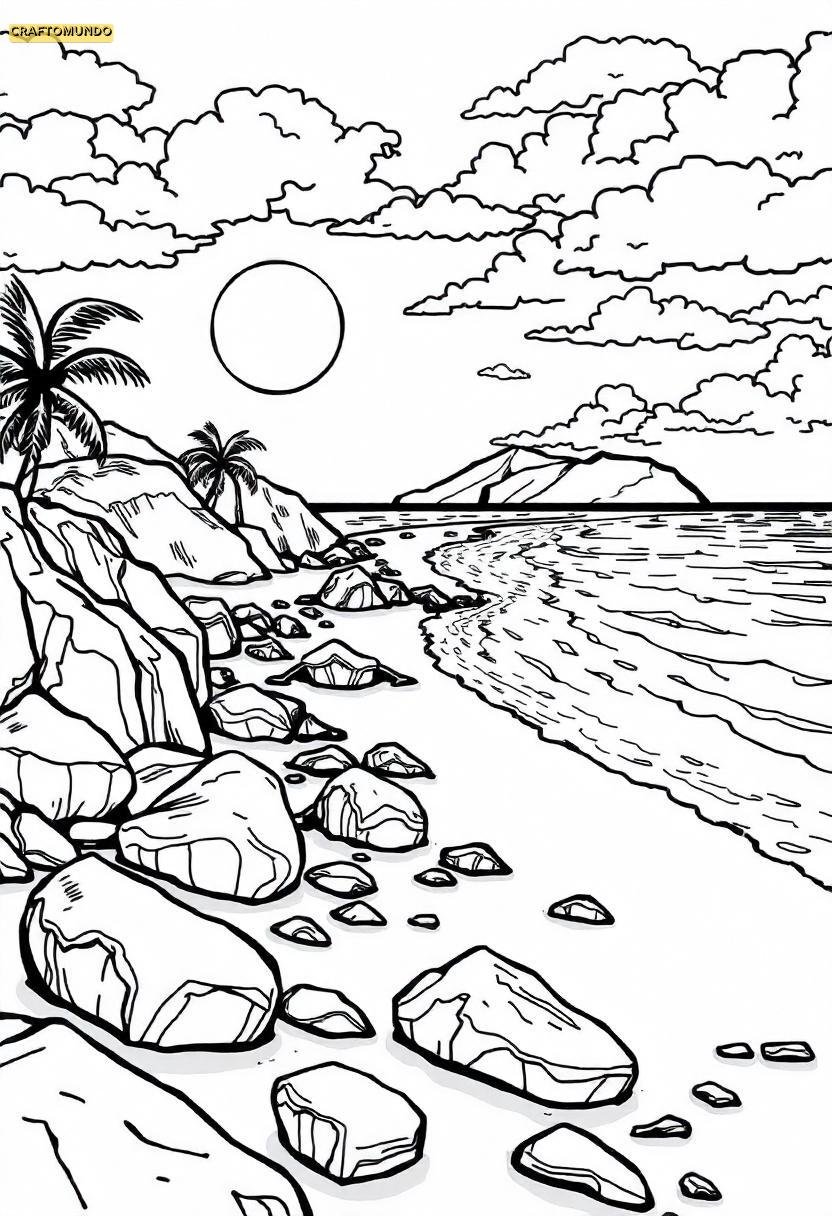
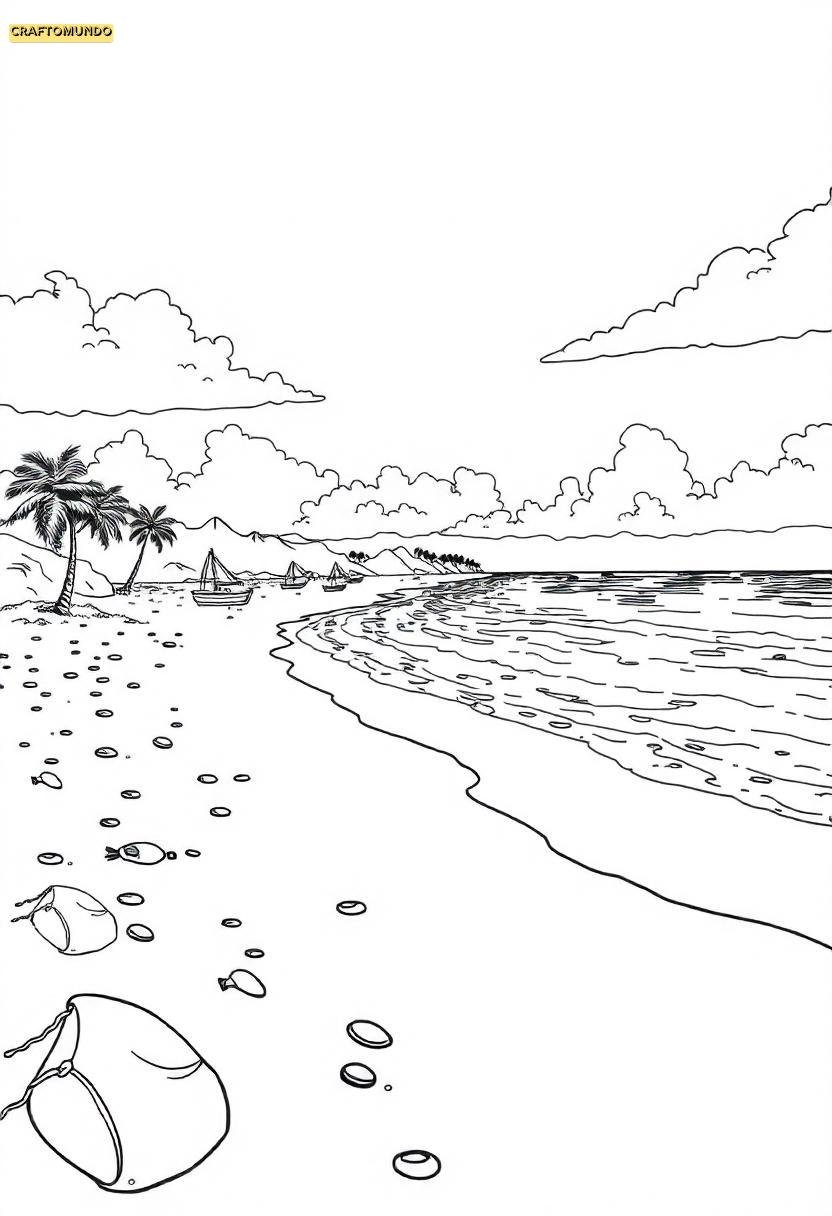
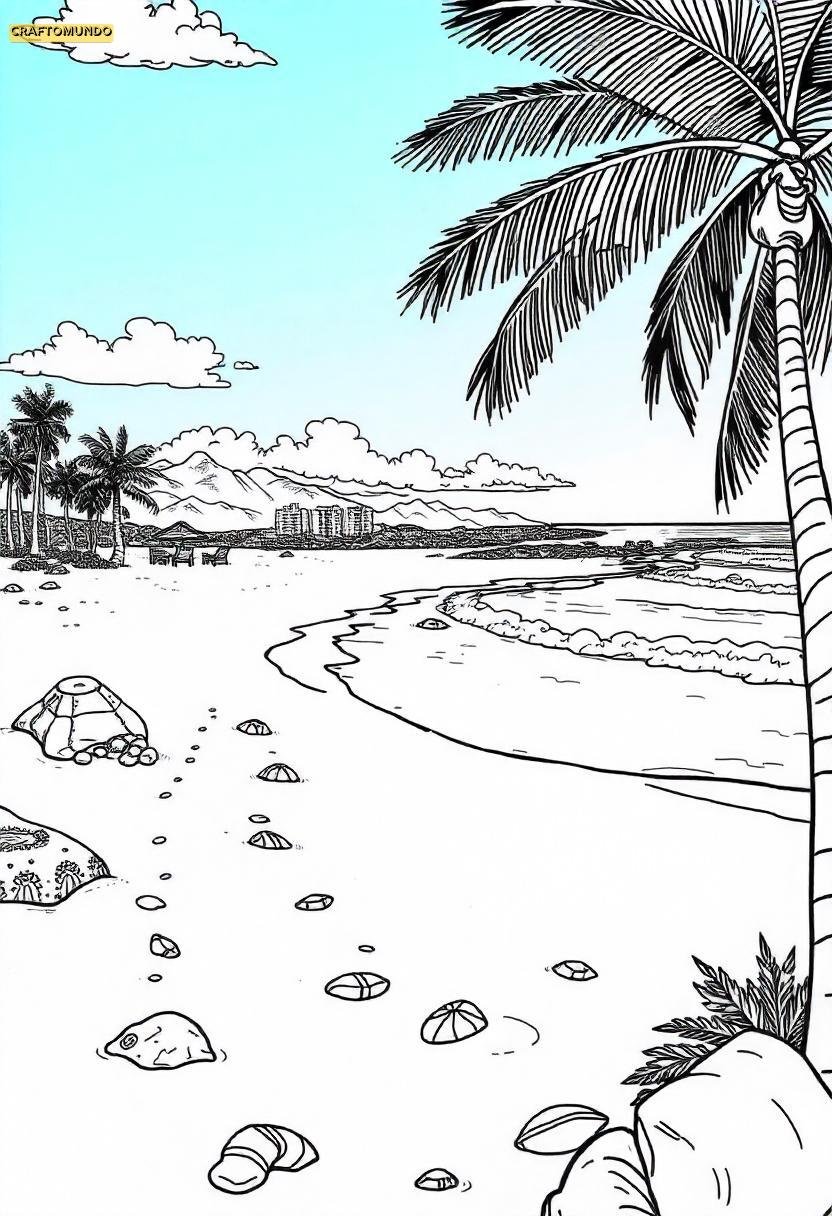
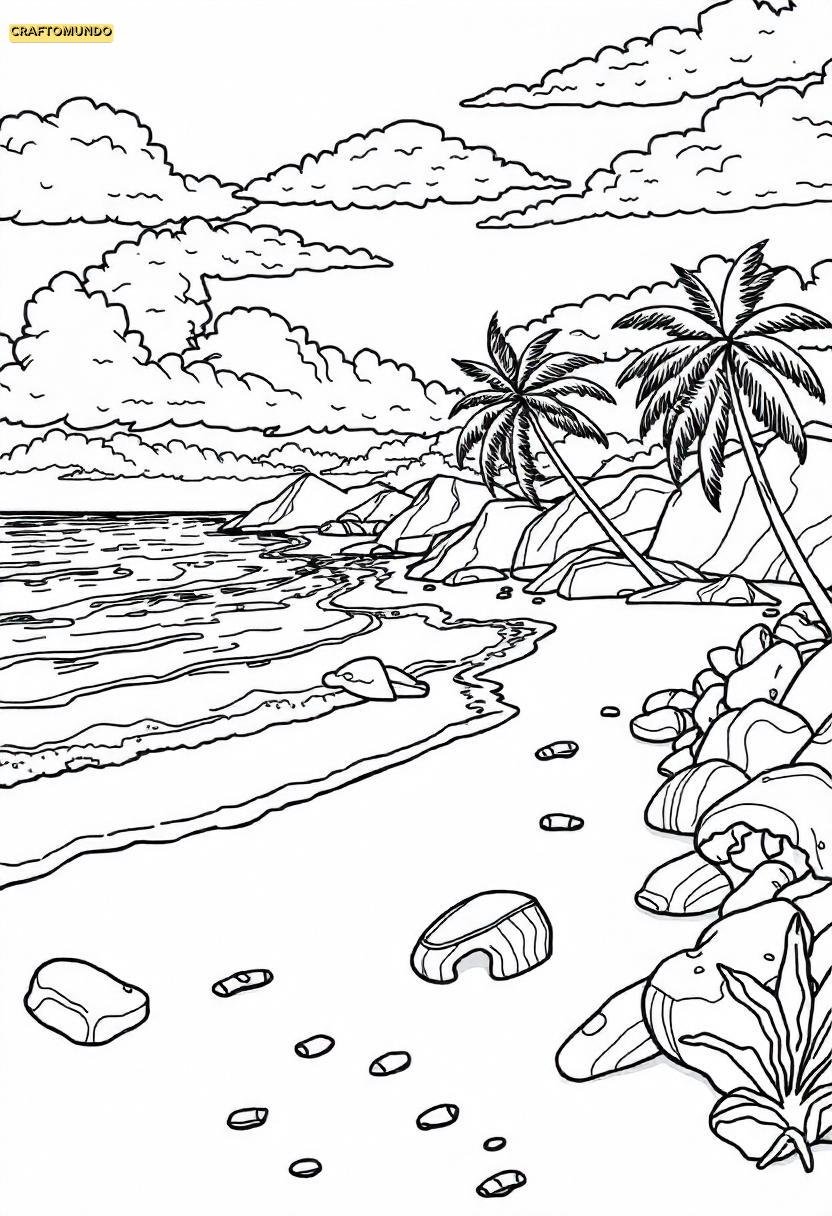
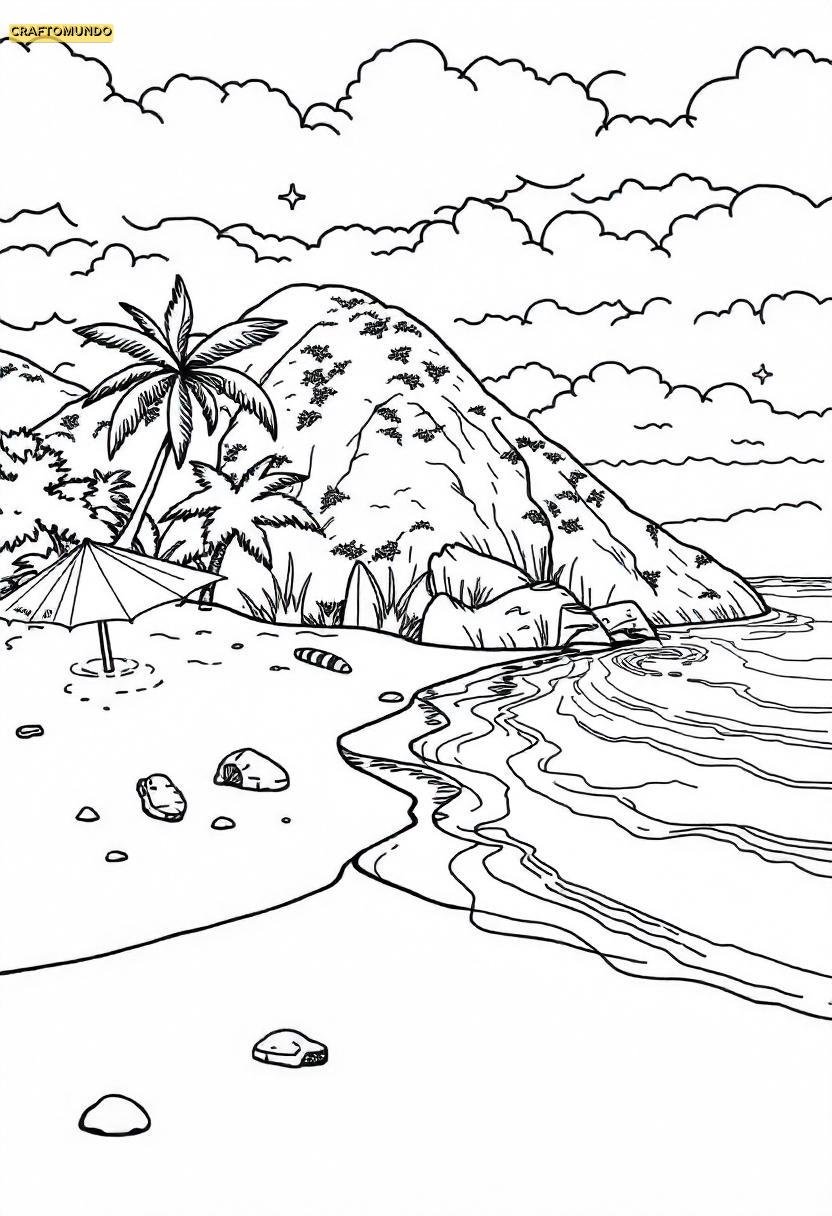
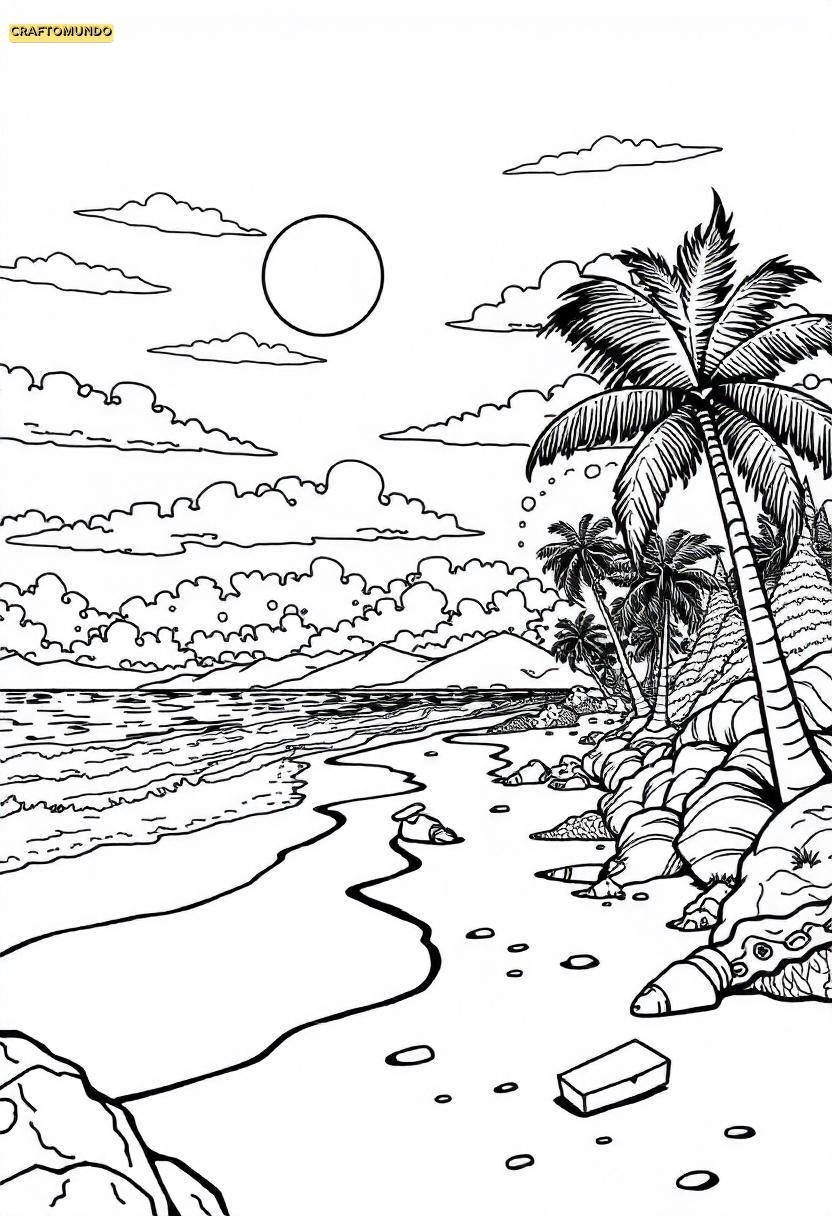
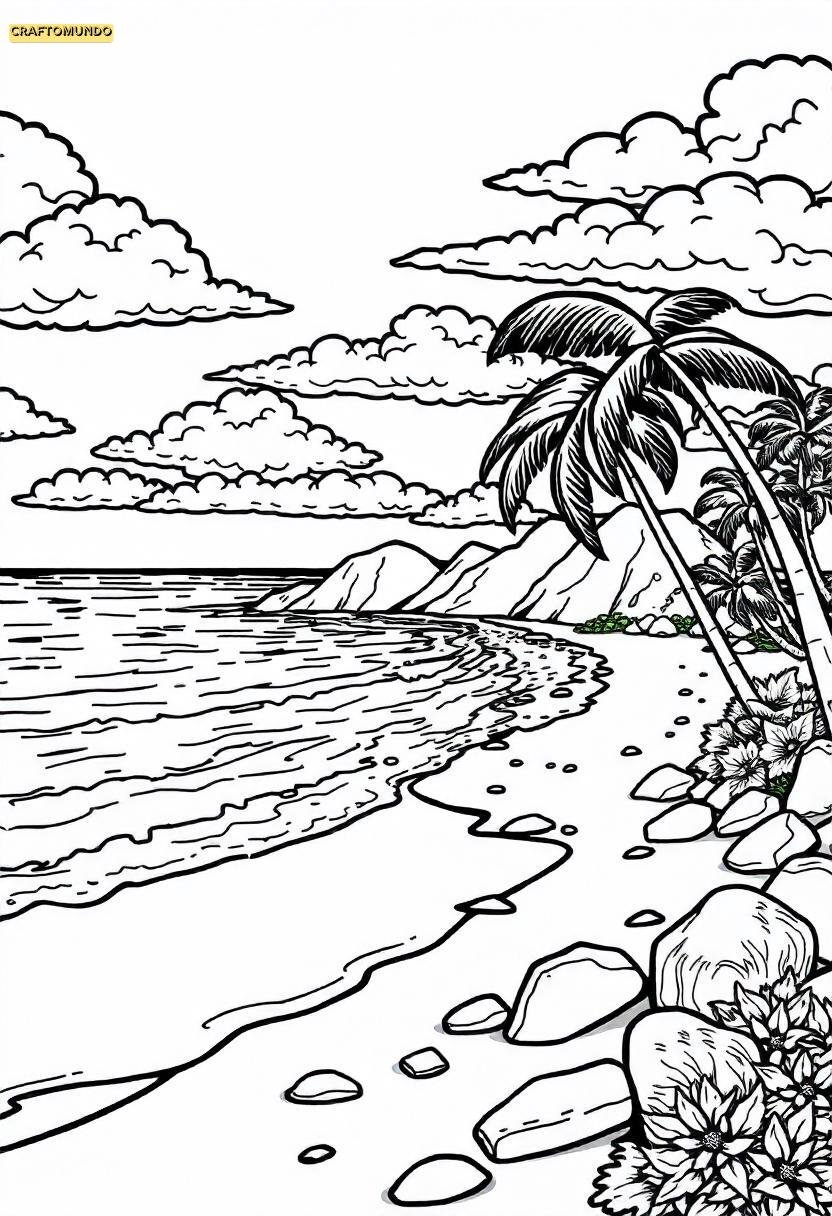
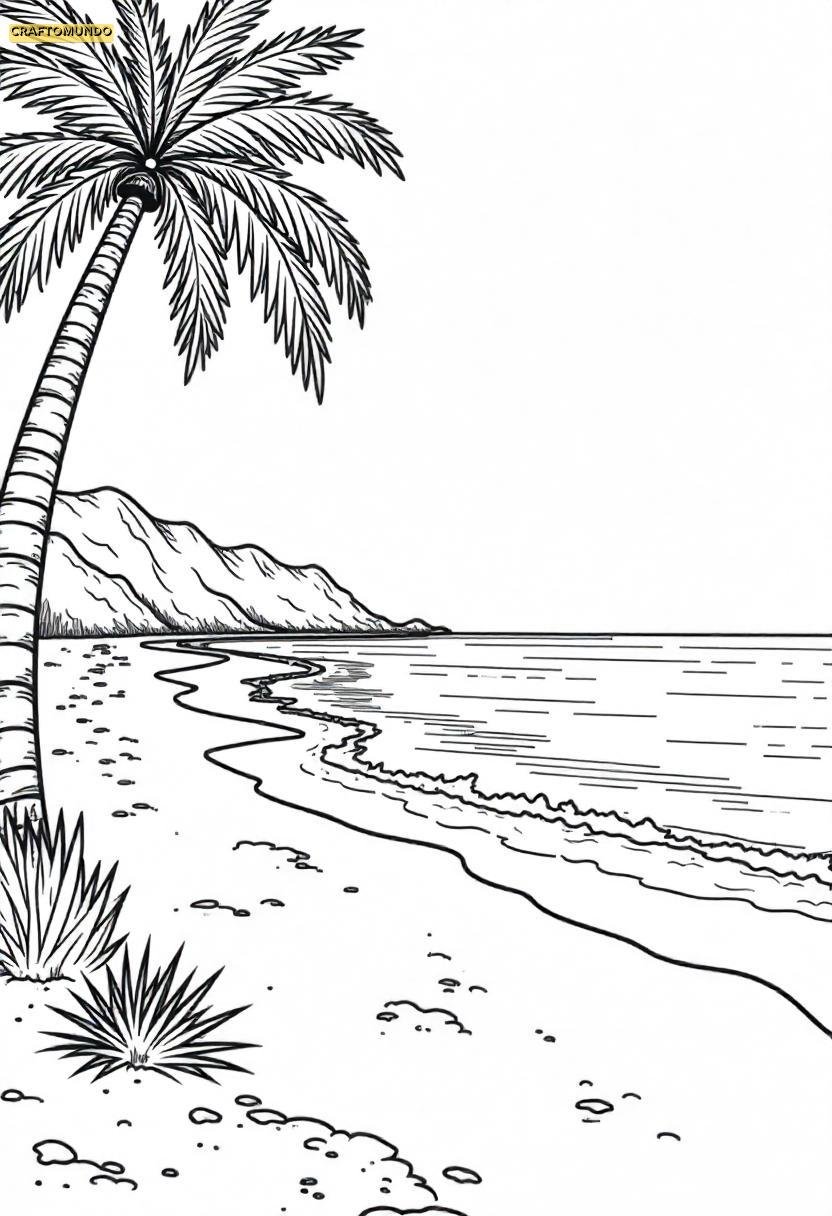
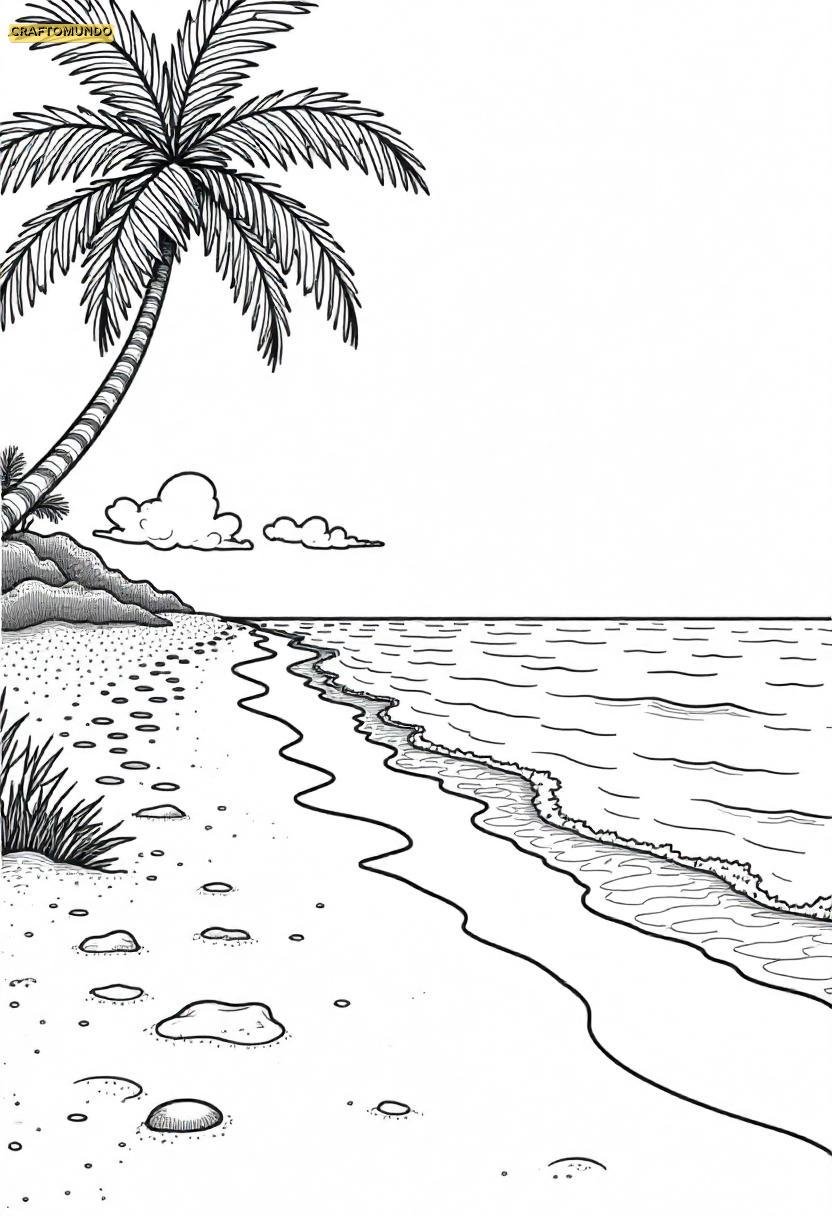
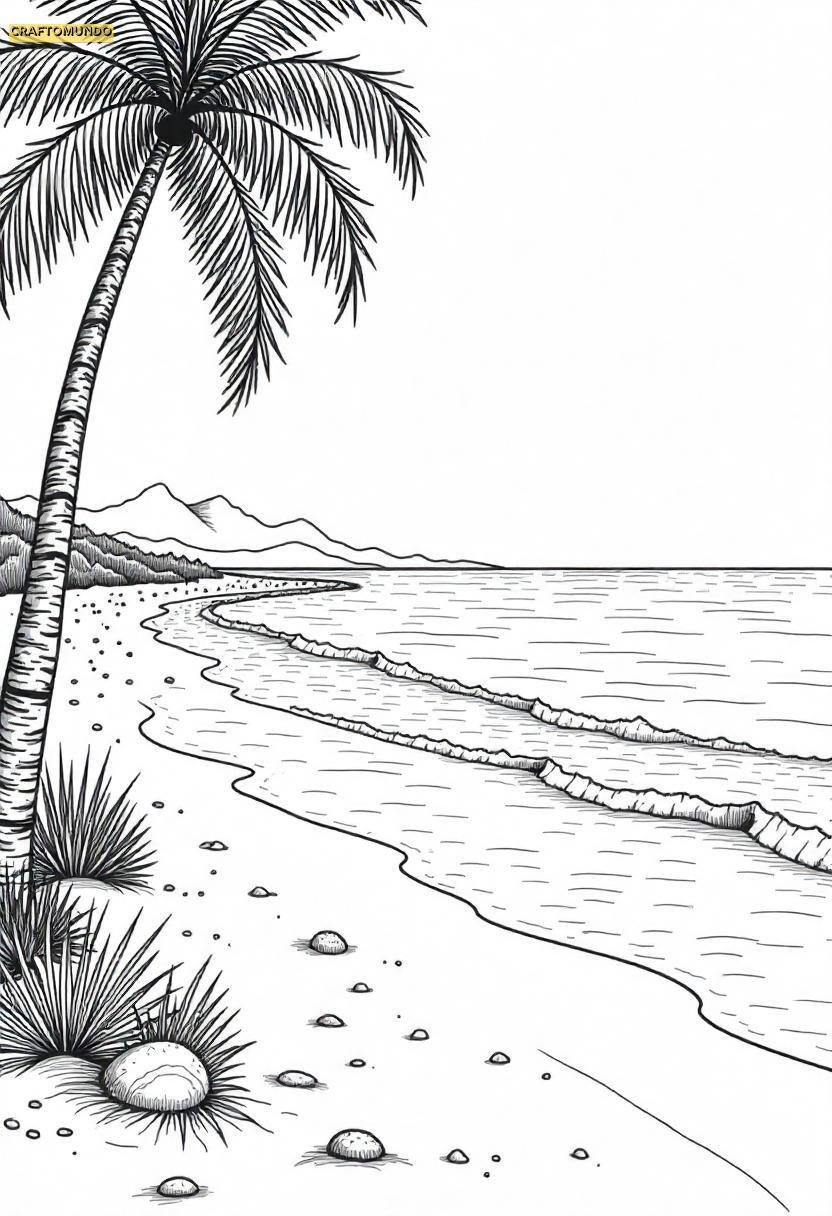
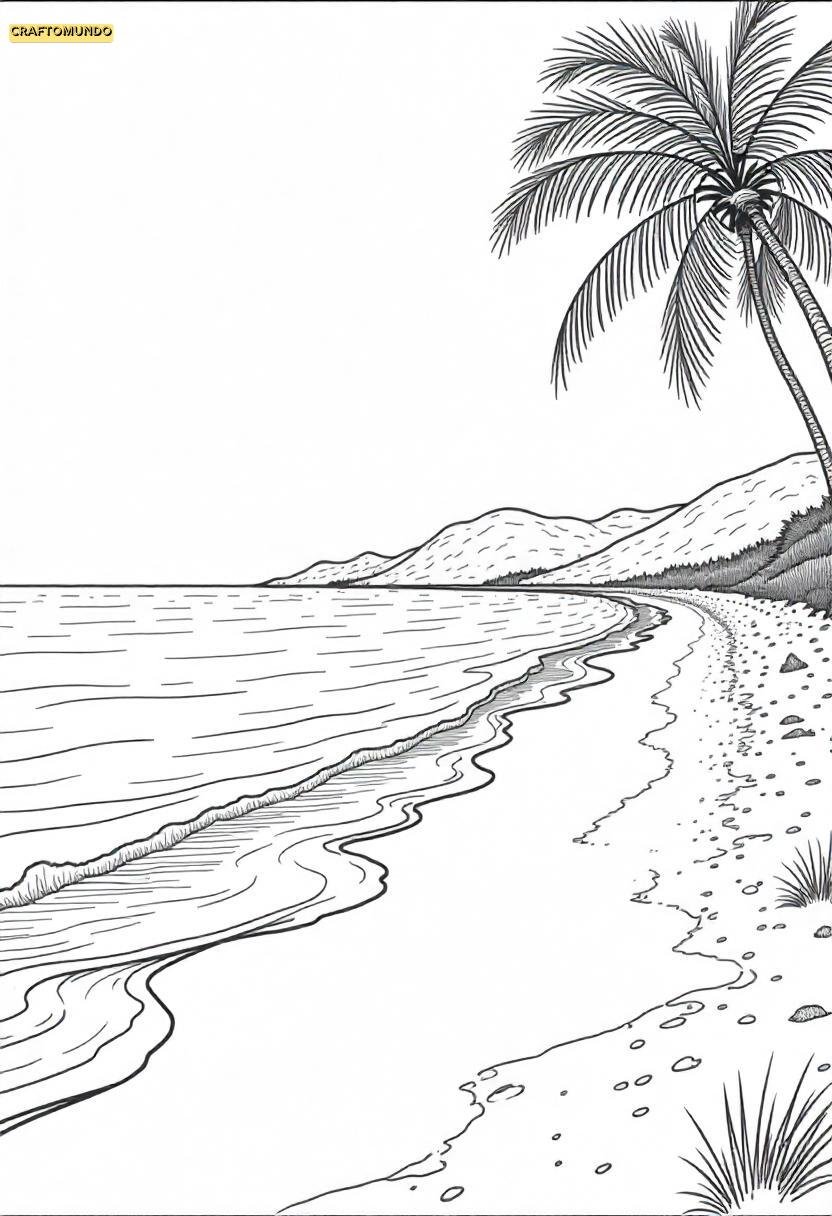
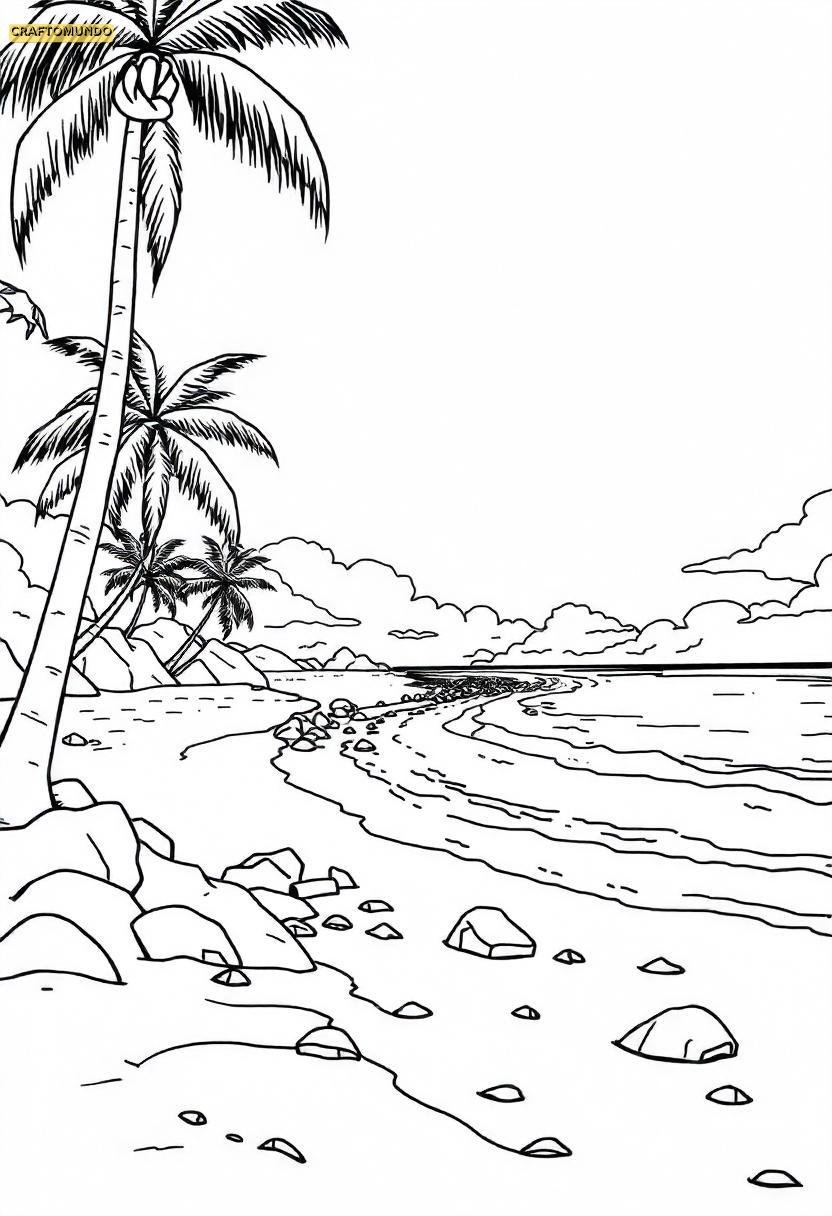
Beach Coloring Pages
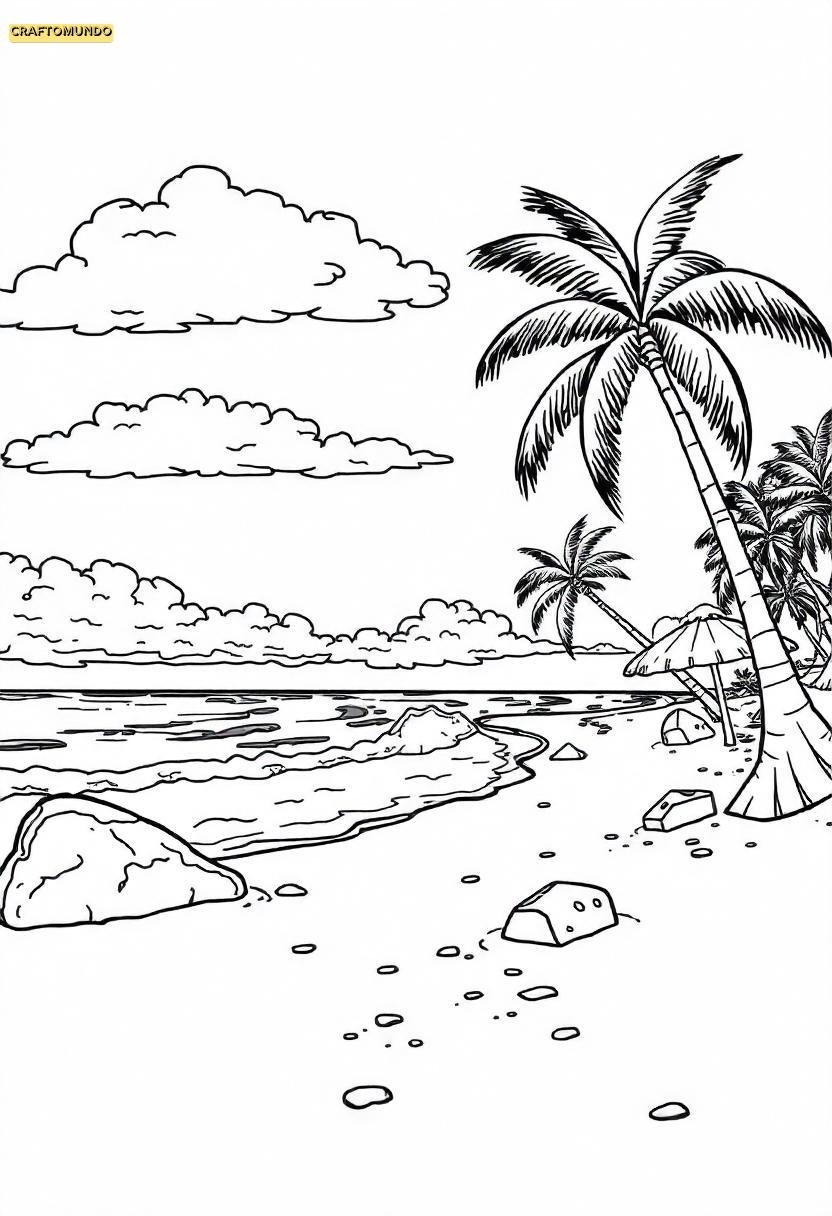
1
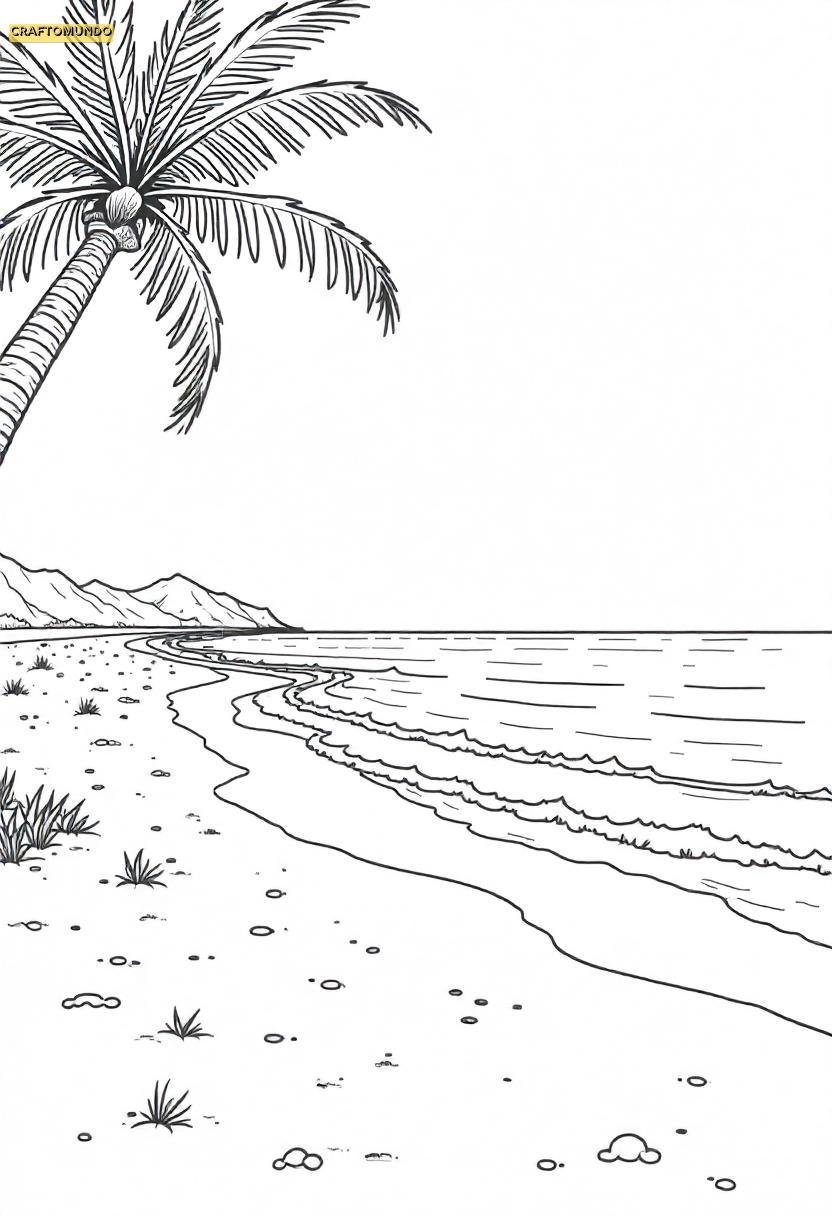
2
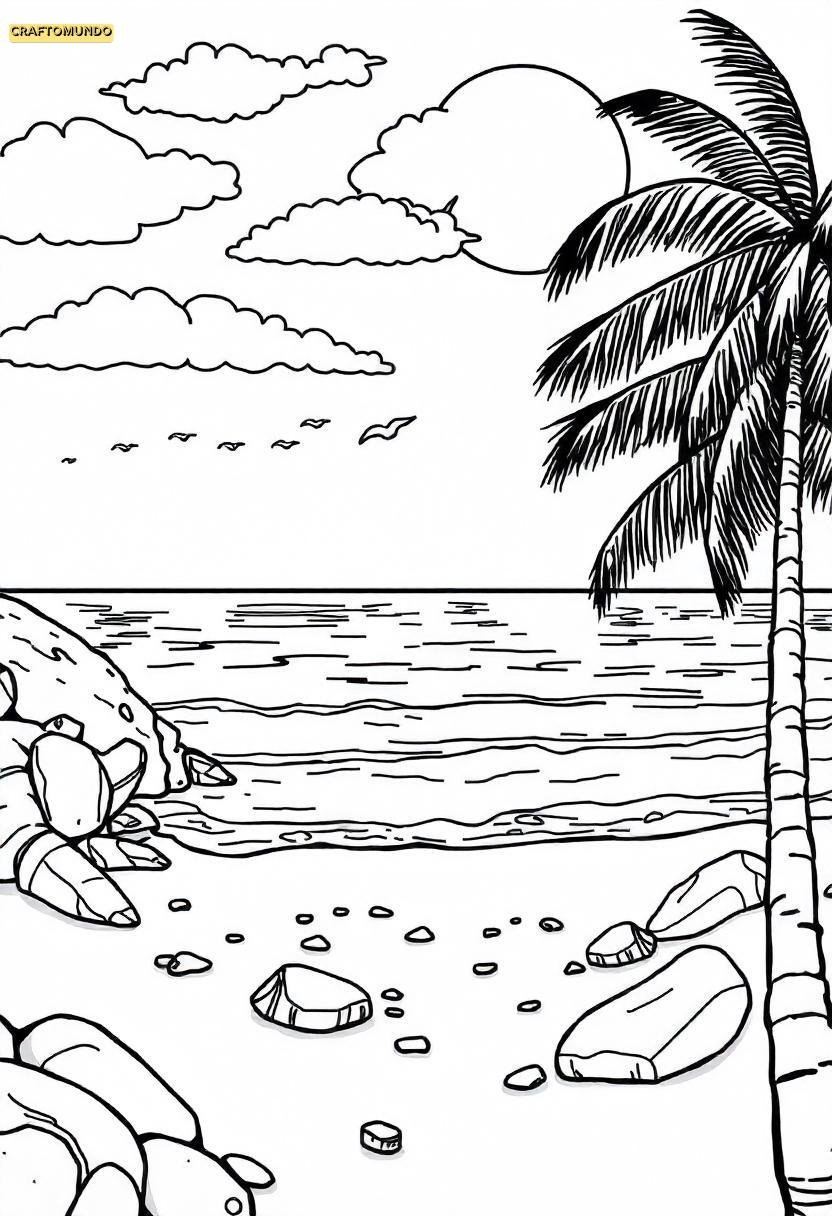
3

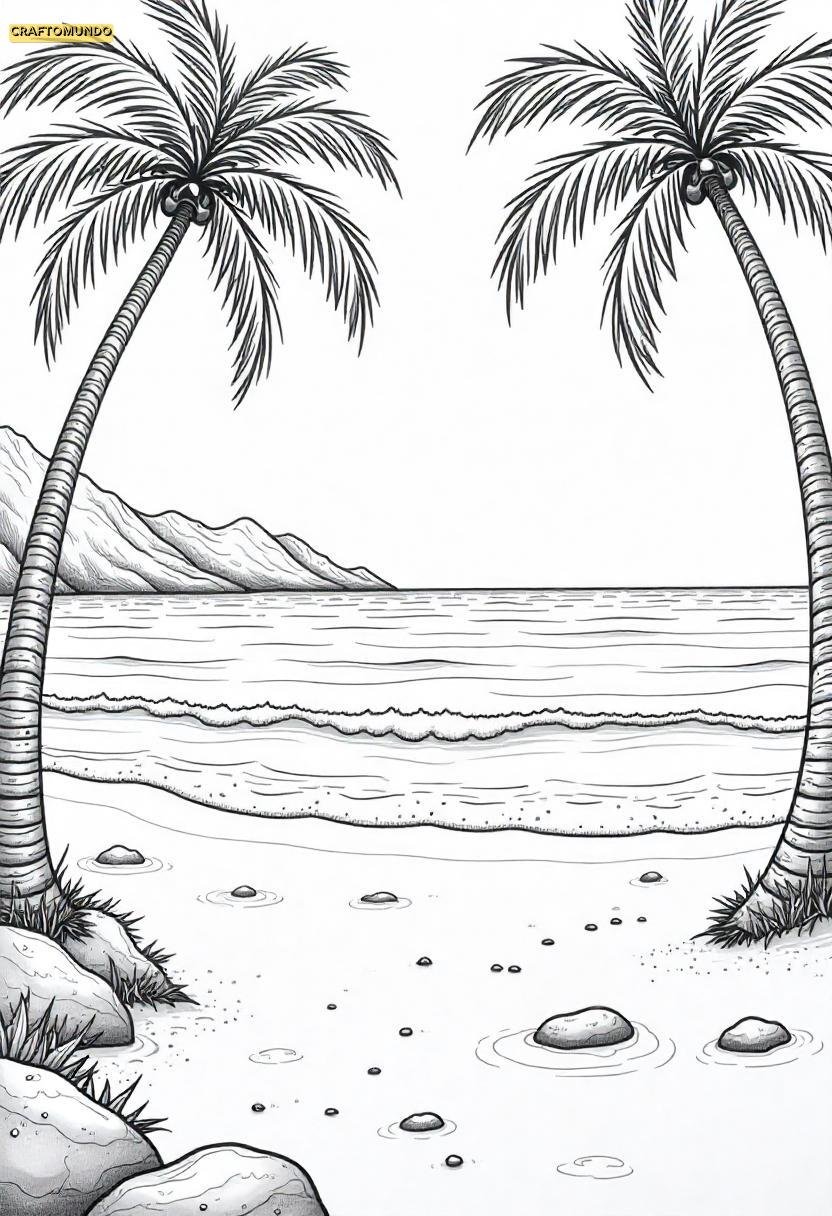
4
5
6
7
8
9
10

11
12
13
14
15
16
17
18
19
20
21
22
23
24
25
26
27
Tips and Tricks While Coloring Beaches
1. Get Inspired by Real-Life Beaches
Before you pick up your crayons, markers, or colored pencils, take a moment to think about the beaches you’ve seen (or dreamed of visiting).
Is it the tropical vibe of Bora Bora with turquoise waters and lush greenery?
Or maybe the soft, muted tones of a serene sunset over a rocky coast?
A quick image search or a scroll through your vacation photos can help you decide on your color palette. Bonus: You’ll feel like you’re planning a mini beach vacation while you gather inspiration!
Pro Tip: Keep a picture of your favorite beach nearby as a reference. Not only does it help with color accuracy, but it also doubles as motivation for future travel goals.
2. Experiment with Color Palettes
Beach scenes are a playground for color experimentation. From the golden hues of sand to the vivid blue of the ocean, the possibilities are endless. Here’s how you can bring variety to your coloring pages:
- Sand: Don’t just settle for yellow! Blend in shades of tan, cream, and light brown to give the sand a realistic look. For added depth, use darker browns or grays for shadows where rocks or footprints might be.
- Water: Play with gradients! Start with a deep blue for the horizon and gradually transition to lighter aqua tones closer to the shore. Want to capture sunlight sparkling on the waves? Add tiny flecks of white or metallic gel pen highlights.
- Sky: A beach scene isn’t complete without a stunning sky. Use soft pastels or watercolor pencils to create smooth blends for sunsets or midday skies. Lavender, pink, and orange hues make for dreamy sunsets, while vibrant blues with fluffy white clouds scream a sunny day.
Pro Tip: Challenge yourself to step out of traditional colors. Who says the ocean can’t be purple or the sand can’t be glittery green? Let your imagination run wild!
3. Make Waves with Texture
Adding texture to your beach scene can make it come alive. Here’s how to give your beach coloring pages extra pizzazz:
- For Sand: Use tiny dots or short, wavy lines to create a grainy effect. Layer different shades of beige and brown for added depth. For an extra whimsical touch, sprinkle in some sparkle with metallic or glitter pens to mimic the shimmer of sunlight on the sand.
- For Water: Try using swirly, wave-like strokes to mimic the motion of the ocean. To create the illusion of depth, press harder with darker colors in deeper areas and lighten your strokes near the shoreline.
- For Clouds: Use circular, soft strokes with white or light gray pencils to give your clouds a fluffy, 3D look. Don’t be afraid to layer in light pink or lavender if you’re working on a sunset.
Pro Tip: Experiment with blending tools, like cotton swabs or blending stumps, to smooth out textures for a polished, professional look.
4. Bring Beach Elements to Life
Beach scenes are packed with fun details: seashells, starfish, palm trees, beach balls, and surfboards. Each of these elements is an opportunity to flex your creative muscles. Here’s how to make them pop:
- Seashells: Add subtle shading to make them look realistic. Use peach, cream, and pink tones for traditional shells or go bold with rainbow hues for a more playful look.
- Palm Trees: Use at least three shades of green for the fronds to create depth, and don’t forget to add highlights for that sun-kissed glow. For the trunk, layer light and dark browns with curved, horizontal lines to mimic the texture of bark.
- Surfboards and Umbrellas: Let your personality shine! Decorate these items with bold patterns, funky stripes, or tropical motifs like hibiscus flowers. This is your chance to get as wild as you want with color combinations.
Pro Tip: Use metallic pens or glitter gel pens for jewelry-like details on seashells or the shine of a reflective surfboard.
5. Mastering Shadows and Highlights
To make your coloring page look more three-dimensional, practice adding shadows and highlights. It’s easier than it sounds and makes a world of difference.
- Shadows: Imagine the direction of the light source in your scene. Use darker tones to shade the areas furthest from the light, like under palm fronds, beneath waves, or behind sandcastles. Blend lightly to avoid harsh lines.
- Highlights: Add bright white or light strokes to areas where the sun hits directly, like the tips of waves, the tops of seashells, or the edges of a beach umbrella. For extra sparkle, use a white gel pen.
Pro Tip: Don’t overdo it! A little shadow and highlight go a long way. Subtlety is key.
6. Use Mixed Media for a Stunning Effect
Why stick to just one coloring tool when you can mix it up? Combining media can create rich, layered effects.
- Colored Pencils + Markers: Use markers for a smooth base layer and colored pencils for detailed shading and texture.
- Watercolor Pencils: These are perfect for blending soft, natural tones in skies and water. Just add a touch of water with a brush after coloring.
- Gel Pens: Add sparkle or metallic accents to make certain elements stand out, like the glint of sun on water or the shimmer of seashells.
Pro Tip: Test your mixed-media combos on scrap paper first to see how they blend and layer together.
7. Make It Personal
The beauty of coloring is that it’s entirely yours. Don’t feel pressured to stick to reality—infuse your page with your personal style! Add extra details like footprints in the sand, initials carved into a palm tree, or even a little doodle of yourself lounging under an umbrella.
Pro Tip: Turn your beach scene into a storytelling canvas. Maybe there’s a hidden treasure chest, a playful dolphin jumping out of the water, or a cheeky crab stealing a beach snack—let your imagination run wild!
8. Frame Your Finished Masterpiece
Once you’ve completed your beach coloring page, don’t just tuck it away—show it off! Mount it in a frame or create a scrapbook of all your beach-themed pages. If you’re feeling extra crafty, laminate the page to make it a reusable placemat or turn it into a greeting card for someone who loves the beach as much as you do.
Pro Tip: Use your finished coloring page as inspiration for future creative projects. You can translate your favorite elements into a painting, craft, or even digital art.
9. Make It a Social Event
Coloring is even more fun when you share it with friends or family. Host a beach-themed coloring party where everyone can pick a page, share their tools, and exchange ideas. Play beachy tunes in the background and serve up tropical snacks like pineapple slices or coconut water to really set the mood.
Pro Tip: Compare everyone’s finished pages to see how different creative minds interpret the same scene. It’s amazing how unique each piece will look!
10. Enjoy the Process
Finally, remember that coloring is about relaxation and joy. Don’t stress over perfection—it’s all about having fun and letting your creativity flow.
If you’re coloring outside the lines or second-guessing your palette choices, take a deep breath and remind yourself that there are no rules when it comes to art.
Pro Tip: Treat each coloring session as a mini-vacation. Light a beach-scented candle, sip on a tropical drink, and let yourself be transported to the shore.